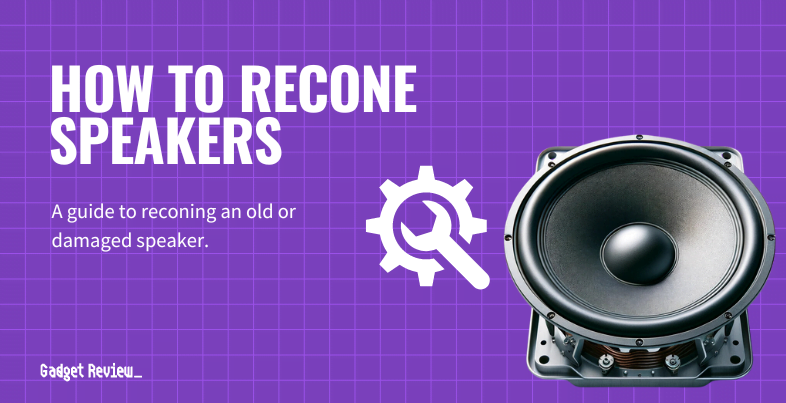
Even the best speakers can become damaged, and speaker reconing is an art that breathes new life into your cherished audio equipment. Over decades of speaker changes, this DIY speaker repair technique has empowered countless enthusiasts to restore the original glory of their speakers. Whether it’s the entire speaker or specific components like drivers or tweeters, reconing can significantly enhance the speaker’s performance, often surpassing the average speaker’s capabilities.

Key Takeaways_
- Reconing a speaker requires purchasing a kit and some electrical tools and expertise.
- Kits can be found online or at specialty shops that fix speakers and amps.
- This specific audio speaker repair will take a couple of days due to allocating time to let the adhesives dry.
Reconing Your Speakers
Before diving into speaker reconing, it’s crucial to grasp the nuances of speaker manufacturing.
A generic speaker diagram reveals several key components: the coil, magnet, and cone, which work in harmony to produce sound.

Over time, these pieces may wear out or get damaged, leading to defective speakers. Reconing involves replacing these critical components, particularly the voice coil, cone, and surrounding gaskets, to restore the speaker’s power and clarity.
Reconing a speaker requires a specific set of tools and materials, readily available in recone kits from specialty shops or centers for speaker repair.
Key items include the right adhesive to glue to the speaker frame, coil wire for the voice coil, and replacement parts like the cone and gaskets. An air compressor is invaluable for cleaning the voice coil gap and other components.

insider tip
If you can’t find your owner’s manual, search for your speaker’s model online to locate appropriate reconing kits.
For a successful recone, using high-quality components that match the original specifications is crucial. This might mean seeking out parts for major speaker brands or finding generic equivalents that maintain the integrity of the actual speaker.
Specialty shops and online retailers are excellent sources of these materials.
When considering how to make speaker boxes, it’s important to ensure they are designed to complement the reconed speakers, providing optimal sound quality and protection.
STEP 1 Preparation
- You’ll need to know the make and model of your speaker first to get the proper reckoning kit. You should be able to find this information on the magnet, which is located at the back of the speaker.
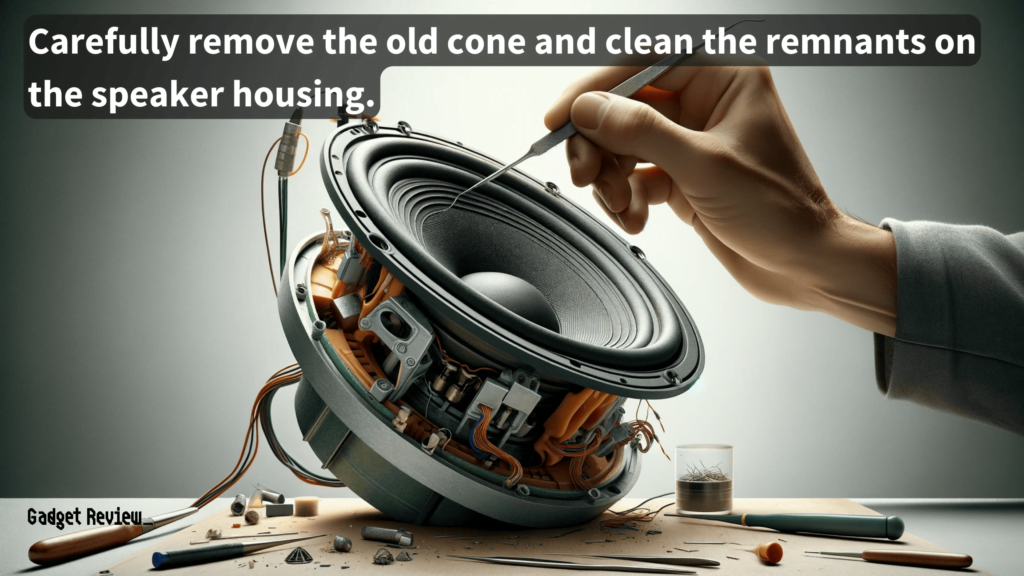
- Once you have the proper kit, begin by disassembling the speaker and carefully removing the damaged pieces of the speaker cone and voice coil.
- Use masking tape to protect the coil gap from debris.
- Understanding how to repair blown speakers is essential in this step, as it involves identifying and removing the damaged components before proceeding with the reconing process.
STEP 2 Take Apart the Speaker
- After taking the speaker out of the cabinet, use something (like a chisel) to pry off the gaskets.
- Using a box cutter, slice around the outer edge of the cone and again around the dust cap.
- Remove the speaker spider located on the magnet.
- Using a soldering iron, detach the terminal wires (lead wires)
- Clean the air gap between the voice coil and the magnet. You can clean this with a vacuum, air compressor, or tape.
- Put tape over the gap so no particles fall into it.
- Scrape off all remaining pieces of speaker cone from the entire speaker using the chisel.
STEP 3 Cleaning and Preparing the Speaker Frame
- Thoroughly clean the speaker frame, paying close attention to the coil gap.
- A clean voice coil gap is crucial for the new coil’s performance.
STEP 4 Reassemble the Speaker
- After taking off the masking tape from the air gap, put in the new voice coil.
- Take contact cement and glue the spider to the outside frame.
- Use epoxy to glue the voice coil to the inner edge of the spider.
- Use the adhesive from the kit to run a thin line across the top rim and bottom of the speaker rim where the voice coil is.
- Put the cone back and press down gently to ensure it’s on correctly and sealed.
- The alignment of the coil to cone and coil to spider is critical for optimal performance.
- Knowing how to test if speakers are wired correctly is crucial at this stage to ensure the reconed speaker functions as intended.
- To reduce white noise in speakers, ensure all connections are secure and the reconing materials are of high quality, as this can significantly impact the speaker’s sound clarity.
- Glue the new gaskets into place.
- Flip the speaker over and allow it to rest on the gasket with even pressure and give the speaker about 24 hours to dry.

warning
Masking the air gap is crucial because if any dirt or debris falls, it can cause voice coil failure.
STEP 5 Resolder Wires and Seal Speaker
- Take the new wires and solder them to the two wires that come off the voice coil.
- After checking for correct polarity, solder the lead wires to the terminals.
- Glue on the dust cap after checking that the speaker’s audio works correctly. Place something on the dust cap to weigh it down while drying.
- Apply silicone with a paintbrush to the speaker’s outer edge to seal it off.
- Allow another 24 hours for drying.
- Test the speaker to ensure the reconing process has restored its full functionality.
Experienced reconers often experiment with different adhesives or techniques to enhance the speaker’s performance. For instance, using coil varnish can improve the durability of the voice coil.
STAT: When inserting the new voice coil, leave about 1/4 of the coil sticking out from the magnet. (source)
When selecting the best stereo speakers, considering those that have been expertly reconed can offer a high-quality listening experience at a potentially lower cost.
Speakers with complex crossovers or multiple drivers may require additional steps or specialized knowledge. Consulting with expert speaker technicians can provide insights into these more intricate reconing processes.
In the context of soundbar vs bookshelf speakers, it’s worth noting that the reconing process can significantly improve the performance of bookshelf speakers, making them a competitive alternative to soundbars in certain setups.
Maintenance and Care for Your Reconed Speaker
Maintaining your reconed speaker involves regular inspections for any signs of wear, especially around the foam edges and screw holes. Keeping the speaker free from dust and moisture can extend its life significantly.
Recognizing When to Recone
Not all speaker issues necessitate reconing. Identifying symptoms like noise in speakers, distortion, or loss of power can help determine if reconing is the right solution.
It’s also essential for those dealing with vintage or high-value speakers, where replacement speaker options might not match the original speakers’ quality.
When to Seek Professional Help
While many enthusiasts can handle reconing, certain situations, like dealing with high-end Monitor Speakers or addressing intricate issues with the voice coil option, may require professional intervention.
Knowing when to seek help from a center for speaker repair can save you from further damaging your speaker.
Speaker reconing is a rewarding endeavor that not only extends the life of your speakers but also deepens your understanding of audio speaker repair.
By following this guide, you’ll be equipped with the knowledge and skills to tackle most reconing projects, ensuring your speakers continue to deliver the high-quality sound you cherish.
Remember, every recone is an opportunity to enhance your speaker’s performance, making it more than just a repair—it’s an upgrade.