If you’ve invested in high-quality speakers, you may wonder how to add Bluetooth connectivity to a motorcycle. Luckily, even if you have old-school bike speakers, you can install wireless motorcycle audio systems at home. With Bluetooth speakers, you can use a Bluetooth-enabled music player or smartphone to enjoy a wireless audio experience. So, keep scrolling to learn how to install Bluetooth speakers on a motorcycle.
Key Takeaways_
- Mount the Bluetooth speakers and the volume controller to your handlebars for the best audio experience.
- Connect the speaker system to your motorcycle’s battery, and then install the stereo wiring.
- Hide the wires along your bike, gathering the wires with zip ties and electrical tape as you work.
For more DIY speaker projects, learn how to make Bluetooth speakers & computer speakers play simultaneously to bring your favorite music from your handlebar speakers to your home office.
insider tip
Keep your Bluetooth-enabled smartphone or music device near the speakers for robust wireless connectivity.
Users who enjoy outdoor movie nights should learn how to get sound from a projector to Bluetooth speakers.
How to Make a Motorcycle Audio System Bluetooth
If your motorcycle’s traditional speakers support wired audio devices, you can connect a Bluetooth transmitter to the 3.5mm AUX-in port. Then, any Bluetooth-enabled device can work as audio source input, including the JBL Clip 3.
You do not need to uninstall your stock speakers for this guide. Experts recommend a handlebar speaker kit for ease of installation and the ability to use the original auxiliary inputs in an emergency.
STEP 1 Mount the Audio System
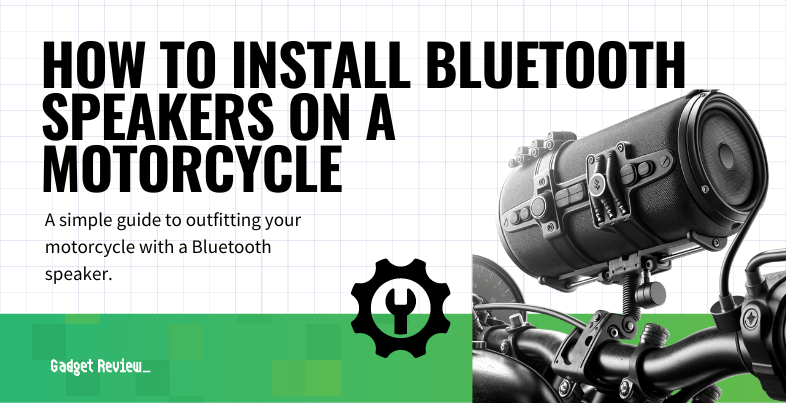
Place rubber strips along the inside of the speaker clamps, and tighten them onto your motorcycle. Experts recommend mounting the speaker pods on the handlebars for the best audio quality. Use the pliers to ensure the clamps are fully tightened.
STEP 2 Install the Volume Level Knob
Install the volume control near the handlebar so you can conveniently adjust the levels. Use zip ties to secure the unit and associated cord to your motorcycle.
warning
Use rubber strips under your handlebar-mounted audio unit to prevent scratching the bike’s handlebars.
STEP 3 Access Your Battery and Disconnect It
Most models house the battery underneath the motorcycle seat. Once you access the battery, disconnect the black terminal to prevent electrical damage while you attach the speaker kit.
STEP 4 Connect the Audio Power Wires
You can connect the speaker power to the battery or the accessory plug. Run the wire on the speaker kit along your bike or underneath the seat to hide them. Gather the wires with zip ties to make them more manageable.
STEP 5 Connect the Stereo System
Unless your wireless audio system features an internal preamp, you need to connect it to your bike’s stereo system. Once you connect the wires, you should run them through the gas tank or frame to hide them.
STAT: A 2020 Pew Research Center poll showed that 41% of Americans 12 and older listened to a podcast in the last month. (source)
STEP 6 Reconnect Your Battery and Test the System
Reconnect your motorcycle’s battery, and test the Bluetooth sound system. Reconstruct your bike if the system works.


