Ensuring your speakers are wired correctly is crucial for achieving the best possible sound quality from your audio system. Incorrect wiring can lead to a range of problems, from diminished sound quality to potential damage to your speakers. Fortunately, with a few simple steps and common household tools, you can test your speaker connections yourself. This guide will walk you through the process, ensuring your music and audio output are as crisp and clear as they should be on your great speakers.
Key Takeaways_
- Testing speakers for correct polarity is a simple trick to complete with nothing more than a household battery.
- Attach both wires from the speaker terminals to either end of the battery. Then examine whether the speaker cone moves in or out.
- If the cone goes in after connecting, you have inverted polarity. If it pushes outward, you have the correct speaker polarity.
How to Test Speakers for Correct Wiring
Speaker polarity refers to ensuring the positive and negative speaker wires are connected to the corresponding positive and negative speaker terminals.
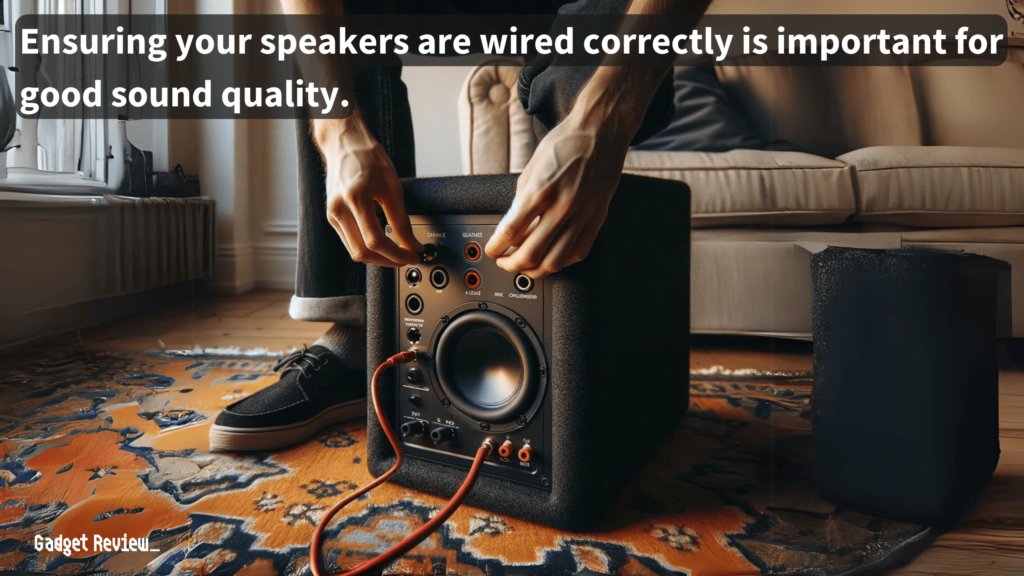
Correct speaker polarity is essential for the speakers to move in the right direction in response to an electrical signal, producing accurate sound.
Reverse polarity, where the connections are swapped, can lead to audio issues such as weak bass frequencies and poor audio imaging.
To test your speaker wiring, you’ll need a few basic tools: a digital multimeter and a 9-volt battery.
- The multimeter will be used to check for continuity and correct polarity, ensuring the electrical signal is flowing as intended.
- The battery method is a quick way to test speaker connection and polarity, making a fresh battery an essential item for this task.
Visual Inspection
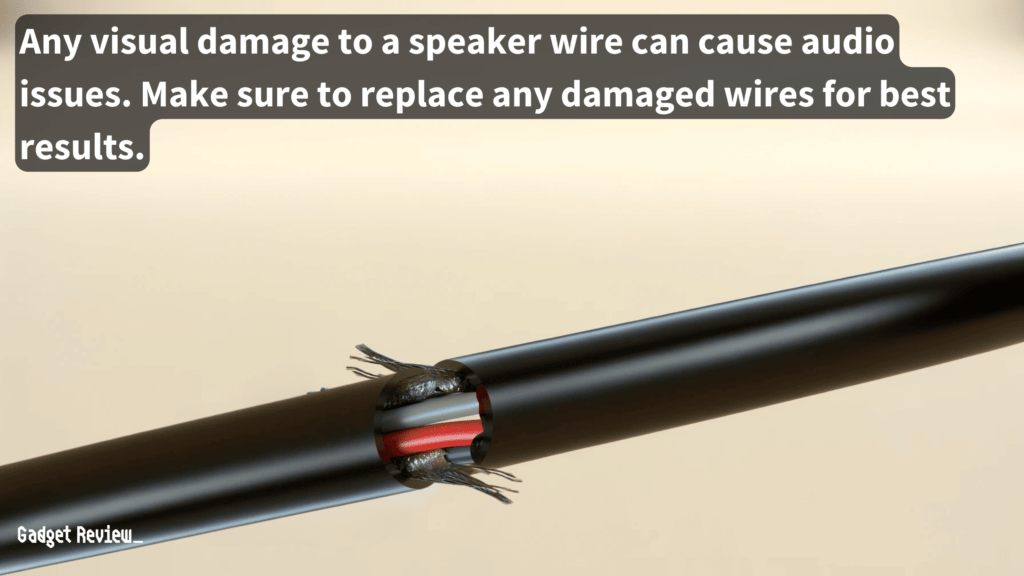
STEP 1 Examine Speaker Cables and Connections
Begin by closely inspecting the speaker cables and their connections to the speakers and audio source.
STEP 2 Identify Any Visible Damage
Look for any signs of wear, fraying, or damage to the cables that could affect performance.
STEP 3 Check for Correct Polarity
Ensure that the positive (often red or marked with a +) and negative (often black or marked with a -) wires are connected to their corresponding speaker terminals. Reversed polarity, where the positive wire is connected to the negative terminal or vice versa, can lead to sound quality issues.
The 9-Volt Battery Test Method
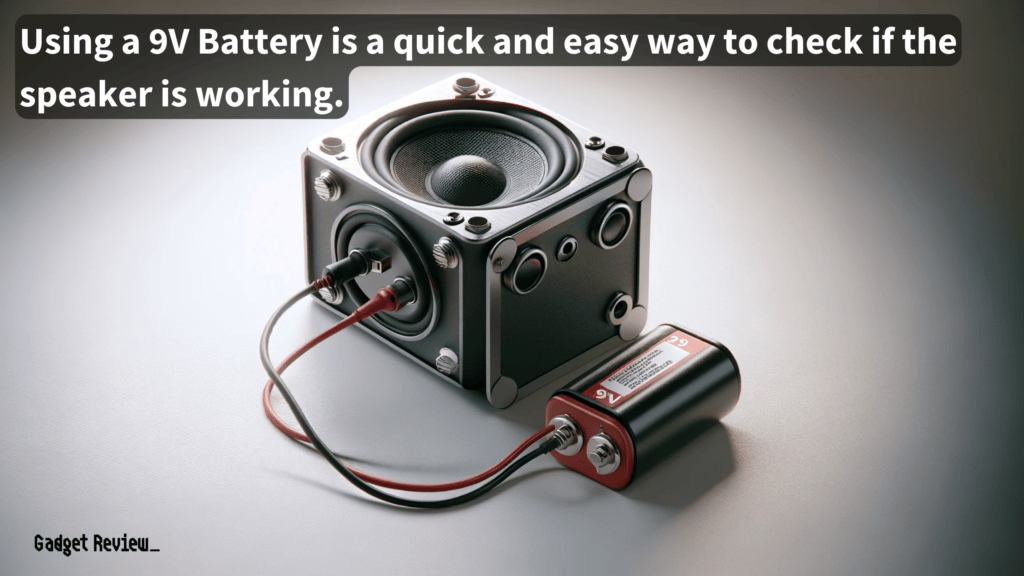
STEP 1 Gather a 9-Volt Battery
When testing your speakers, always use a fresh battery. These tests will quickly drain an average household battery.
STEP 2 Connect the Battery to the Speaker Wires
Attach the positive speaker wire to the positive terminal of the battery and the negative speaker wire to the negative terminal.
warning
Don’t use anything more powerful than a 9-volt battery to test for speaker polarity. Also, do not leave the speaker connected to the 9 Volt battery. Using a battery more powerful than this or leaving it connected can cause damage to your speakers.
STEP 3 Listen for a Popping Sound
A clear popping or clicking sound from the speaker cone indicates that the speaker is receiving power and that the wires are likely connected correctly.
Using a Multimeter
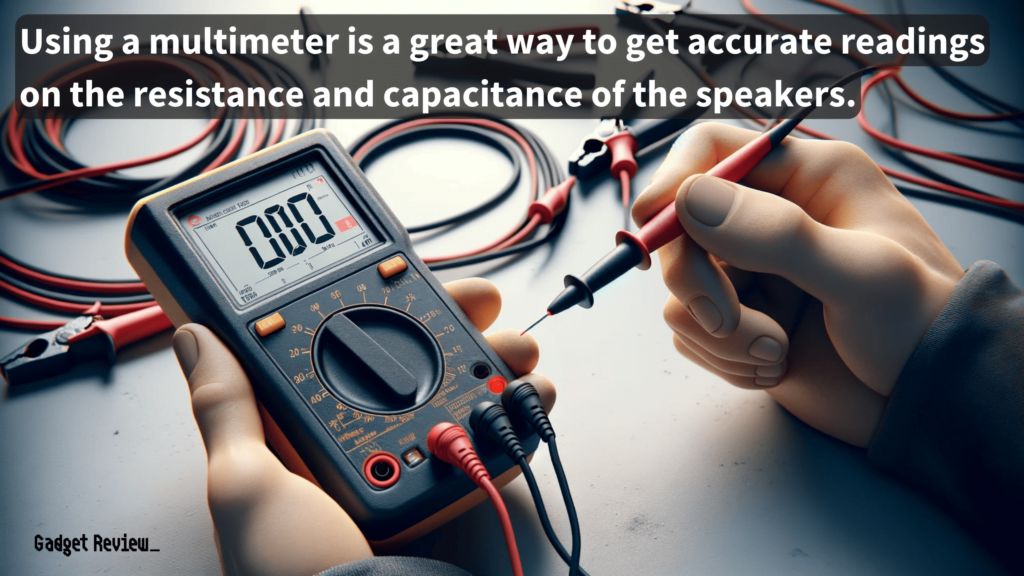
STEP 1 Prepare Your Multimeter
Set your multimeter to the continuity setting (often represented by a diode symbol) or the resistance (ohms) setting.
STEP 2 Test Each Speaker Wire
Touch one probe of the multimeter to the positive terminal and the other to the negative terminal of the speaker.
STEP 3 Interpret the Results
A continuous tone or a reading close to zero resistance indicates good continuity. No tone or a high resistance reading suggests a break or fault in the wiring.
Why Correct Wiring Matters
Correct wiring in speakers is not just about connecting cables; it’s about preserving the integrity of audio signals.
When speakers are incorrectly wired, it can result in phase issues, where the sound from one speaker cancels out the sound from another, leading to a poor audio experience.
This phenomenon, known as destructive interference, contrasts with constructive interference, where correctly wired speakers work in harmony to enhance sound quality.
STAT: When choosing wire for speakers, consider how long the wire run will be. For shorter distances, it’s good to use thinner wire, such as 16-gauge. But for longer distances, it is often better to use 12 or 14-gauge. (source)
Moreover, incorrect wiring can strain the equipment, potentially leading to damage over an extended period.
When setting up a surround sound system, it’s crucial to understand how to make all speakers work on surround sound to ensure a cohesive and immersive audio experience.
This involves correctly connecting each speaker to its designated channel on the receiver and ensuring that the polarity is correct for each connection.
Additionally, choosing between a 2.1 soundbar vs a 5.1 sound system depends on your room size, budget, and desired audio experience.
Troubleshooting Common Issues
If you encounter issues like no sound, distorted sound, or imbalanced audio output, check for common problems such as loose connections, defective wires, or incorrect polarity.
A defective speaker or a blown speaker can also cause audible issues, so consider testing speakers individually to isolate the problem.
If a speaker is not producing sound as expected, learning how to recone speakers can be a valuable skill. Reconing involves replacing the cone, voice coil, and often the surround of a speaker, which can restore a damaged or worn-out speaker to its original performance level.
Tips for Maintaining Your Speaker System
Regularly check your speaker connections and wiring to prevent issues. Over time, speaker cables can become loose or degraded, affecting sound quality.
If you’re experiencing persistent problems, it might be time to replace your speaker cables or consult a professional to ensure your system is set up correctly.
Testing your speakers to ensure they are wired correctly is a straightforward process that can make a significant difference in your audio experience.
By following these steps and using the right tools, you can diagnose and fix common wiring issues, ensuring your speakers deliver the best possible sound.
Remember, taking the time to check your speaker wiring can prevent damage and improve the longevity and performance of your audio system.


