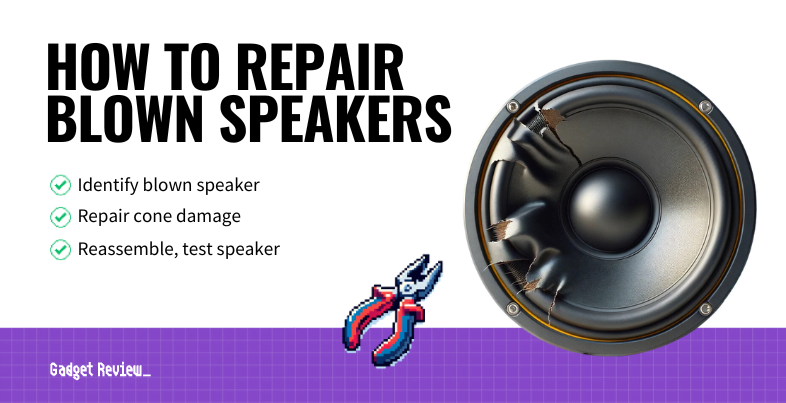
A “blown-out speaker” is not a technical term. It’s merely a general term for a problematic speaker with bad sound quality. Unfortunately, a blowout can happen to even the best speakers, so we’re here to help you understand how to repair blown speakers and what signs to look for when it happens.

Key Takeaways_
- Speaker “blowout” is a term that encompasses many different types of speaker problems.
- Some causes for speaker blowout, like a torn speaker cone or gasket, can be fixed through DIY speaker repair. But others, like a broken voice coil, will require total speaker replacement.
- Use the equalizer function to find the faulty speaker, whether for car speakers or surround sound.
For more knowledge on speaker repair, setup, and sound quality, you can check out our article that explains how to reduce white noise in speakers. And, if you’re concerned about the correct way to charge a Bluetooth speaker, we have a guide for that, too.
Blown Speaker Repair
The unenlightened might say that hope is lost once a speaker is blown. In some cases, this is true, but there are also certain instances where repair might be a better option than replacing the whole thing. Although, if you want to replace it after all, then you’ll need to read our JBL Jr Pop review. However, should you need to replace it, you’ll want to check out the Bose home 500.

insider tip
You can fix cone tears with glue, tape, or a patch. But for best results, use both glue and a patch.
For example, one of the most common causes of a blown speaker is torn cone fabric (the papery speaker material that makes up the diaphragm). So, below, we’ll give you a repair guide on doing this and how to check for a broken voice coil. And for further reading, you can check out our resource that explains how to replace car speakers.
STEP 1 Locate your Blown Speaker
- To find which speaker is causing problems, use the equalizer setting on the control panel to test each speaker at a low to moderate volume. Once you have located which speaker needs to be fixed, turn off the sound system.
- Then disconnect the speaker and remove any paneling or faceplate blocking you from the speaker. For this, you might need a screwdriver.
STEP 2 Check for a Broken Voice Coil
- To check for a broken voice coil, first, see if you can smell any burnt or charred smell near the speaker. Then, press the cone inward. If you hear a crunchy sound as you do this, you likely have a broken coil and will have to replace the speaker.
STAT: For laptops, if a speaker isn’t producing sound when set at less than 10% volume, the speaker is completely blown. (source)
STEP 3 Identify the Cone’s Physical Damage
- Check the cone for any tears, pierces, or holes.
- Get out your patch and glue repair kit once you’ve found the extent of the damage.
STEP 4 Apply Glue and Patch Kit
- Start by applying glue. Don’t put so much that it’s dripping, but enough to fully cover the torn cone, and make sure it’s spread out to cover the surface area of the patch.
- After placing the patch, pat it down to seal the entire patch to the speaker cone.
- Look at the back of the speaker to see if any glue came through. There should be a little that you will then spread out. Next, add a little more to the back of the speaker and apply another patch.

warning
Don’t touch or push on the cone patch while it’s drying. This mistake can reopen the tear, and you’ll have to repeat the process.
STEP 5 Reassemble the Speaker
- After letting the glue sit for an hour to dry, require the speaker, replace the paneling, and test at a low volume to see if the problem is solved.