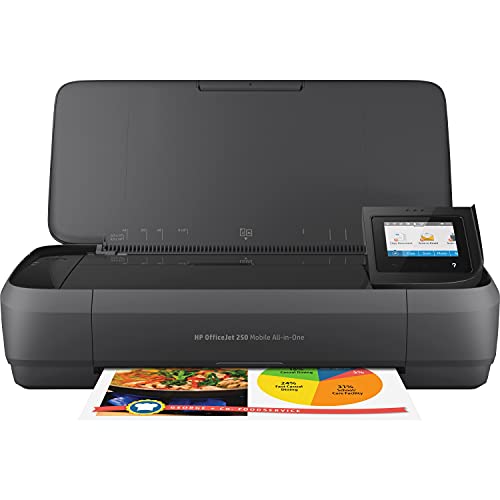
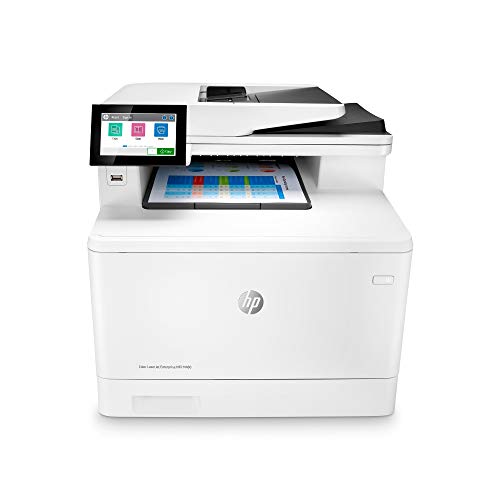
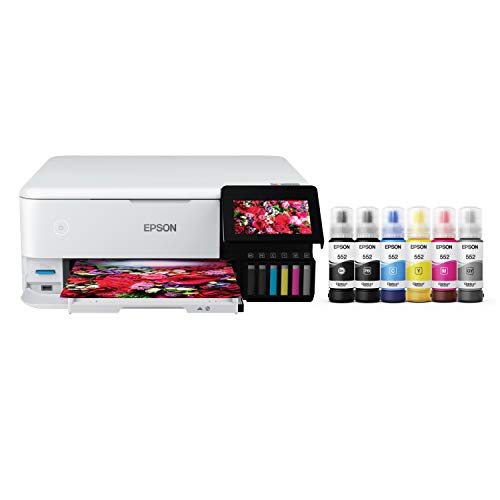
If you work from home, then you will likely need a great printer. Often, these are some of the best all-in-one printers, as they can print, scan, and transfer documents from one device to another. Connecting that printer to your network using ethernet is a straightforward process that we will outline below.
Similarly, we have more resources explaining how to connect a fax machine with a cable modem or even how to scan from a printer to an iPhone.
How to Hook up All-In-One Printer with Cable Internet
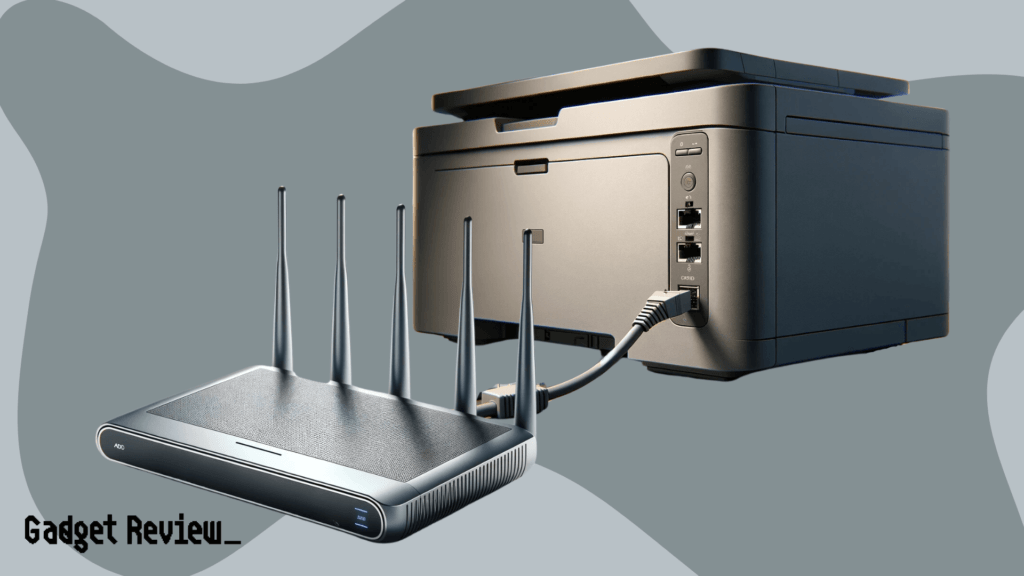
As stated, one of the first things to understanding how to set up an all-in-one printer is deciding on the connection. While a Wi-Fi or Ethernet connection accomplishes the same task, the main advantage of using a wired connection is a more reliable internet connection.
However, it has disadvantages, like the inability to connect to a mobile device.
The good news is that hooking up a printer via ethernet port is easy, and below you’ll find a step-by-step guide on how to do it.
STEP 1 Connect the Cord to the Ethernet Port
Examine the back of your printer and connect the ethernet cable to the port. Listen for a soft-click noise to ensure the cable is connected. Then, insert the other end of the cord into your router.

warning
The ends of ethernet cables are delicate, so be careful when inserting them into the ports.
STEP 2 Download Printer Driver (If Necessary)
If you are connecting your printer for the first time, follow the instructions to download the printer driver software. Driver software is necessary to be able to set up the print process.
STEP 3 Enter Your Printer Settings
Go into your computer’s general settings and then into the device settings. From there, enter the printer software settings.
STEP 4 Set Your Device as Default Printer
After locating your printer settings, check your printer list for the correct device. Then, select the option to add the device.
STEP 5 Run a Test Print Job
After establishing your default printer, run a print job to ensure the connection works.