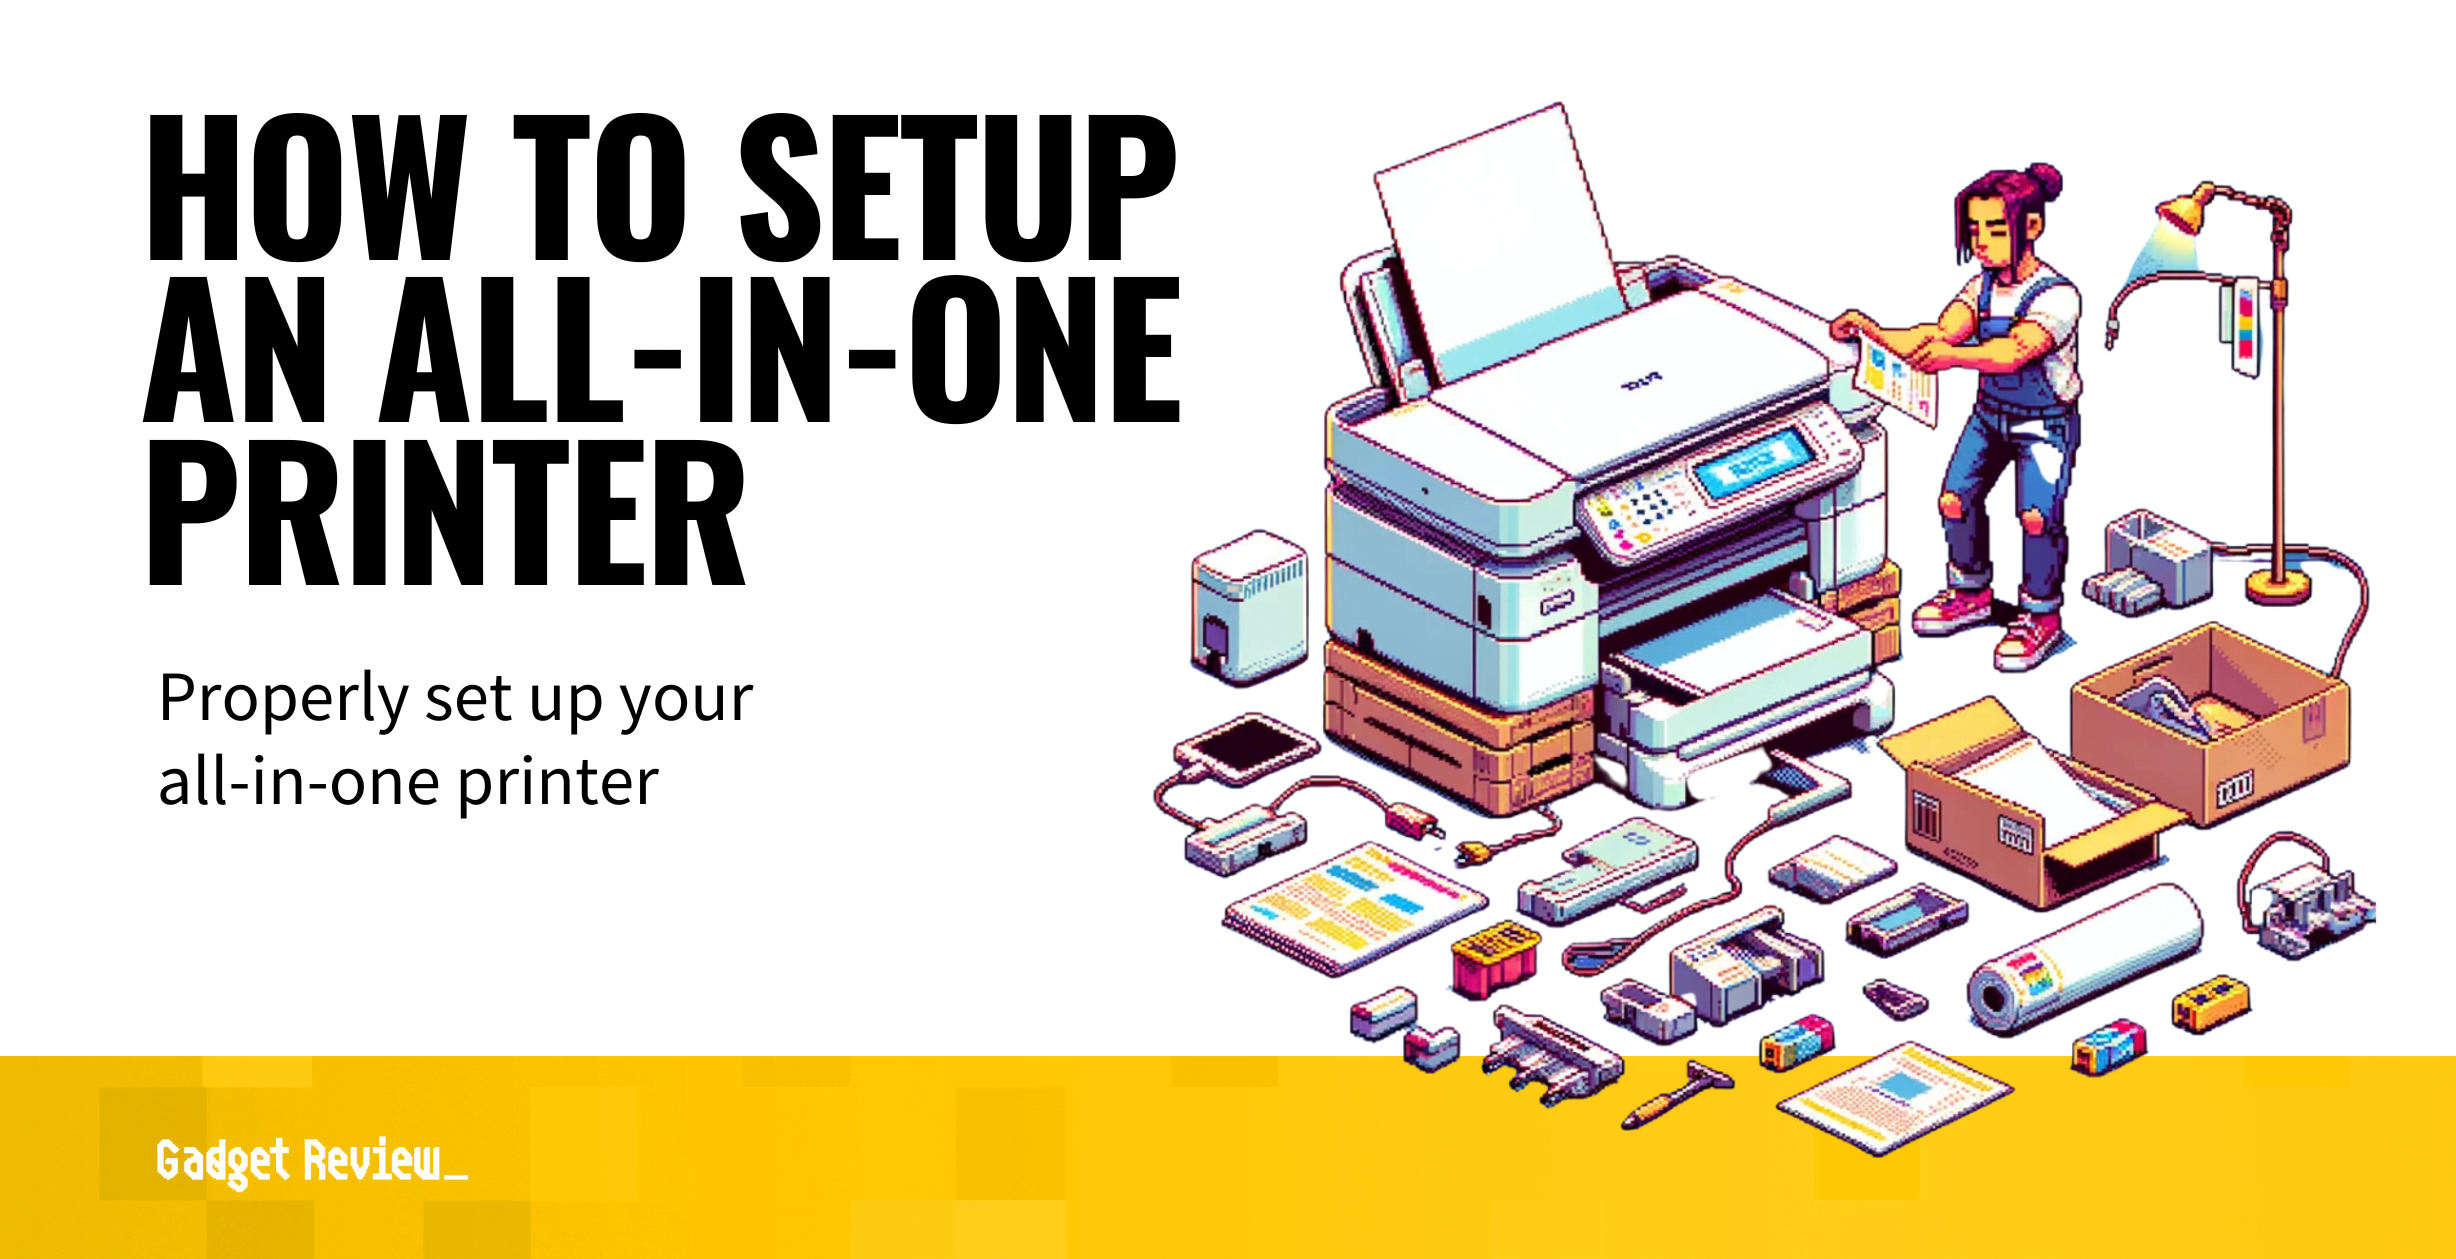
Setting up a new all-in-one printer is a relatively simple process of plugging the printer’s power cable in, connecting it to your computer or network, installing software and drivers, and printing a test page. Below, we will expand on this process to ensure your great all-in-one printer is set up properly.
Even if you have the best printer, it will be beneficial to start by reading the user manual to familiarize yourself with the printer components.

Key Takeaways_
- All-in-one printers require users to connect the power cable, insert ink/paper, and download software drivers.
- Once set up, users can choose to print via wired or wireless connectivity.
- Modern printers let users connect their printer to the computer or download an app and print from their mobile device.
If you’ve recently bought a printer and need help putting it together, keep reading as we explain how to set up an all-in-one printer.
For more printer-related material, check out our article on how to scan documents with your iPhone.

insider tip
Using grayscale for print jobs instead of black-and-white helps save ink.
Most modern printers come with some assembly required, but none of it is hyper-technical.
This article covers the mechanical setup. However, remember that there are other areas to consider, like what connection type to use.
If you want a wired connection, you can read our guide on how to connect a printer with an ethernet cable.
The great thing about all-in-one printers is that they serve multiple functions.
For more, we have content covering what to do when there’s no dial tone on a fax machine.

warning
Always turn off the printer when it’s not in use. Leaving the printer on leaves the printer heads exposed, allowing them to become dirty with dust and debris.
Connect the Printer
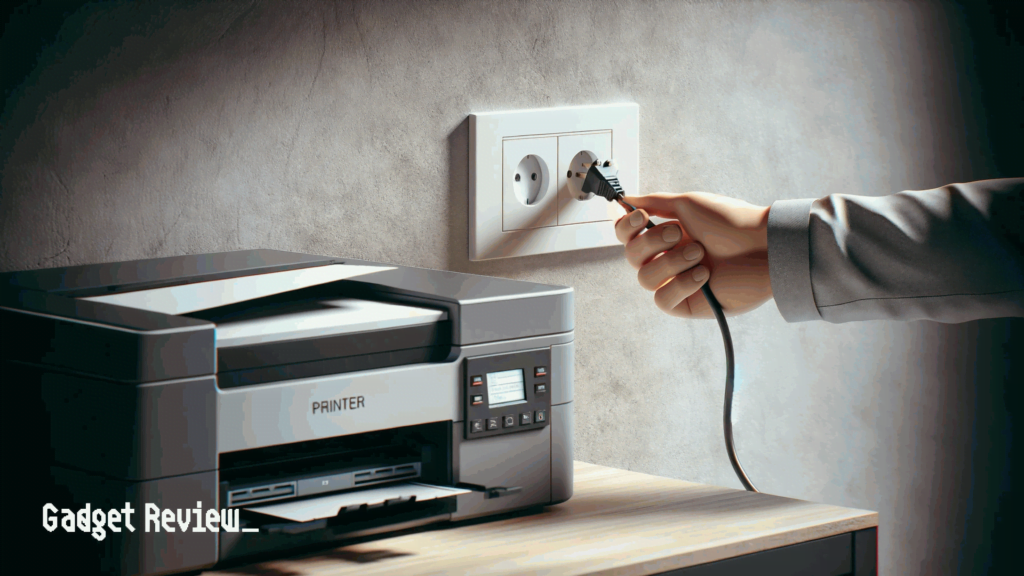
Plug the power cord into the back of the printer. Then, plug the other end into the wall. If you aren’t using the printer wirelessly, plug in the USB cable as well. Finally, press the power button to turn on the printer.
If your printer has a display screen, follow the on-screen instructions.
STAT: Users can save 50% on paper by using double-sided printing. (source)
Install the Ink Cartridges/Print Head
Unpack the individual ink cartridges and remove the pieces of tape covering the built-in print heads.
Then, open the panel that accesses the cartridge holders and put them in place. You should hear a click to know they have been set correctly.
Load the Paper
Find the paper tray and adjust the paper width guide to match the paper size you plan to use. Then, place the paper in the tray.
Download Software
Download any software or drivers needed. After this, set your printer as your computer’s default print device.
Configure Wireless Connection
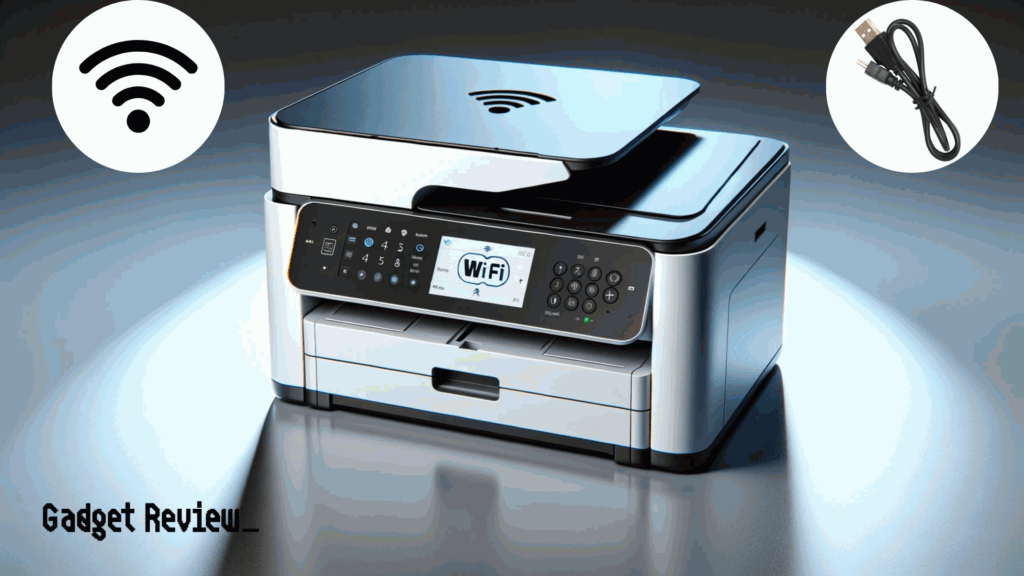
Connect your printer to your wireless network. This will typically involve selecting your Wi-Fi network and entering the password to confirm the connection.
Test the Printer
Print a test page. This will usually be the last step of installing the printer’s software, but if not, print a test page to make sure everything is working properly.
Read our guide covering what is an all-in-one printer if you want more in-depth details on this device.