Although the best printers are incredibly useful, they seem to be constantly on the fritz. Unfortunately, even the best all-in-one printers commonly face maintenance issues, and repairing your appliance is often a pricy affair. However, learning to take apart a printer is useful and helps avoid extra costs. So, if you’re the hands-on type, read on because we’re about to show you how to disassemble a printer.

Key Takeaways_
- Every printer model has a unique design and method for disassembly.
- Before taking apart the printer, ensure that the unit is not still under warranty.
- Start by removing cords and ink cartridges. Then use a screwdriver to remove the printer’s outer casing and disassemble the unit, starting with the scanner.
How to Disassemble a Printer
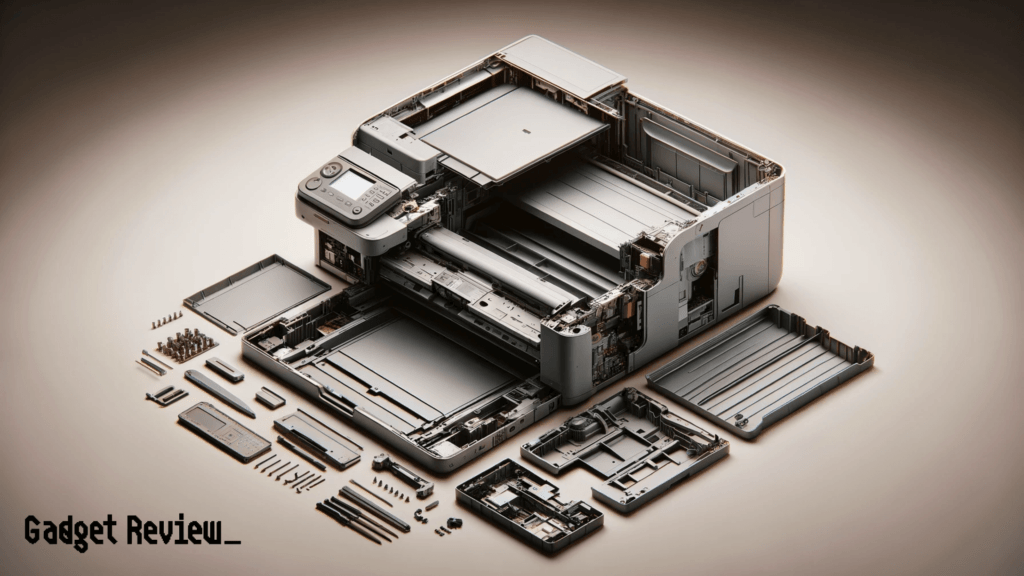
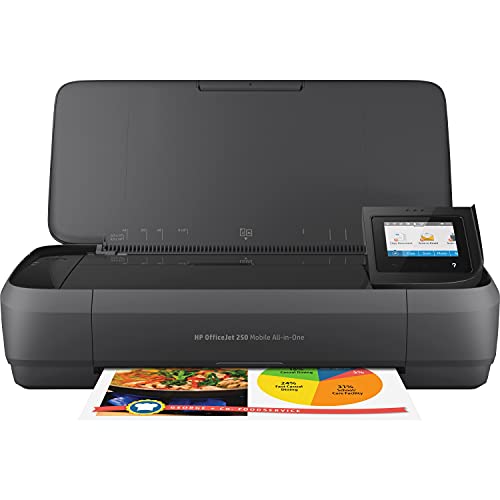
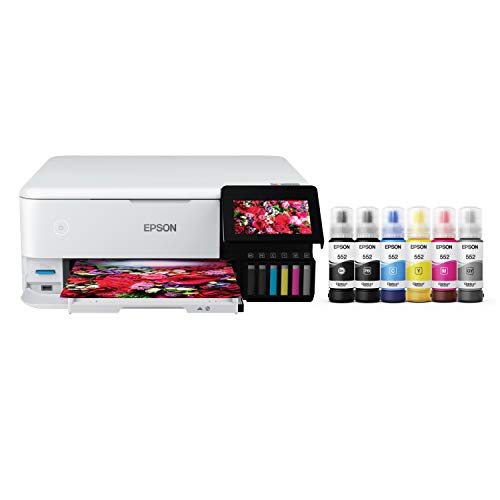
Remember that each all-in-one printer model has individual quirks concerning disassembly, so disassembling a HP OfficeJet 250 printer may be different from taking apart an Epson WorkForce Pro WF-7840 printer. Still, there are general steps to follow when taking apart your device. Whether it’s a pesky jam, broken ribbon cable, or plain curiosity, if you follow the steps below, you can strip your device apart down to the circuit board.

insider tip
Always make sure to take the ink cartridges out before removing any parts. Shifting the printer around can cause them to leak.
Although this article covers the mechanical side, we also offer more technical resources. For example, we have a guide on how to connect a wireless printer to your network. And for those with fax machines, we have info articles like how to hook up a fax machine with a cable modem.
STEP 1 Consult Your Service Manual
The best way to avoid damage is to carefully read the service manual, especially the part that outlines where each part is located.
STEP 2 Detach Cables
If attachable, unplug and remove the power cable. Then, remove the driver cable that connects to your computer.
STEP 3 Remove Ink Cartridges
Open the access panel that exposes the ink cartridges, take them out, and set them aside.
STEP 4 Remove Printer Lid
The lid is usually held on by clips and snaps out of place. However, some are held on by screws.
STEP 5 Remove Casing Screws
Go around the printer and remove any visible casing screws. Once all screws are removed, take apart the printer’s outer casing.
STEP 6 Remove the Scanner
Follow the ribbon cable to where it attaches to the scanner and remove the connection. After removing the cable, unscrew the pieces holding in the scanner. Then unscrew everything that’s holding in the guide rail. Set the scanner and guide rail aside.
STEP 7 Remove Printer Heads
Find the printer carrier and unscrew the printer head. Then disconnect the ribbon cable from the circuit board.
STEP 8 Remove the Circuit Board
Find all the circuit board screws and remove them carefully. Then, lift out the circuit board.