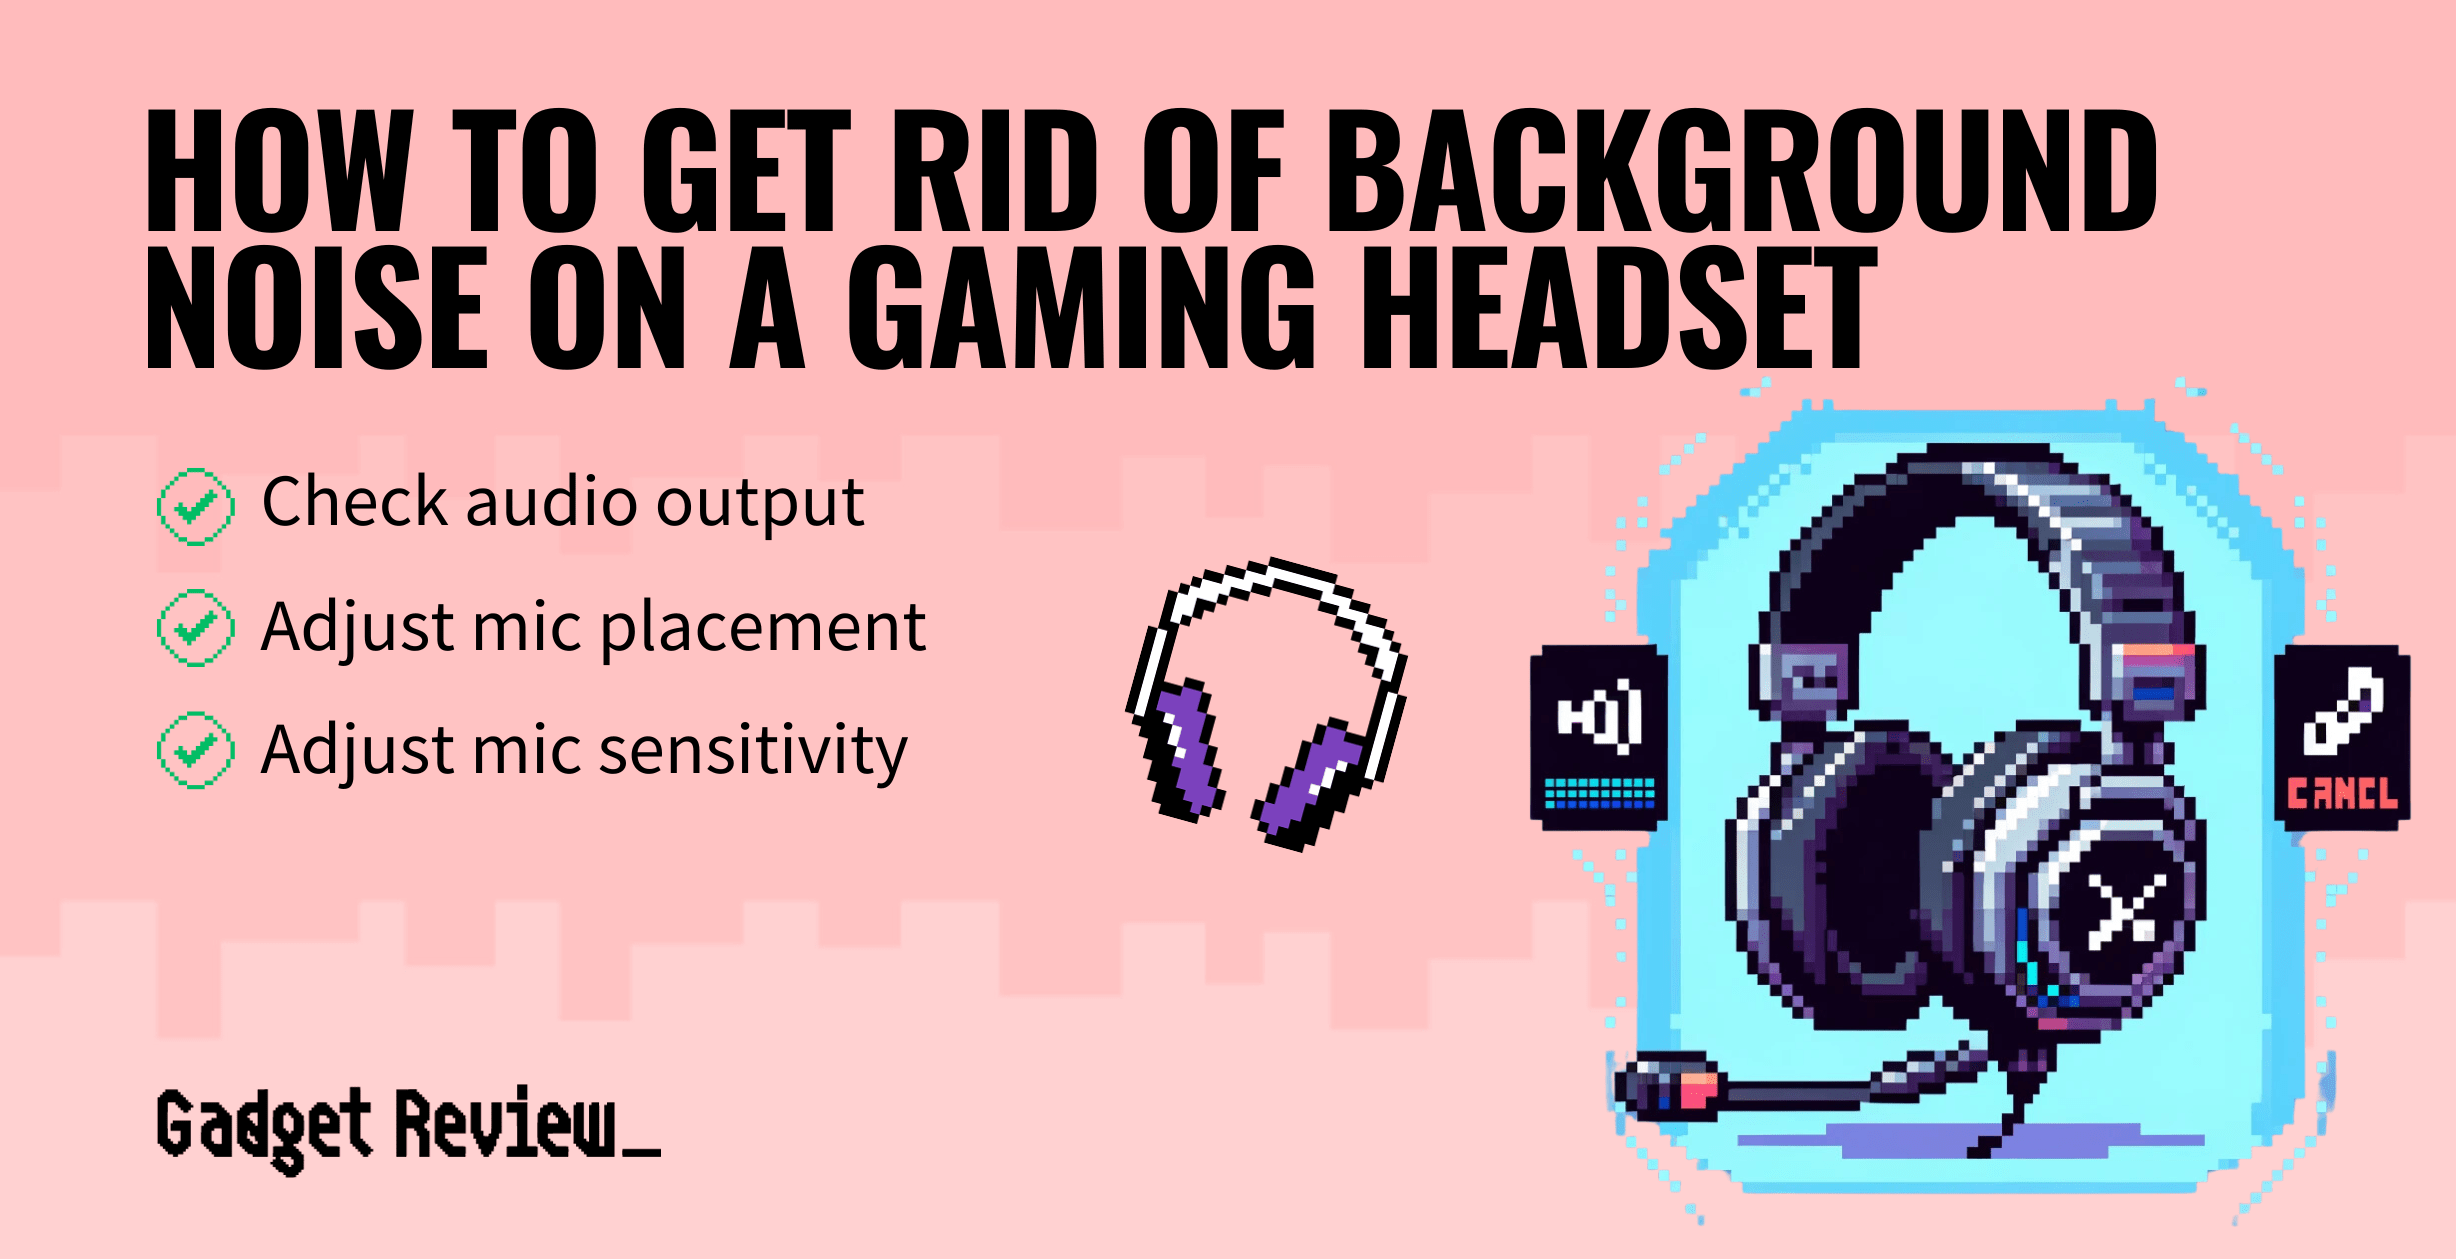
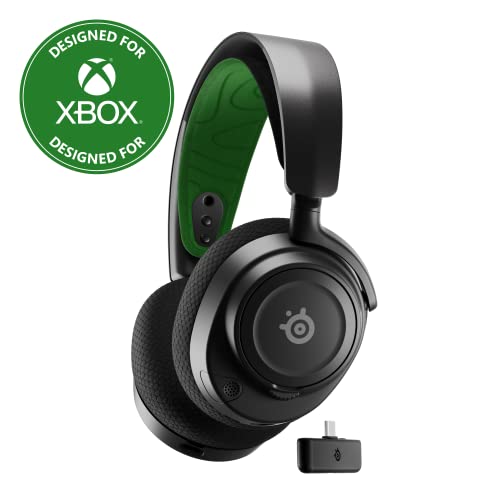
When you buy a new headset, you may find yourself asking how to get rid of background noise on a gaming headset. Each of the best gaming headsets has a different microphone, requiring varied sensitivity and background noise cancellation settings. You might find that the noise cancellation quality is better on your new headset than on your old product.
Key Takeaways_
- You may need to turn down the sensitivity on your microphone and check the microphone input during this process.
- Make sure you keep your microphone slightly away from your face to avoid popping or booming sounds.
- Many gaming headsets feature noise-cancellation technology for their microphones.
If not, you can follow the process below to eliminate some or all of your background noise. Also, check out how to improve headphone quality for a gaming headset with an amp for other types of audio mode setups.
How to Make Your Headset Pick Up Less Background Noise While Gaming
Many co-op game players know team communication is essential during gameplay. So whether you experience issues with echo, pops, crackling, or ambient noise, you’ll need to know how to adjust settings to reduce some of that sound.
insider tip
Adjust your microphone sensitivity to your voice and typical background noise level.
To solve this issue, you’ll need to adjust the sensitivity of your microphone and the quality settings related to echo. If you want to learn how to get a gaming headset to work with a TV, check out our article on the topic.
Audio Output
You’ll first want to switch your audio output device to your headset instead of using your computer or Bluetooth speakers. Remember how to do this in case you need to know how to make sound come from your headset instead of speakers later. Although you may not realize it, your headset microphone picks up the audio from your TV, causing additional background sound over your mic.
STEP 1 Check audio output
- Go to the “Settings” menu. You may have to look for “Control panel” on a PC or “System Preferences” on a Mac.
- Select “Sound Devices,” “Sound,” or “Audio Devices” to enter the sound section. This option contains the microphone, input, and output devices.
- Ensure your input and output devices have your wireless headset selected. These devices are separate, so check both.
Microphone Sensitivity
If you are new to gaming systems, you might not realize that you can adjust the sensitivity of your microphone. If you tend to speak loudly, your microphone can make additional noises that others can hear.
STAT: If your microphone or audio device is near a wall or other reflective surface that does not absorb sound, consider moving the microphone or changing its direction away from the reflective surface to reduce potential echoes. (source)
Additionally, you may need to raise the sensitivity of your microphone to be heard if you have a quiet voice. If you need to, we have a guide on how to fix latency on your gaming headset mic.
STEP 2 Check microphone sensitivity
- Go to the “Settings” menu and select “Sound Settings.”
- Find the slider on the bar for microphone sensitivity and adjust it accordingly. Most headsets, consoles, or computers have a way to test the audio, so you can check this option while you adjust the levels.
- Click “Save” to keep your microphone at your desired level. If you forget to perform this step, your mic may revert to its old sensitivity.
warning
If adjusting the sensitivity does not eliminate background noise, you may need to check your output device or troubleshoot your headset.
Troubleshooting Headsets with a PC
For static and clicking while using your wired headset, check to see any issues with your microphone or computer software on a PC.
STEP 3 Troubleshoot with Windows
- Search for “Troubleshoot” on the Windows 10 start menu. Next, open your start menu by clicking on the Windows icons in the low left corner of your screen. Your computer will take you to the control panel.
- Choose your audio settings and look for “Additional Troubleshooters,” followed by “Playing Audio.” This process allows you to access a version of the troubleshooting mode specifically designed for your noise output.
- Click “Run the Troubleshooter.” The troubleshooter will run automatically. The results should show pretty quickly any issues your computer noticed.
- Follow the on-screen directions for resolving each problem. You may need to check several options.


