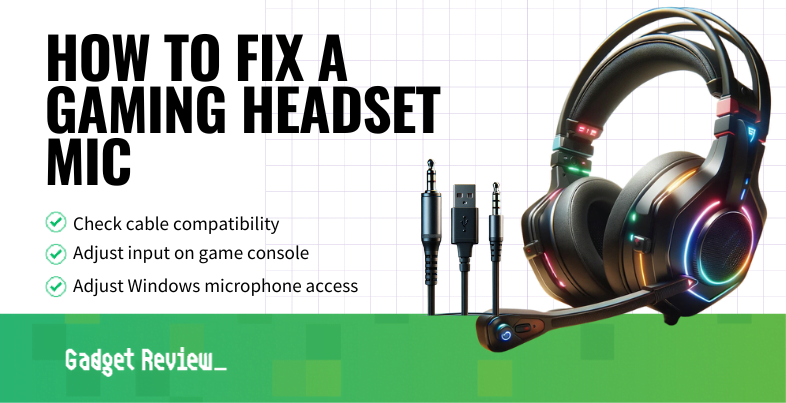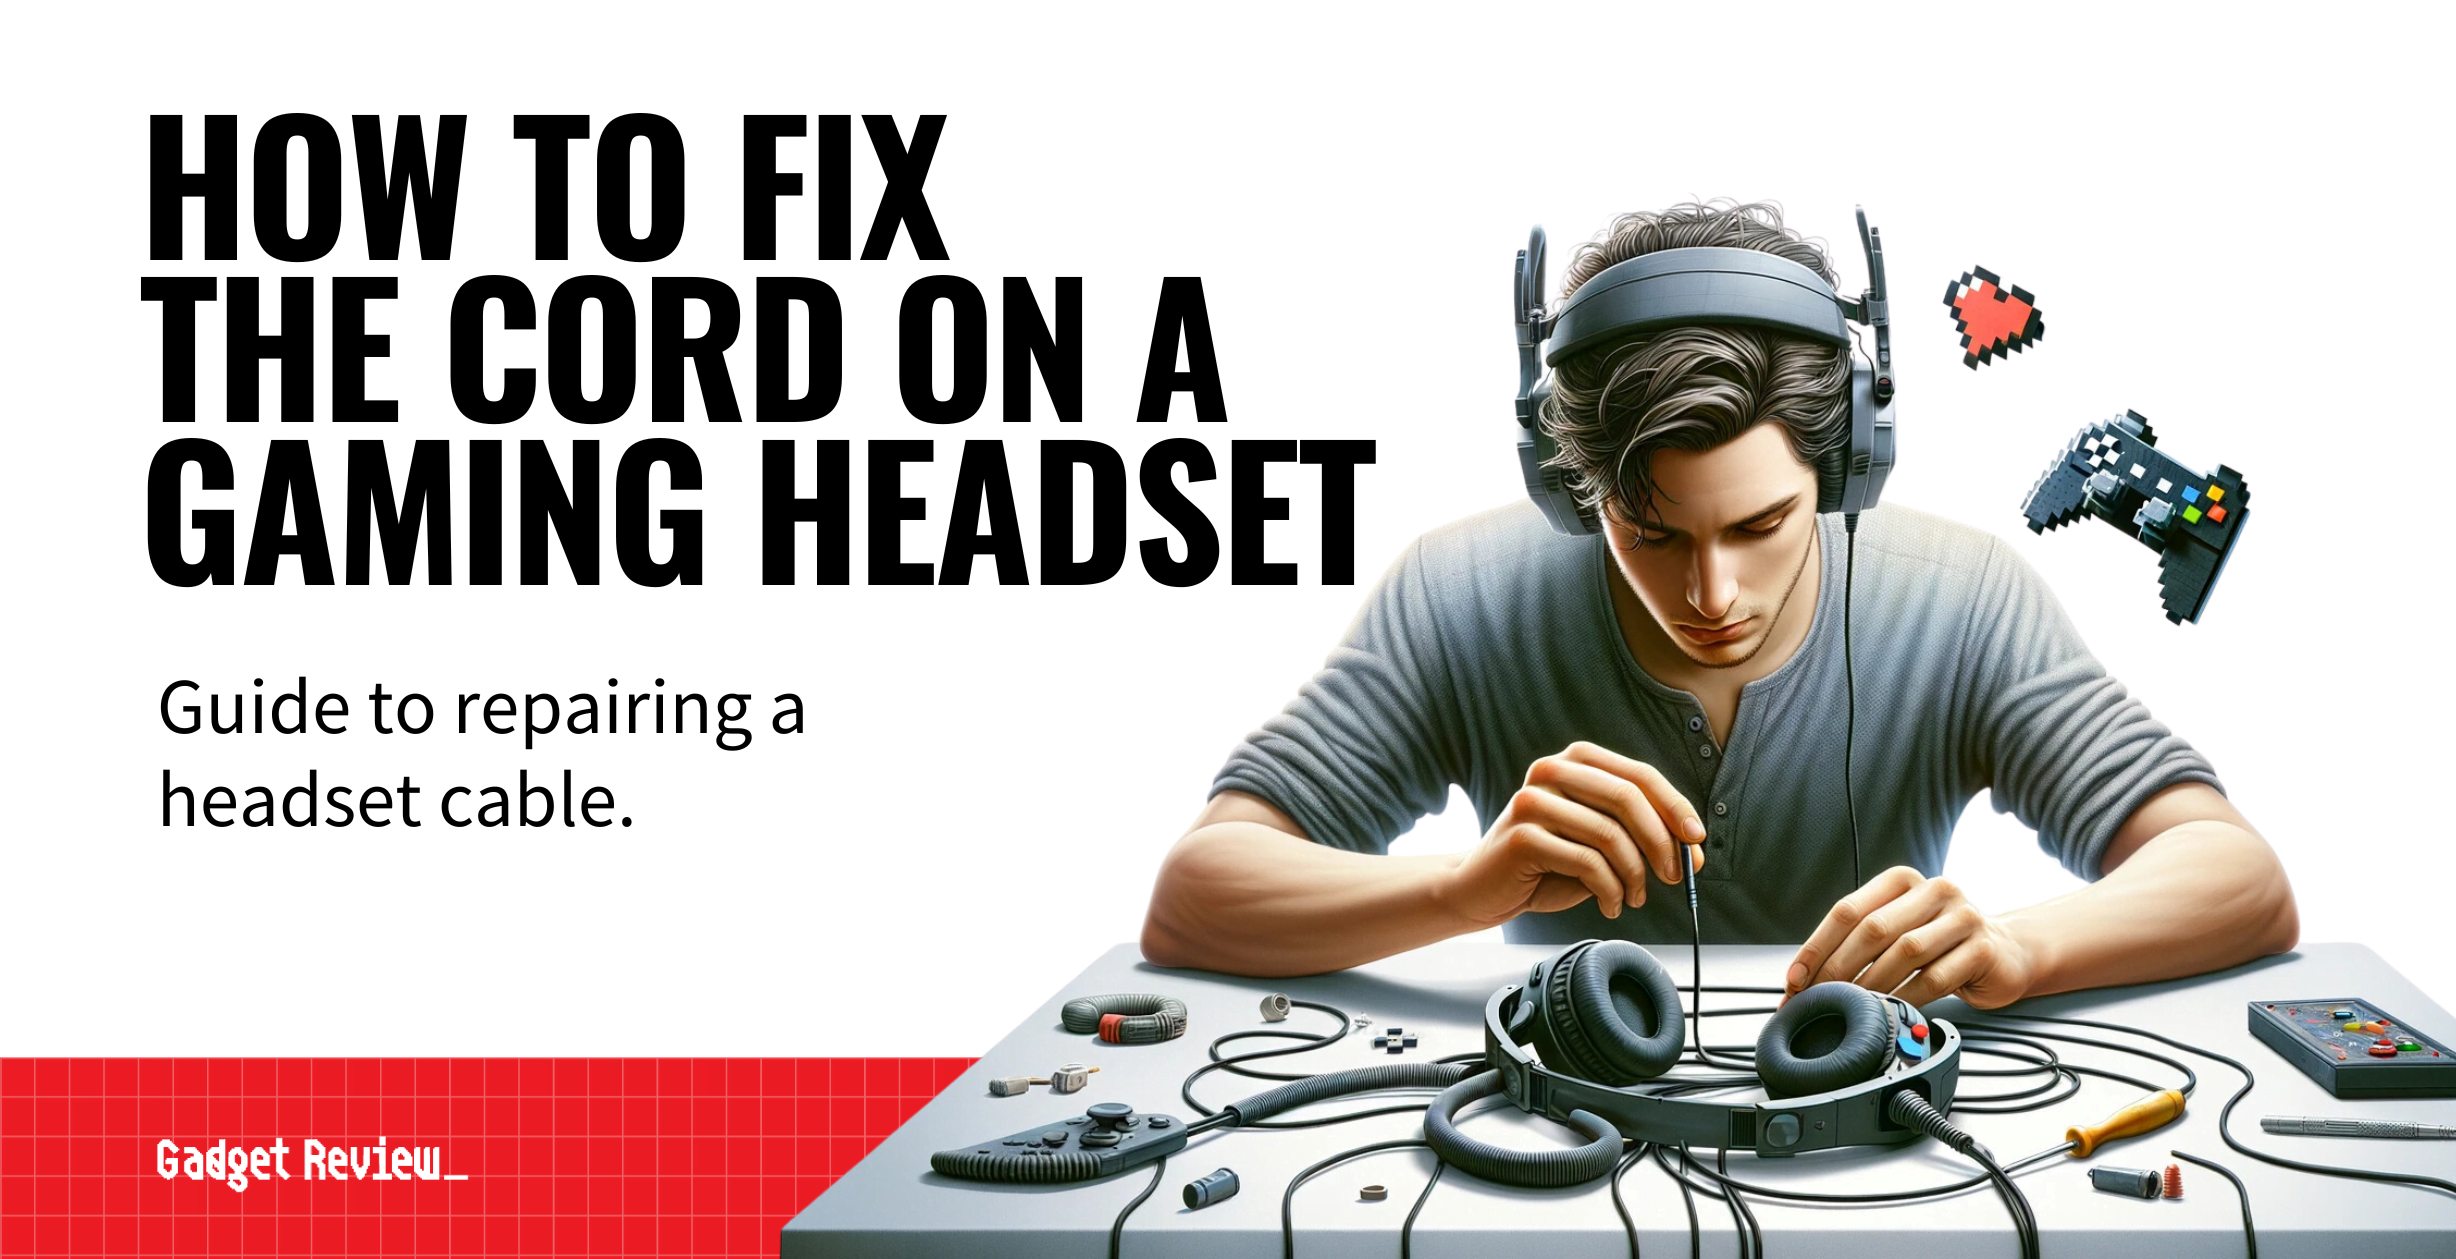
If you have a loose or frayed wire, you’re probably asking how to fix the cord on a gaming headset. The best gaming headsets come in wired or wireless forms, but even wireless models come with an auxiliary cord.
When this cord frays, you’ll start having trouble with the produced sound, including static or the sound cutting in and out. Read on to find out more about how to fix this. If you are looking to fix the power cable for your headset, check out our article on how to fix the charging port for a wireless gaming headset. You may additionally need to know how to repair a gaming headset plug.
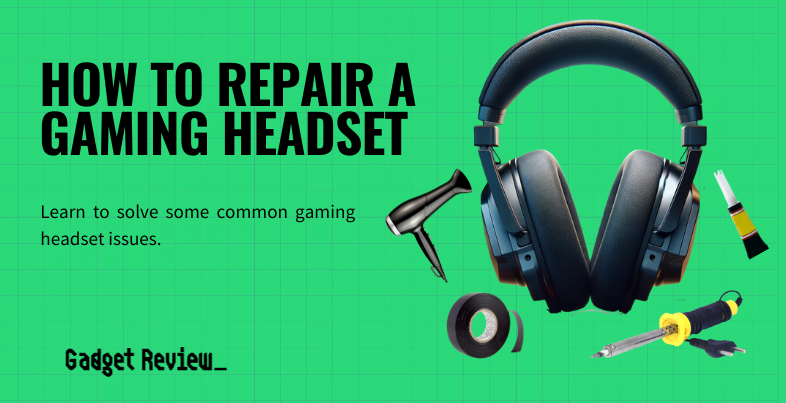
How to Repair Gaming Headset Detachable Cables
Whether you have a wired headset with included cables or a wireless headset with detachable cables, you use the same process to fix the cable plug’s issue. During this process, you will need to have several tools on hand, which we’ve listed in the instructions below. You can also learn how to control pops on a gaming headset.

insider tip
Keep the wires separated as you work to make things easier on yourself.
Always unplug any electronics before repairing them to protect yourself and others. This method can potentially fix static, one side of the headset not working, and sound that cuts out. However, if that didn’t solve your static problem, read our guide on how to fix static in a gaming headset. If you have trouble with microphone lag, learn how to fix latency in my gaming headset mic.
STAT: When the cables twist, it weakens the wires, thereby reducing the transmission of electrical signals from the device to the speakers. (source)
Replacing the Plug
STEP 1 Disconnect headset
- Ensure the headset is not plugged into any devices.

warning
Working with wires while plugged in is extremely dangerous, so make sure you unplug your cable before starting.
STEP 2 Prepare the cable for repair
- Use a utility knife to cut the cord about 7 cm from the start of the audio jack.
- If you have a frayed portion of the internal wire, cut just above the fray to repair this area.
- Burn off the enamel coating on the wire.
- Burning is more straightforward than using wire strippers or sandpaper to remove, decreasing the chance of damaging the cable beyond repair.
- If you choose to use a pair of wire cutters, ensure you don’t cut into the wire within the coating.
- Burning is more straightforward than using wire strippers or sandpaper to remove, decreasing the chance of damaging the cable beyond repair.
- Separate your cables and twist the two ground wires.
- You should see four wires: two gold or copper grounds, one red right channel, and one blue or green left channel wire.
- The ground wires can be wound together by twisting, but the other two should stay separate. Pull them off to either side to make the process easier.
- Unscrew the jack plug housing, which is the part of the piece that goes around the wire. It unscrews from the protruding part of the product. Next, slip the wire through the housing.
STEP 3 Repair the cable
- Apply a small amount of solder to each wire’s end, ensuring that the ground wires are held together. Just a dab of solder should work fine for this process. You just want to make sure that it sticks.
- Pull the wires through the designated holes on the lead. Wrap the ground cord through the hole in the middle and back down. The left and right cables go through the holes above the ground wire. The green or blue cable goes through the left, and the red goes through the right.
- Apply solder to each lead, covering the hole and wire completely. To avoid the cables touching, you can use hot glue between the leads to secure them.
- Remove any extra wires to make screwing the cap on top of the headphone plug easier. If your cable has a compression element, this step is less important, and you can squish them down.
STEP 4 Test the headset
- Screw the housing into the top of the jack plug and test your headset product for noise after plugging it into the audio port. If you can’t hear anything, try adding more solder because you may not have completely secured the cables.