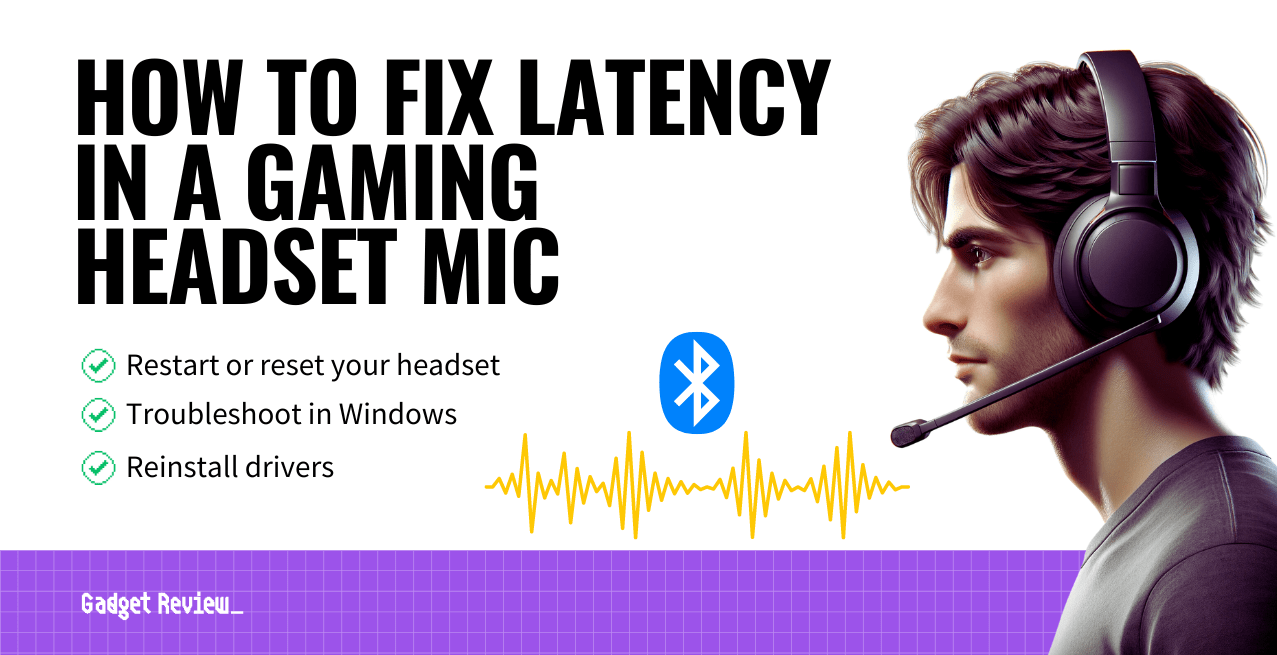
Even the best gaming headsets experience technical difficulties from time to time. When you know how to fix each issue, you might save some money on repairs. Some gamers notice latency with Bluetooth headsets that is less common with USB-dongle headphones, leading to questions such as “how to fix latency in my gaming headset mic.”

Key Takeaways_
- If you’re experiencing audio issues, try restarting or resetting your headset.
- Some brands require specific software and settings for their headphones.
- Download the software drivers from the brand’s website and install them using the Device Manager.
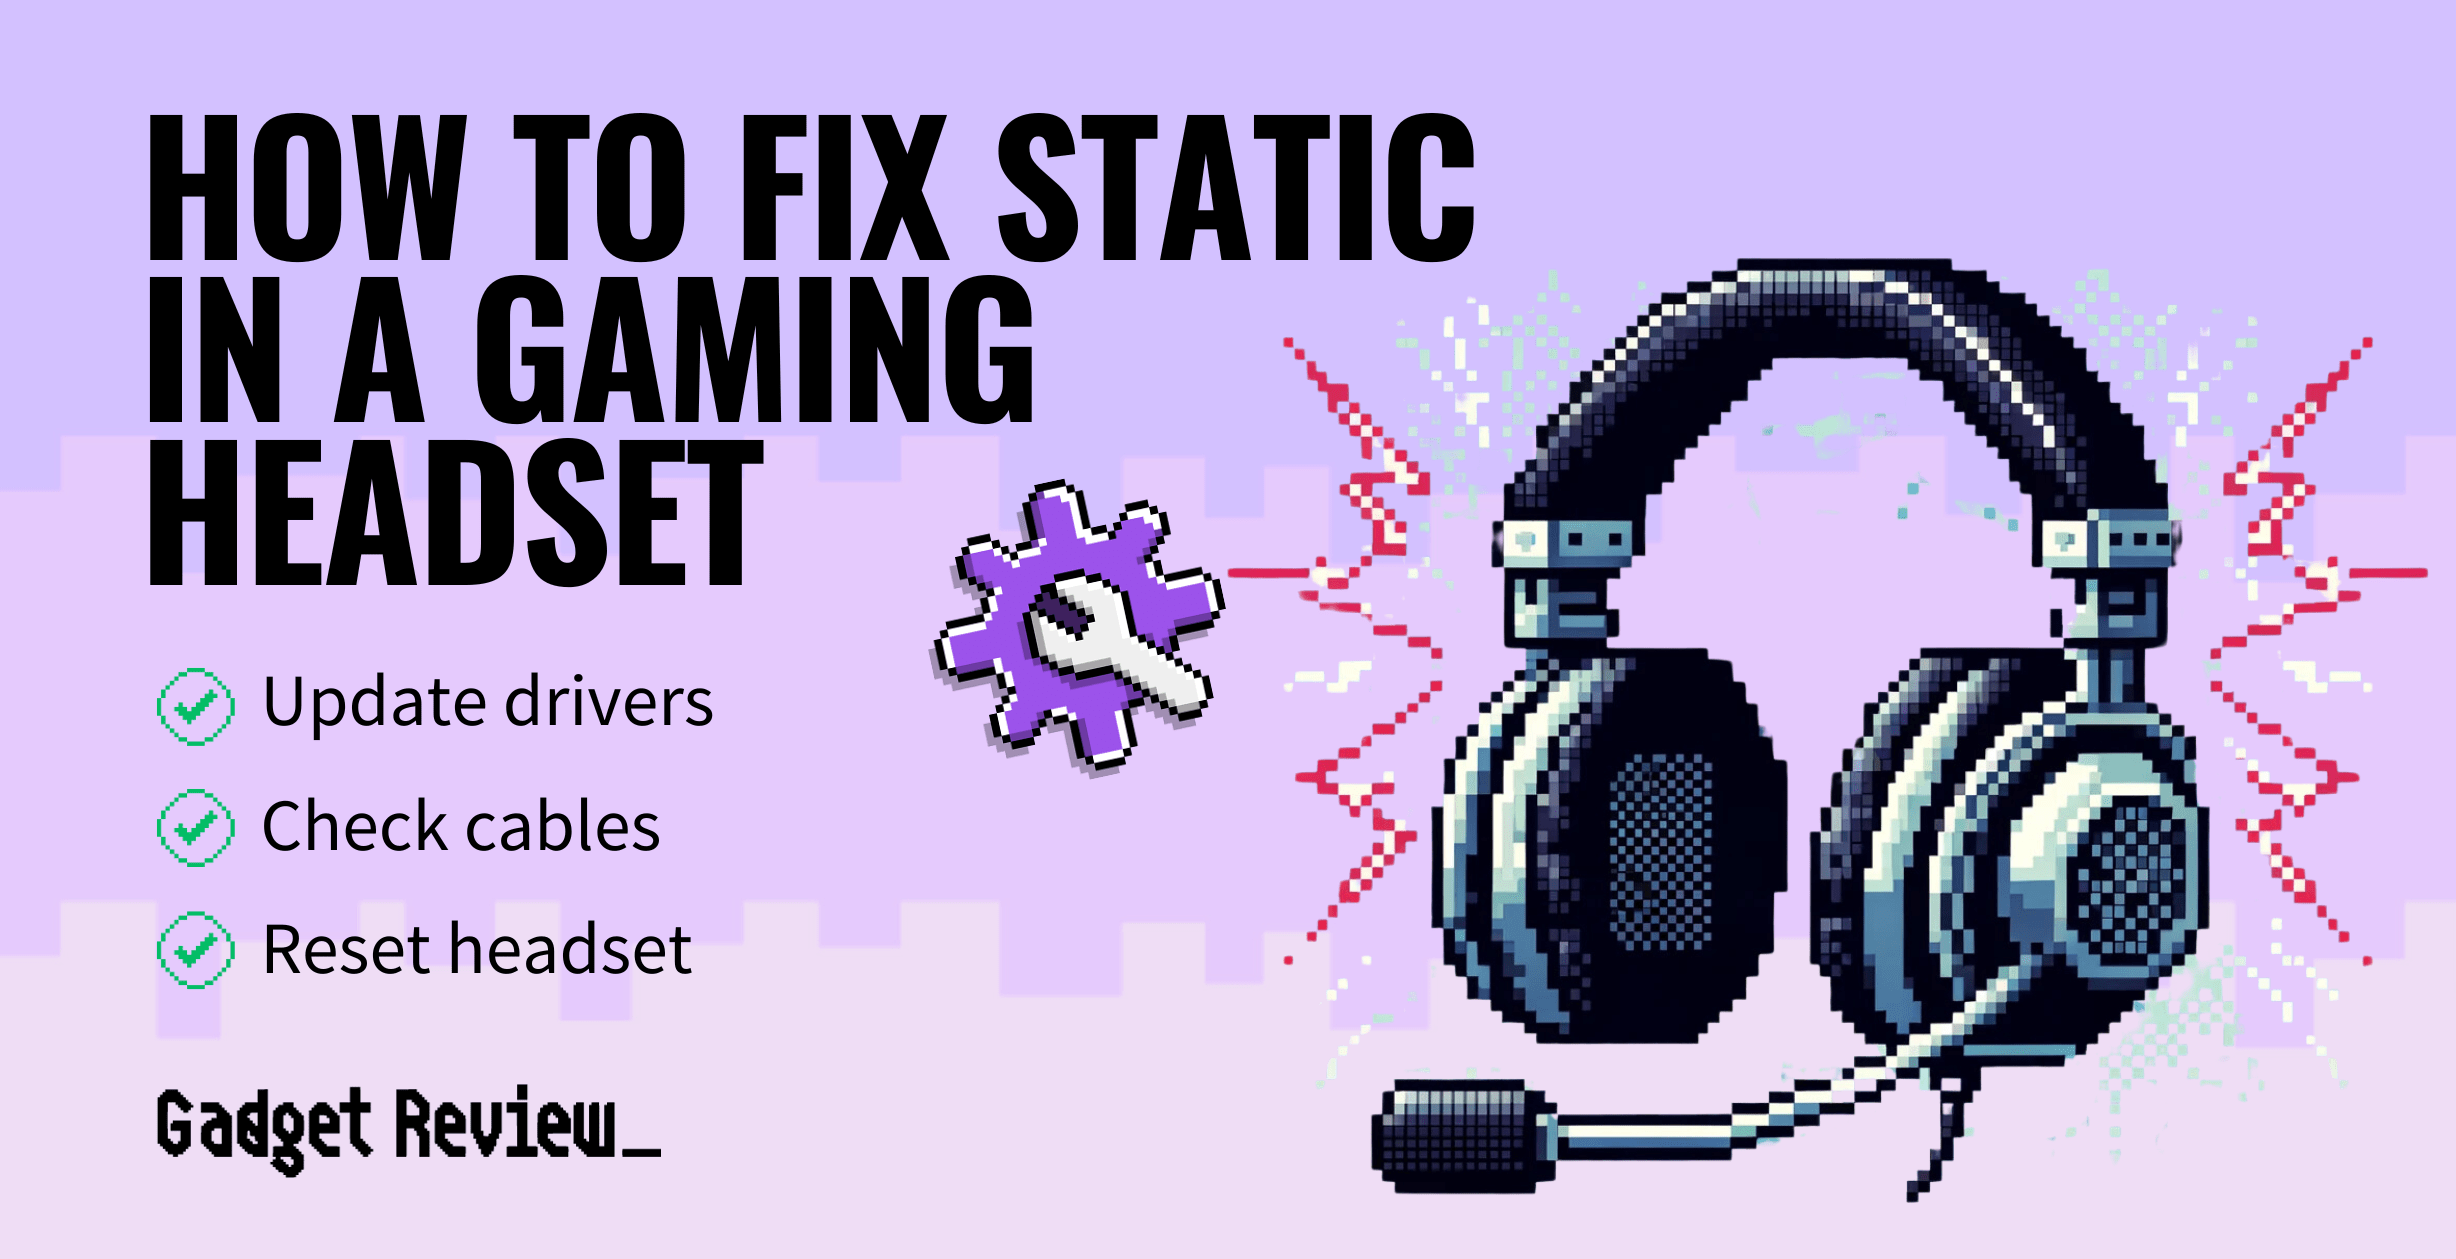
Read on to find out more about headphone latency or delay. If latency isn’t the problem, be sure to check out our other methods on how to fix a gaming headset mic. You may also be interested in learning how to fix static in a gaming headset.
Steps to Repair a Gaming Headset with Latency
If your gaming headset lags or suffers from low quality, you may need to restart or reset your device, activate a certain mode, or perform troubleshooting on your system software. This issue is prevalent in wireless headsets, which lack a physical connection to your console, laptop, or computer. Wired headphones have significantly fewer issues with lag or delay than wireless headsets. However, you may still need to know how to disable the echo in a gaming headset.

insider tip
You may be able to fix your latency issues by simply restarting your headset.
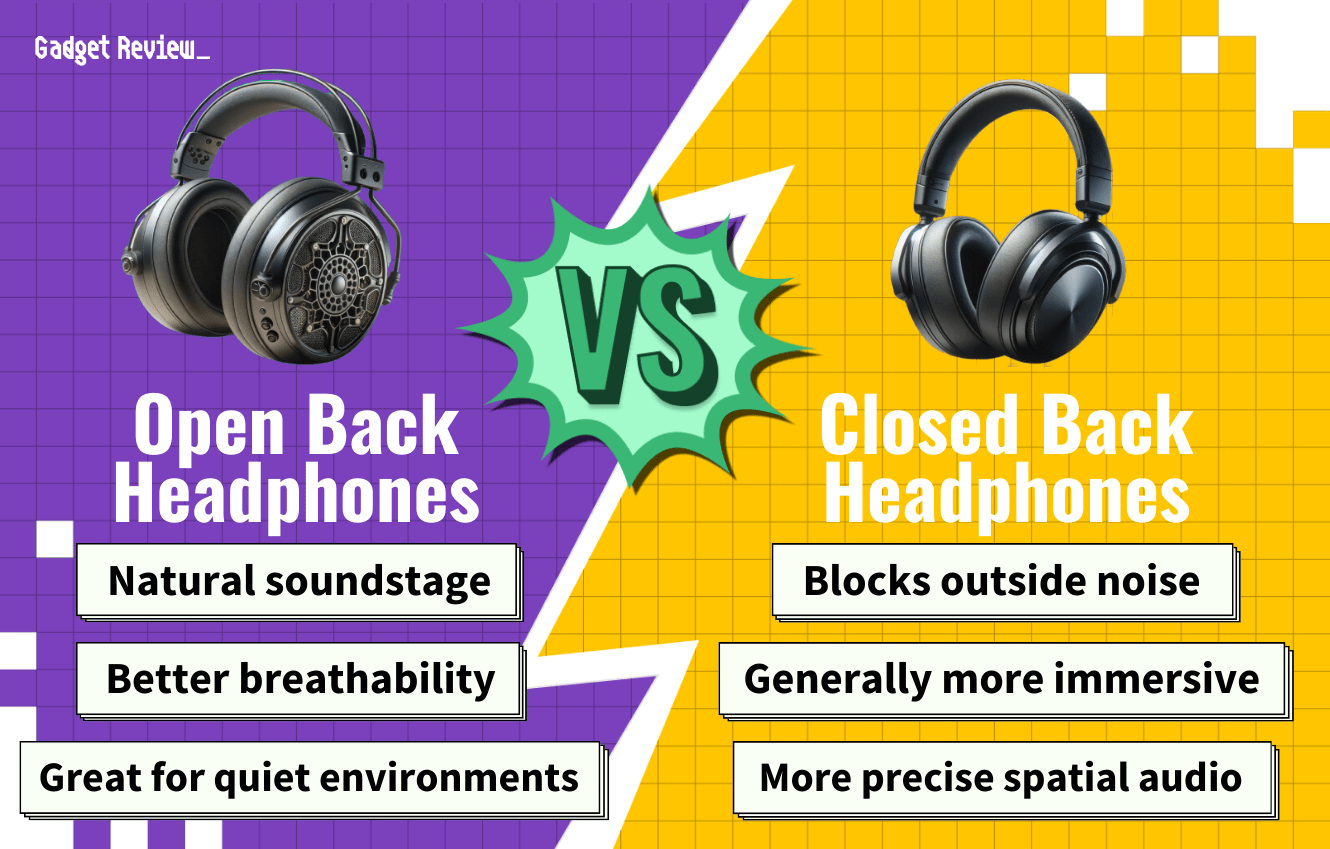
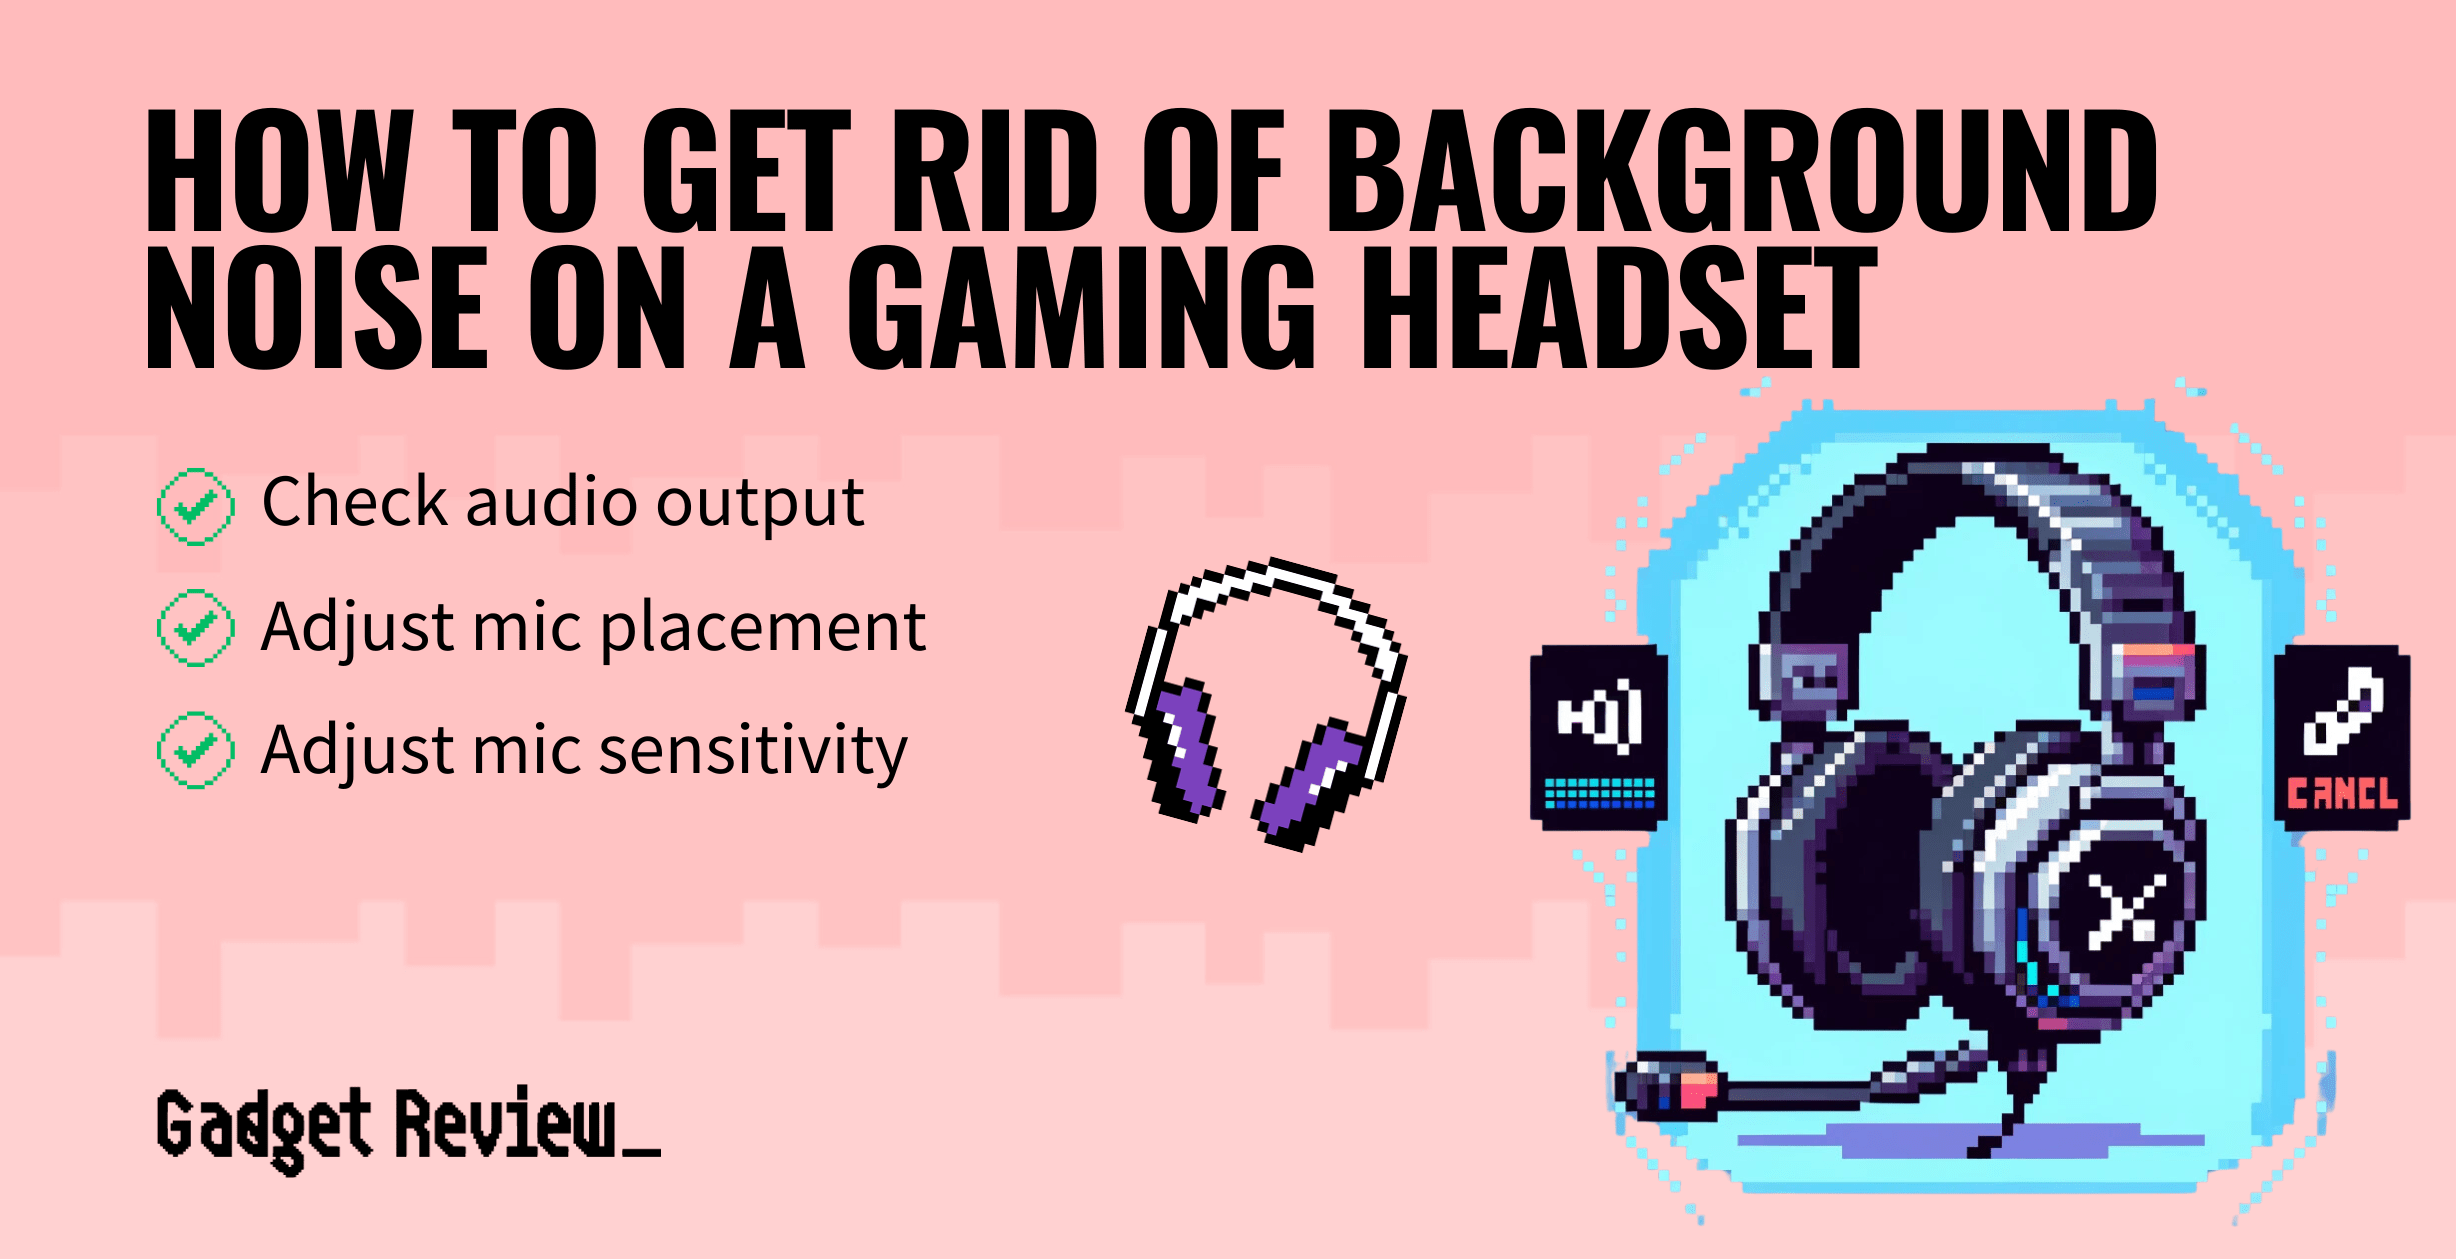
Before sending your headphones in for repair or replacing them, consider trying the methods described below and eliminating Bluetooth devices within your headset’s range. Also, check out our article on how to fix the cord of a gaming headset to solve sound quality issues. Don’t forget you can fix the treble or equalize your gaming headset to better suit your preferences. Additionally, you may need to know how to get rid of background noise on a gaming headset if your microphone sensitivity is high.
Method 1: Restart or Reset Your Headset
STEP 1 Turn off headset
- Turn your headphones off if they’re wireless.
- Unplug the audio jack cable if you use a wired headset.
- If your device won’t turn off, hold down the power button.
STEP 2 Restart the headset
- Wait ten seconds before powering on the headset.
- This permits the headset to reset completely.
- You may be able to reset it without waiting, but most brands recommend waiting ten seconds in between when experiencing sound issues.
- This permits the headset to reset completely.
If this doesn’t work, read below to reset the headset.
STEP 1 Locate the reset button
- Find the reset button on the bottom of the ear cup.
- You should notice a small hole about the diameter of a paperclip.
- If you can’t find it, check your headphone user’s manual.
STEP 2 Reset the headset
- Use a pin or paperclip to depress the switch
- Hold for several seconds until the headset resets.
Method 2: Activate Samsung Gaming Mode
This process works for gaming on a Samsung device, like a phone, with specific Samsung headphones.
STEP 1 Use gaming mode on your phone
- Download the Galaxy Wearable app if you haven’t already.
- Open the app and tap “Earbuds settings.”
- Select “Labs.”
- Flip the switch for Gaming mode, which minimizes delays in the audio stream.
- This option should help reduce lag in the audio and microphone and improve your audio quality.
Method 3: Troubleshoot Sound Problems on Windows
STEP 1 Troubleshooting on Windows
- Right-click on the speaker icon in the Windows Task Bar.
- This sound icon provides access to different sound settings and the output and input Device Manager.
- Click on Troubleshoot sound problems
- A system window will pop up that shows the progress of your troubleshooting.
- If any problems are found, you should see options for steps to take. Go through all of them.
STEP 2 Uninstall audio drivers
- Open the Device Manager under the Windows Control Panel.
- Right-click the Start Menu icon (Windows logo)
- Select Device Manager
- Find Sound, video, and game controllers on the list
- Double-click it or click the arrow next to it
- Right-click your headset from the list
- Select Uninstall Device
- Select Uninstall in the pop-up box
- Restart your computer
- Corsair recommends disconnecting the headset, restarting your computer, and repeating once before moving on. Some brands don’t include those steps, so it could work without this repetition.
STEP 3 Install the latest drivers
- Access your headset brand’s website to find the current version of your drivers.
- If you aren’t sure what brand your headphones are, you can usually find a logo or name on the ear cups, the user’s manual, or the box.
- Download the most recent drivers.
- Most brands will only list the latest version, but others include previous software for older systems.
- Install the drivers.

warning
Some manufacturers feature multiple versions of their drivers for older systems, so ensure you get the most recent version.
STEP 4 Restart your computer
- If you want to be sure that the changes will take, restart your computer before connecting your headset.