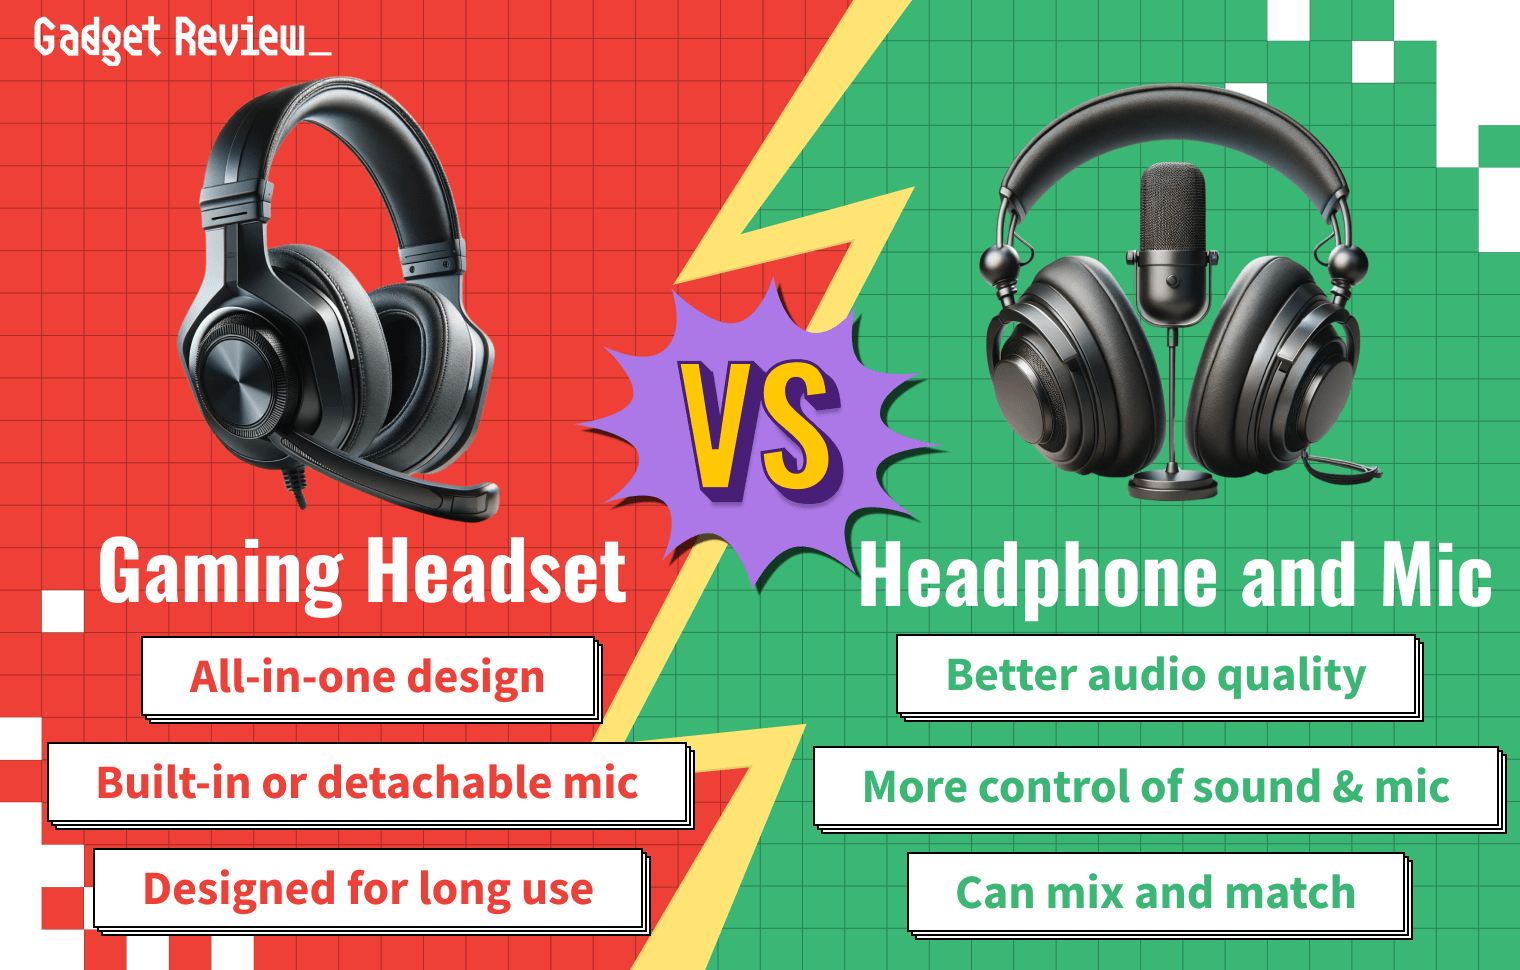
If you’ve recently purchased a surround sound headset, you’ll need to know how to configure a 7.1 headset for gaming. The best gaming headset comes with stereo and 3D sound features to enhance your gaming experience, providing immersion in every situation.

Key Takeaways_
- Your gaming headset with 7.1 surround sound audio immerses you in your game, allowing you to hear the direction from which a sound comes.
- You will need about 10 minutes to set up your 3D audio.
- Make sure you have a compatible computer, new headphones, the required driver, and the USB dongle or electric board if needed.
When you set up your product, you will need a computer, the cables for your headphone, any required drivers, and any USB dongle or electric board. If you have a Mac instead of a PC or console, learn how to connect a gaming headset to a Mac. For Playstation, check out how to connect a gaming headset to a PS4. And if your mic volume isn’t what it is supposed to be, check out our guide on how to make your gaming headset microphone louder.
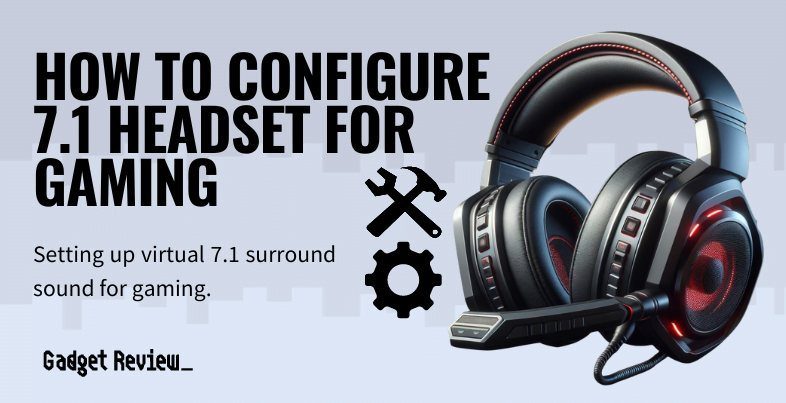
How to Set Up a 7.1 Surround Sound Headset for Gaming
Even if you play on a console, you will most likely need to set up your headset using the large or smaller drivers provided by your headset brand. These allow you to access specific software. Also, don’t forget you can equalize your gaming headset to get a better sound profile.
STAT: If your console or computer does not have an optical audio port and you connect your console to your TV using an HDMI cable, you can get digital audio out of most TVs’ optical connection. Dolby Digital surround sound will still be supported. (source)
You also need to make sure that your settings transfer over, though most brands state that the headset will work the same when plugged into different devices. You should also check out how to clean your gaming headset.

insider tip
You probably want to have a computer or laptop nearby to set up your headphones properly, even if you plan to play on a console.
STEP 1 Check your Games
- Ensure the games you play have 7.1 surround sound audio capabilities.
- Although this practice is becoming more common, the technology is still relatively new when considering how long it takes to make a game.
- Some headset brands mention different games that support this feature on their websites.

warning
Some games do not support the 7.1 audio experience, so check if your favorite game does before buying a pair of headphones.
STEP 2 Get your Headset
- Choose your desired brand and model of gaming headset. Make sure it has all the features you want, including comfort and a quality build. To learn what fits your needs, check out online reviews and schematics.
- You want a model with a setup that will work with your system, taking into consideration whether you need a separate microphone and if the headset uses a USB dongle or a wired connection using cables.
STEP 3 Connect your Headset
- Plug your device into your computer.
- Some models, such as a Razer or SteelSeries headset, might require you to plug multiple cables into designated ports.
- However, if you need an optical out port, you might be able to use your 3.5 mm headphone jack on your computer if there is no designated outlet.
- Otherwise, connect using the provided USB dongle or audio cables included with most other headsets.
STEP 4 Install any Required Drivers or Software
- Install any required drivers.
- Some headsets require the use of a software driver and program to adjust the audio mix and calibration.
- If your headset requires drivers, but the installation window doesn’t pop up when you first plug it in, you will need to find the download on the manufacturer’s website.
- Typically, it is listed under the headset’s support page. Other products come with a physical board that does the same thing.
STEP 5 Adjust Sound Settings
- In your computer’s settings, set your headset for your sound output.
- If you are on a Windows computer, use the Start button to open a search for “Sound.” Then, change the default device setting for both “Speakers” and “Earphones.”
- On a Mac, open System Preferences, select Sound, and then you can set your input and output devices.
- Make adjustments to your speaker levels or audio mix as desired.
- If you went through the last step on a Windows system, simply right-click on “Speakers” and select the “Configure Speakers” setting.
- Next, select “7.1 Surround” and test each speaker.
- Finally, click “Finish” to save your settings.
Part 6 Enjoy Virtual 7.1 Surround Sound
- Enjoy your new surround sound headset’s performance and spatial awareness.