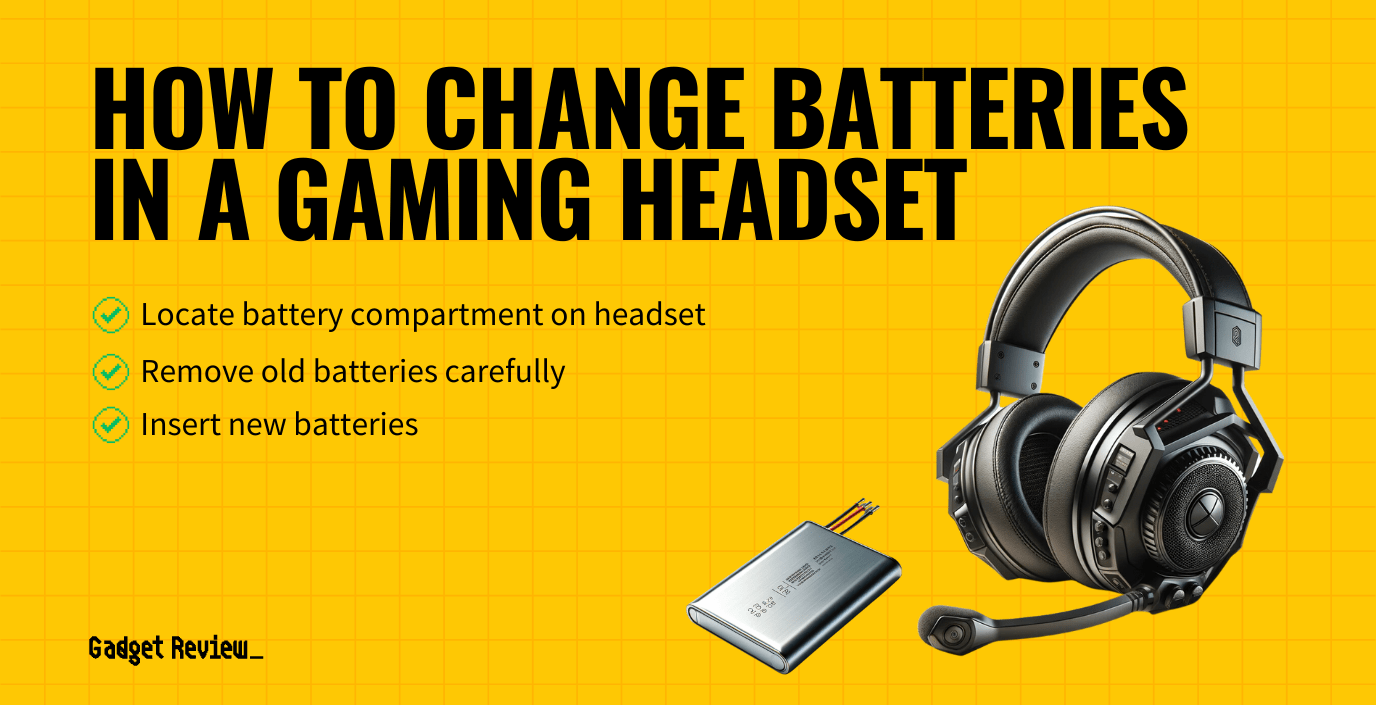
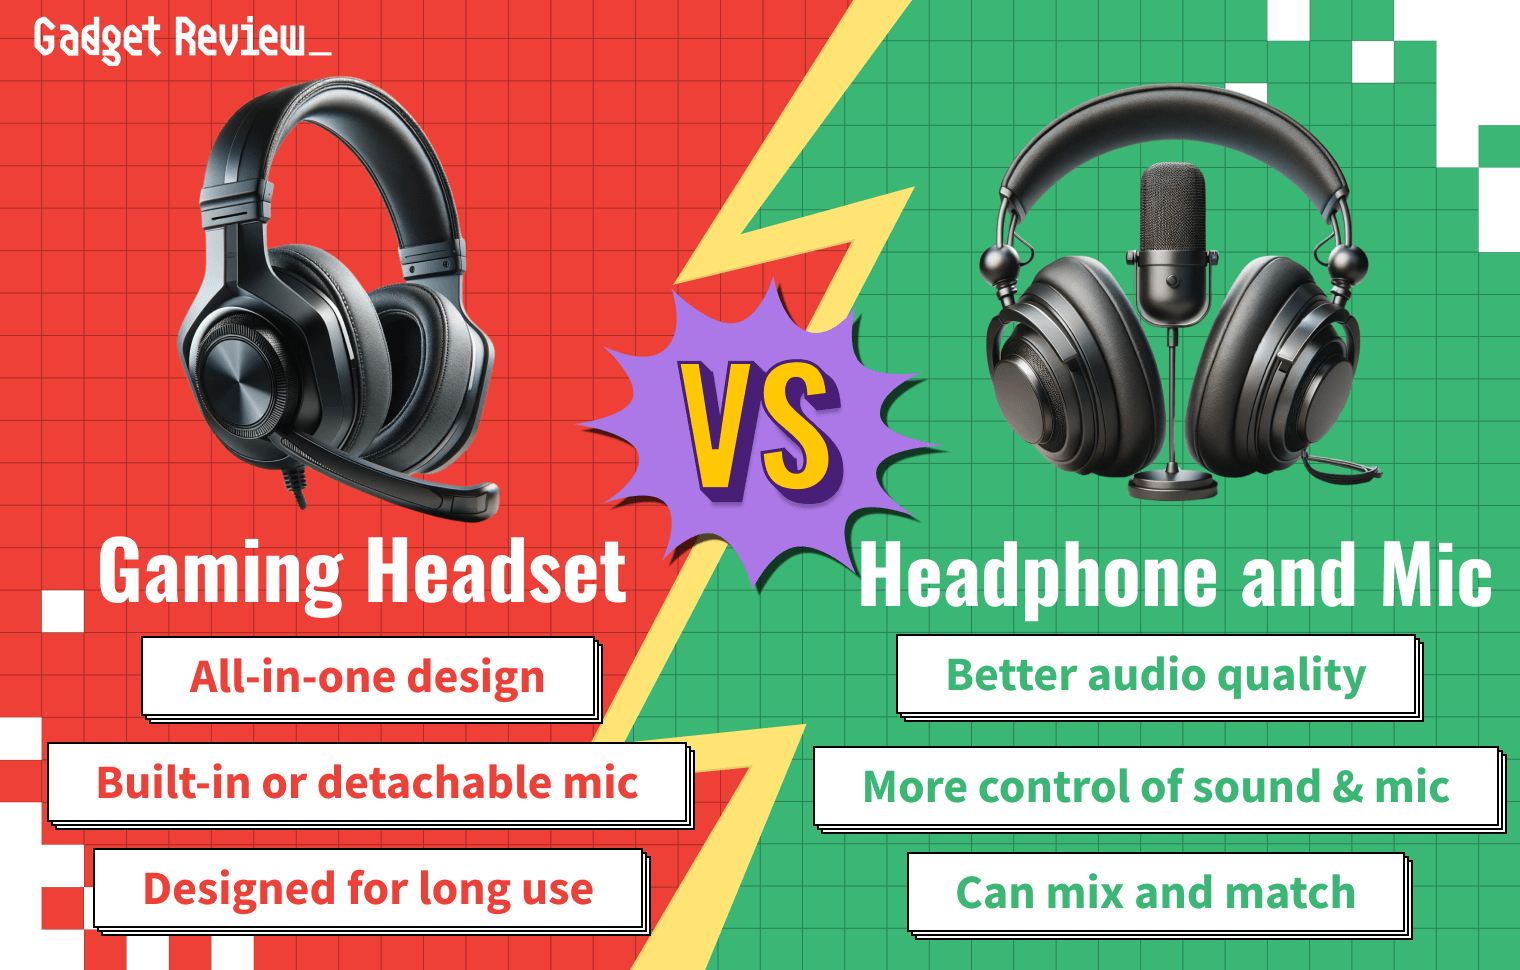
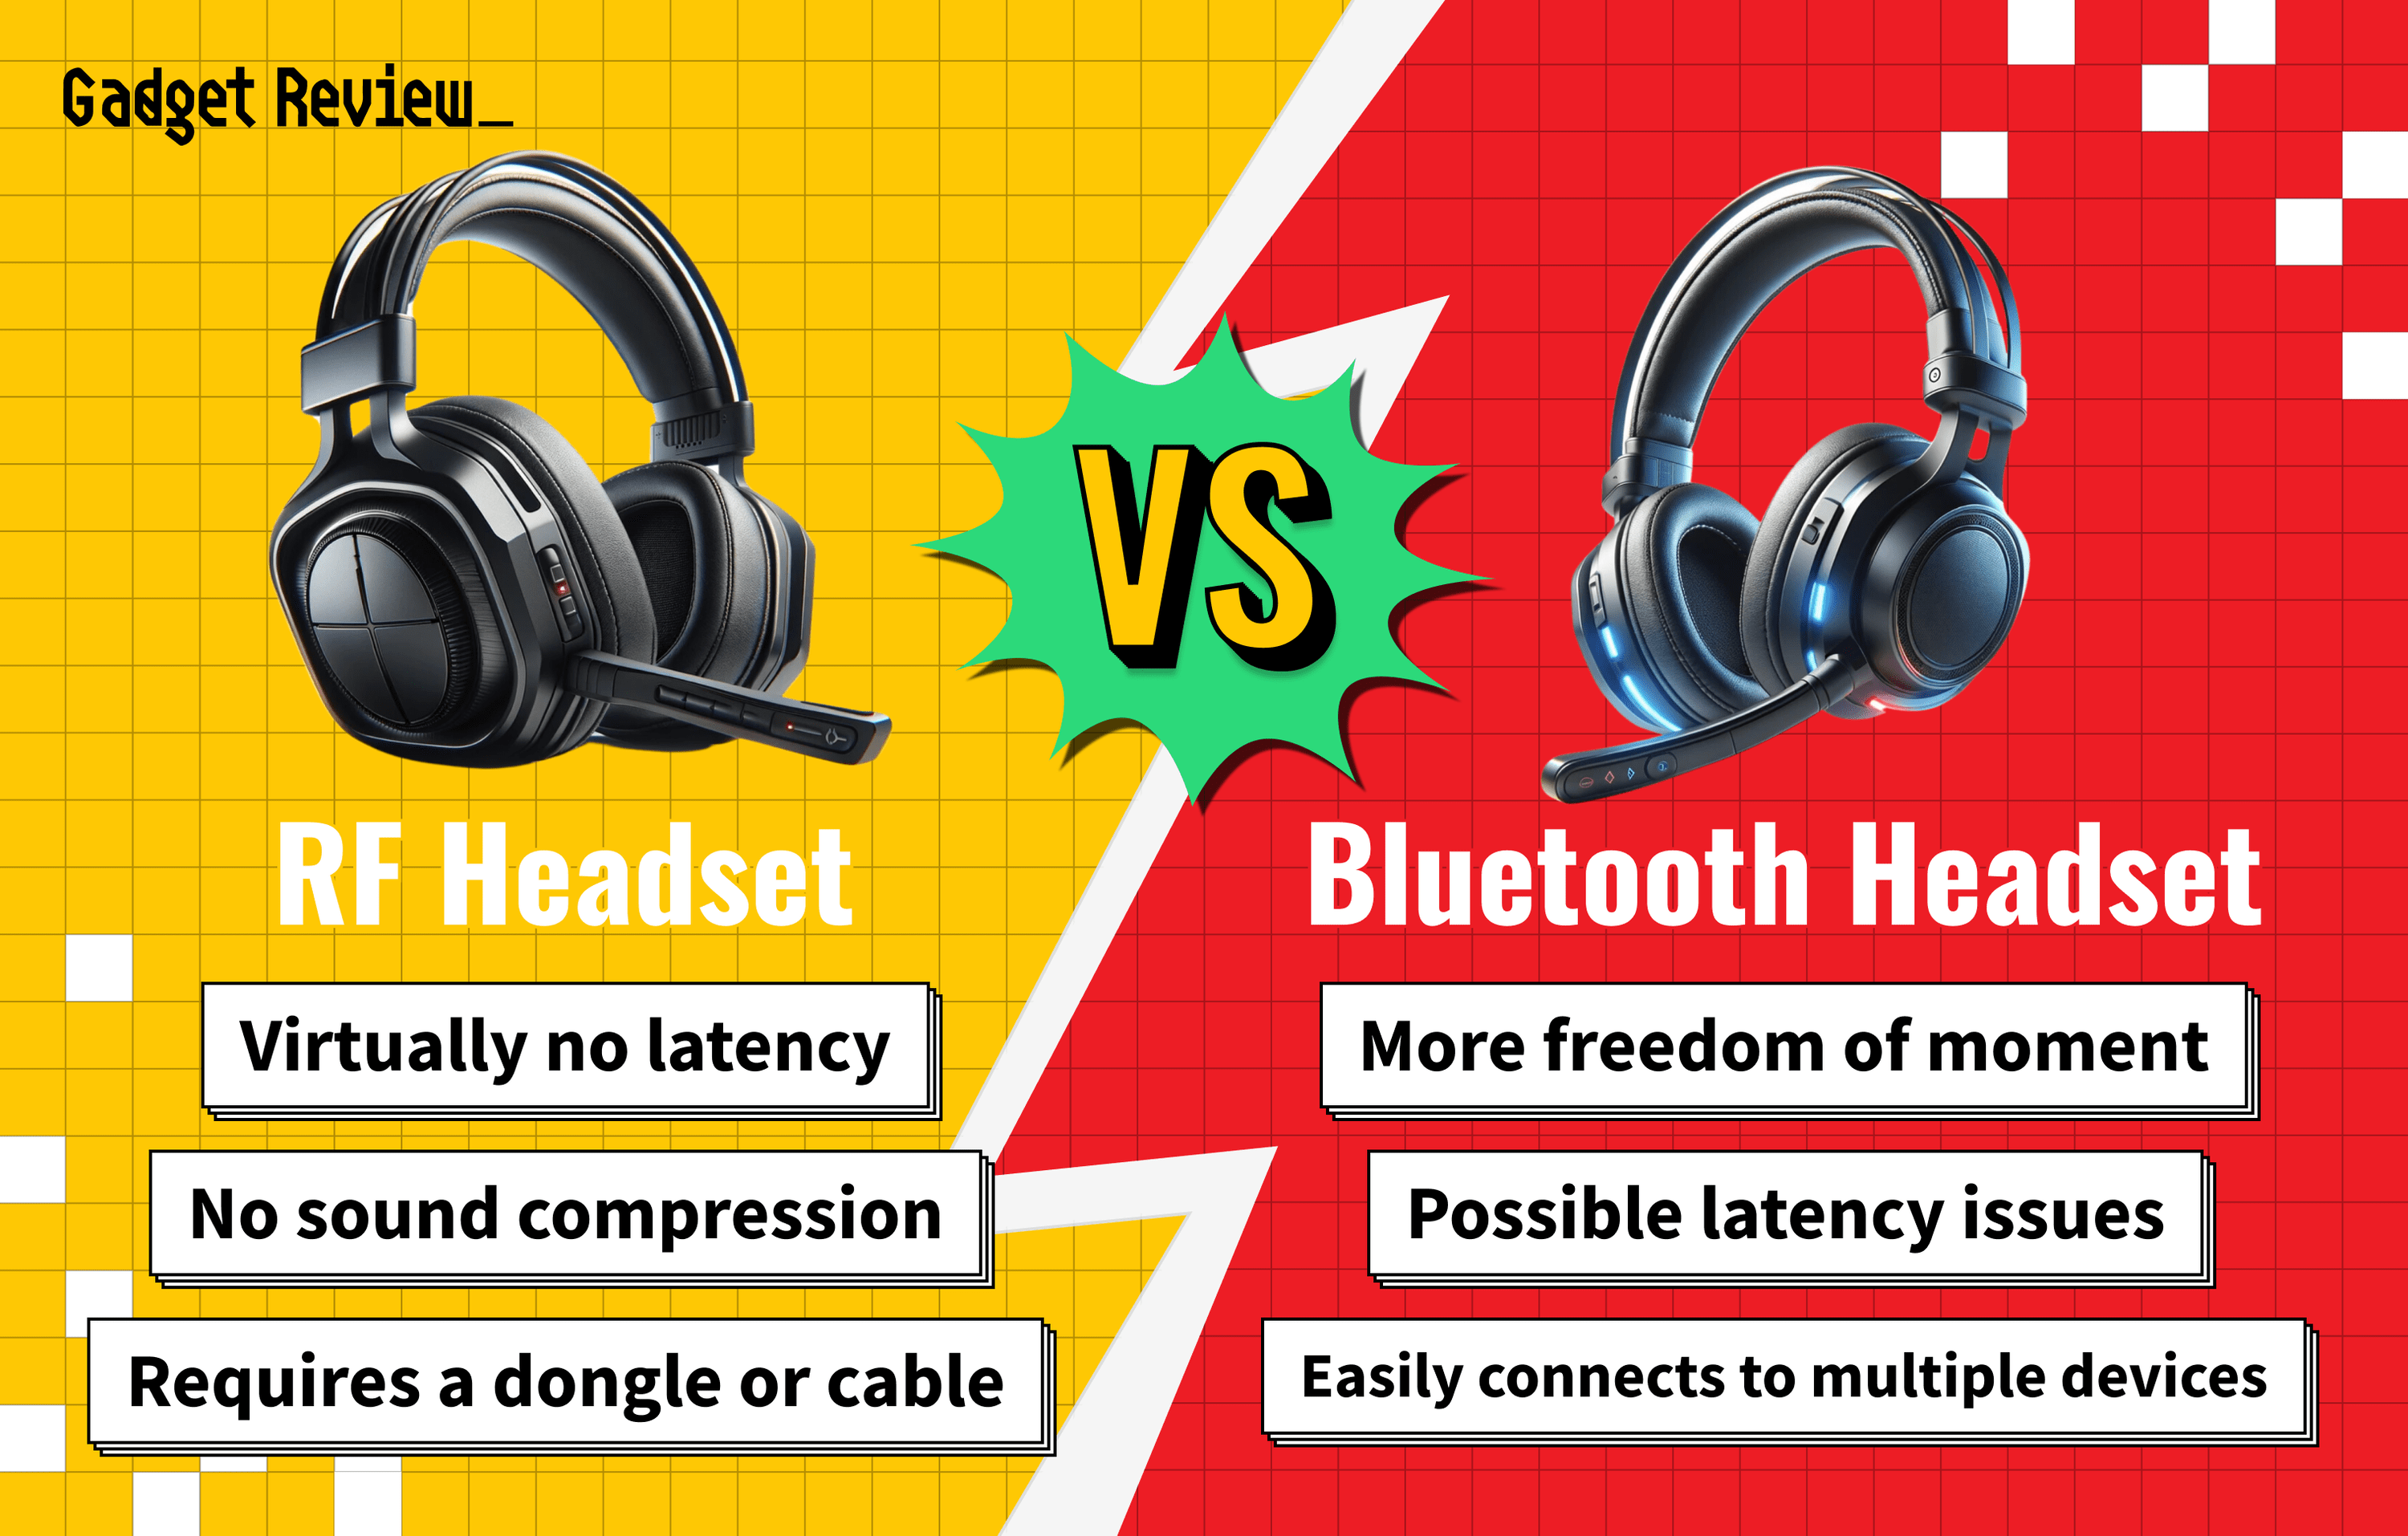
If you have trouble with battery life on your devices, you probably should know how to change batteries in a gaming headset. For many gamers, the battery on the best gaming headset lasts over a long period of time with regular recharging, meaning hours of battery life after each quality charge of your device. However, some wireless gaming headsets are well known for having terrible battery life quality.
Key Takeaways_
- You should have a replacement battery that is certified and usable with your gaming headset.
- For replacement, you need a screwdriver, your wireless headset, the battery, and a solid 20 minutes.
- If you are not confident in replacing the battery, you should contact a service center because you risk voiding the warranty on your wireless gaming headsets by doing it yourself.
You need a new, compatible battery, your original wireless headset, and a screwdriver. You should set aside about 20 minutes to complete the process, though it could take longer depending on the headset and whether you choose the correct earcup right away. You may also be interested in how to answer the phone through a gaming headset, use the mute button, or use noise reduction while using chat in your games.
How to Upgrade the Battery in a Gaming Headset
Before replacing your battery, ensure you have the replacement on hand. You might find a replacement battery available through your headset manufacturer’s website, which would ensure you have the proper battery.
If you can’t find it on their website, check that the new battery will work with your headset before you buy. Check out how to clean your gaming headset if you think you may solve the issue with a thorough cleaning.
Changing or replacing the battery on your wireless headset requires you to work with the wires inside, meaning you should have experience doing this. Contact a service center if you are not confident you can complete it without damaging the quality of your headset or any buttons, like the mute button or power button.
Additionally, keep in mind that opening the headset device might void your warranty. Again, contact a certified service shop with experience to do the job for you to avoid negating your warranty.
insider tip
If the headphones will be stored for extended periods of time without use, remove the battery.
Some headsets feature an easy-to-access battery compartment that does not require you to dismantle the ear for a convenient experience. So, for these options, you can just remove the comfortable headset’s battery and slide in the replacement to use with your gaming device or mobile device.
Steps for Replacement
STEP 1 Remove the Earcup
Remove the earcup on the ear without the microphone. For most headphones, this step should be relatively easy. You simply pull off the foam portion of the ear, reducing background noise. Some headsets may require more effort if they are glued in place. Try not to damage the earcup because you want to put it back.
STEP 2 Remove the Screws
You should see the screws around the edge of the earcup. Use a screwdriver to remove the screws surrounding the speaker. Put them somewhere contained nearby. You don’t want to lose them.
warning
You will have two sets of screws that you remove, so you should keep them separate to avoid mixing them up.
STEP 3 Detach the Earcup Cover
Pull the cover off the top of the earcup. It may stick a little because of the plastic being tightly kept together. If you can’t easily pull it apart, look for a small tab in the plastic that holds it in place. After removing it, you should see the inside of the earpiece, including the battery.
STEP 4 Disconnect the Cables
Unplug the cables from the connector, which looks like a little white insert. Make sure to leave the other end of the wires connected. These cords are essential to powering the headset up. If you aren’t sure how to remove the cables, leave them in the headset and go to a service center.
STEP 5 Remove the Battery Cover Screws
Once you disconnect the cables, remove the next set of screws holding the battery cover and battery compartment in place. They should be about the same size as the screws before, or they might be smaller. For your convenience, keep the two sets separate to avoid mixing them up during the reassembly. Now would also be a good time for a gaming headset replacement cable if you need to fix that.
STEP 6 Expose the Battery Compartment
Pull the battery compartment cover off. This should expose the battery. If you see any leakage from the battery, do not touch it. The contents of batteries contain battery acid and are harmful.
STEP 7 Replace the Battery
Remove the battery and replace it. The old battery should pop out relatively quickly. When you insert the new battery, make sure you position it so that the nodes rest against the metal indents in the battery assembly.
STEP 8 Reassemble the Headphones
Retrace your steps to assemble the headphones once more. This should be easier if you separated the screws. Again, try to avoid touching any wires other than inserting the group into the white slot.
STEP 9 Test and Enjoy
Enjoy your new hours of battery life on your headset! It should still allow you to experience the noise reduction technology and chat features you had when you began. If voice or game audio does not come through the headset, you may have touched the internal wires, causing an issue. And if you are in the Apple ecosystem, you can read our guide on how to connect a gaming headset to a Mac.


