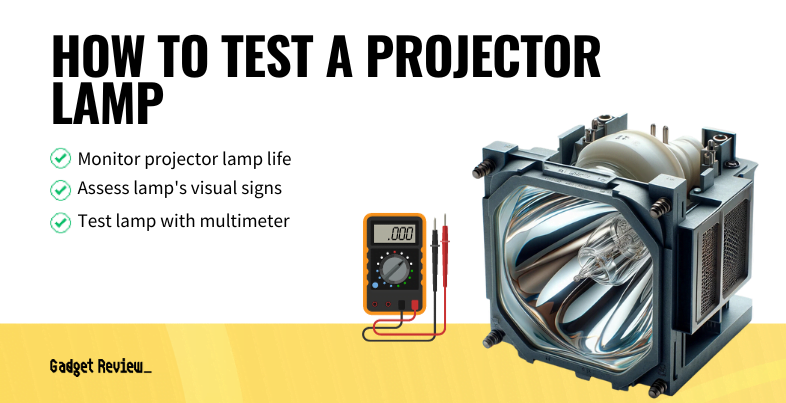
Projector lamp isn’t turning on? Before suspecting that your projector is broken, learn how to test a projector lamp. That way, you can confirm that you truly need a replacement lamp versus a totally new projector. So keep an eye on the indicator light, your lamp life monitor, any loss of image quality, and how many OHMs the lamp still has.
But in the case that you have a broken projector, be sure to invest in gadget insurance such as AKKO so you’re covered in that situation.

warning
When dealing with electrical material, always take precautions. It can be dangerous, so always wait for the projector bulb to cool off after unplugging the power cord. Projector lamp manufacturers typically include a caution sticker detailing the ultra-high pressurized mercury vapor used in the actual lamp. Only place the lamp on a soft surface to avoid breaking it.
STEP 1 See if Indicator Light Turns On
Check the brightness and color of the indicator light, which will typically be red or orange. If that light indicator comes on, it’s time to check the screen menu on your projector. Modern projectors provide a message about the projector lamp life, indicating when lamp replacement is needed for optimal performance.
STEP 2 Check Lamp Life Monitor
Monitor your projector lamp life over time for signs of degradation. The lamp life depends on factors like wattage, type of bulb, and projector model. A projector lamp hour is just how long it takes until you end up with a bad projector lamp.
For instance, LED projectors, known for their longer lamp life, may have different power consumption patterns compared to DLP projectors, affecting overall performance. Typically, the more wattage your projector uses, the faster your projector lamp will go bad.
STEP 3 Check for Loss of Image or Flickering
Diminished image quality or flickering can signal a loss of lamp effectiveness. Follow these simple steps to replace the projector bulb:
- Turn off the projector and disconnect from the power source.
- Wait for the lamp to cool down.
- Open up the lamp housing following the user manual instructions.
- Carefully replace the lamp with a new one, checking for any spots or signs of damage on the bulb or color wheel.
STEP 4 Use an OHM Meter
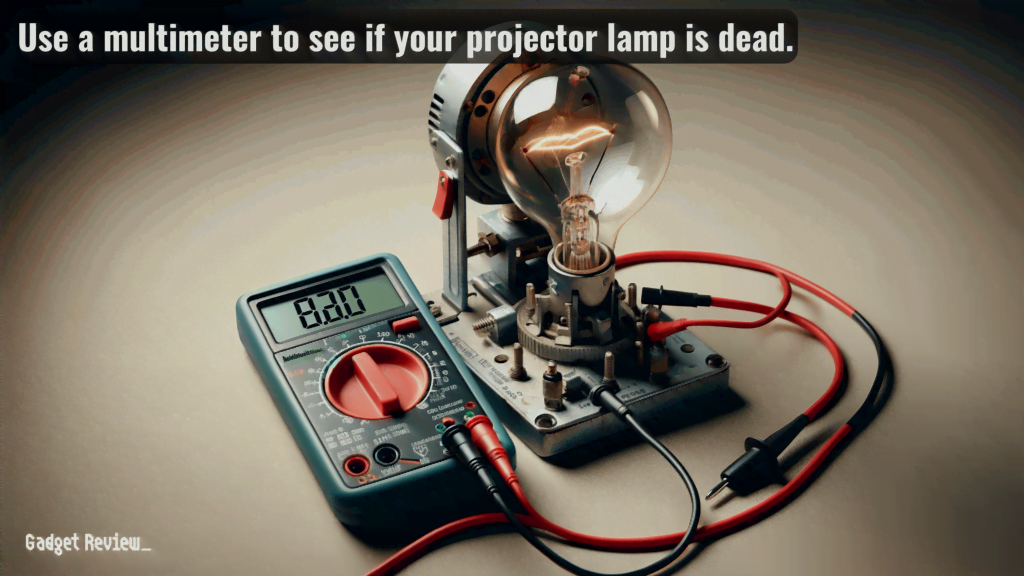
Digital multimeters or OHM meters make great testing equipment to see if the original lamp is dead or if the problem might be with the power board.
- First, remove the power supply by unplugging every power outlet.
- Wait for the projector lamp to cool down.
- Then, open the rectangular panel.
- You might need a screwdriver. Follow your model’s instructions.
- Then, remove the lamp from the projector, handling it with a cloth to avoid direct contact with your fingers.
- Set the multimeter to the ohms or resistance setting.
- Touch the leads to the lamp’s contacts.
- A reading indicating continuity means the lamp is likely functional, whereas no reading or infinite resistance suggests it’s time for a replacement.
- A reading between 0 and 20 ohms indicates that the filament is fine and should light up.
- This testing method is particularly useful as it helps in diagnosing whether the issue is with the lamp or another component of the projector.
- Always follow safety precautions during this process to avoid injury and damage to the lamp.
The vast majority of manufacturers will provide a more detailed explanation of this process so you can optimize your projector’s performance. Moreover, be sure you know how to dispose of projector lamps, so you won’t injure yourself or anyone else.