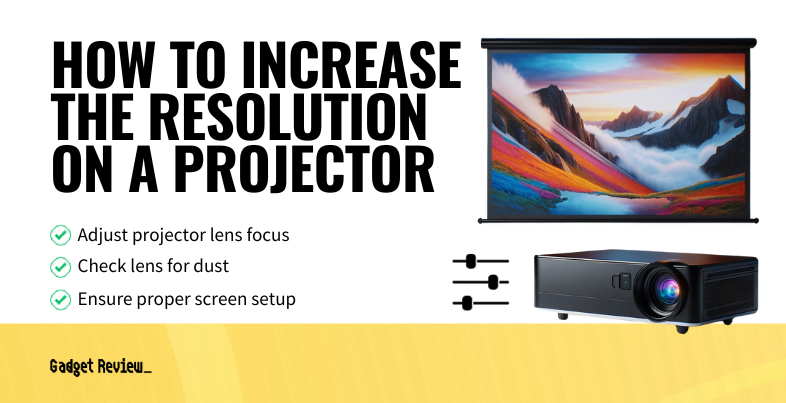
Figuring out how to increase resolution on a projector can be frustrating. It’s probably even more irritating going back and forth to adjust the projector screen, if not improving the color on a projector. Troubleshooting is never fun, and this is especially true when dealing with low picture quality. The good news is that it’s possible to overcome low-resolution projectors in a few ways.

Key Takeaways_
- Always adjust the focus of your lens first to see if that’s what is lowering your image quality.
- The next step in troubleshooting is to ensure you don’t have a build-up of dust or condensation on your lens.
- You can also use keystone correction to make sure that your projector is correctly positioned.
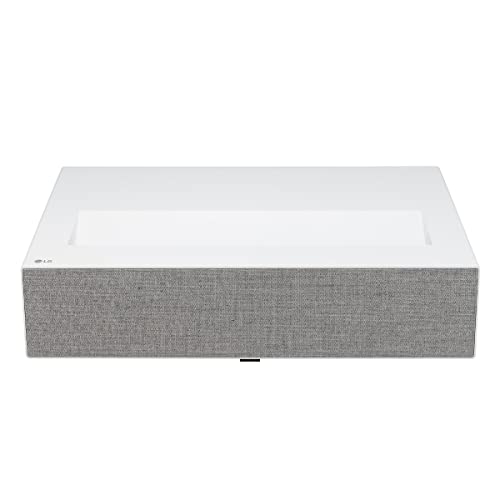
A higher resolution for your projector displays will result in better image quality and increased image clarity. The best projectors are known for their picture quality, so make sure to invest in a great model. Additionally, ensure your new model has lens shift, which can vastly improve the resolution. To learn more, check out our guide on what is lens shift on a projector.
Changing Your Projector’s Native Resolution
Heightening your native resolution results in an image clarity increase. The display matters whether you’re using HD projectors or an XGA projector. This is especially true because there are significant differences between the various projectors. You’ll want to know how a WiFi projector works vs how projectors work in order to troubleshoot them effectively.

insider tip
Understanding the aspect ratio is one of the most important factors when dealing with projectors of any type.
Adjust Projector Lens Focus
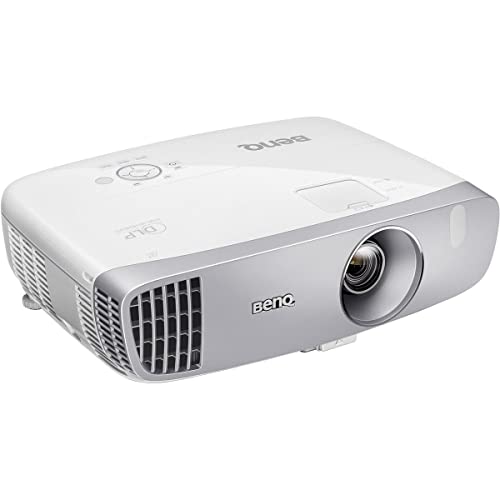
The first step is figuring out if focus might be your issue with screen resolution. Inexpensive projectors might need more adjusting than expensive theater projectors, so the model does matter. Make sure you know what the display settings are, as well.
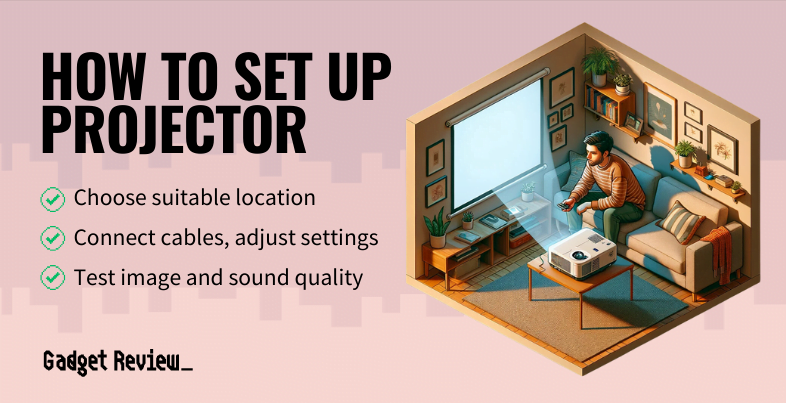
STEP 1 Set Up the Screen
You’ll begin by ensuring you have your screen set up in the proper location. It is the projector’s job to adjust accordingly to this position, so long as it can.
STEP 2 Turn on the Projector
Once the screen is in place, turn on your projector. See where it’s projecting, and begin to engage in adjusting the focus.
STEP 3 Identify Your Projector Type
From there, figure out what type of projector you’re using. Theater projectors will have different controls from other models.
STEP 4 Adjust the Focus
You should have an owner’s manual that explains how the focus adjusts on your model and whether it is manual or automatic. Play with the controls until the image is perfect.
Check Lens for Dust
If you can’t find an issue with the original signal, try looking for a physical problem. Check your lens for dust and condensation to ensure it isn’t an issue with the lens body.
STEP 1 Turn on the Lights
Turn on all lights in the room to begin. This is the one situation where you want plenty of ambient light. Make sure that you bring a flashlight with you for a better look at the lens.
STEP 2 Remove Obstructions
Carefully remove any exterior equipment that may be obstructing your view. You’ll first check for dust.
STEP 3 Wipe the Lens
Take a microfiber cloth and gently wipe the lens down. See if any dust is collected, and clean anything you see there.
STEP 4 Check for Condensation
To check for condensation, look at the cloth and see any dampness. This is a severe cause for concern, and you should resolve it immediately.
STEP 5 Clean with Solution
Lastly, clean the lens thoroughly with a compatible cleaning solution and your microfiber cloth. This will help produce a powerful beam that easily cuts through ambient light.