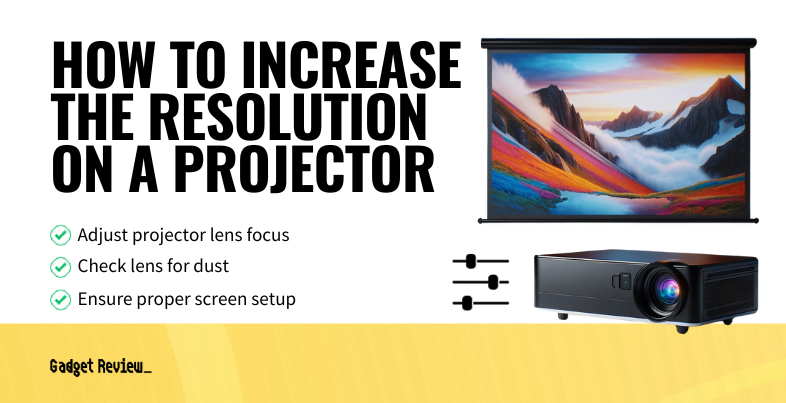
Understanding how to improve color with a projector allows you to do basic troubleshooting on your own. You can also increase the resolution on your projector, too, while you’re adjusting the color accuracy. A dynamic range of vibrant colors is essential, whether you’re conducting business meetings or trying to overcome ambient light with a theater projector.

Key Takeaways_
- When adjusting your black levels, make sure that you do so on a scene where you have the darkest black possible for the best results.
- There are a few different methods of adjusting color level and accuracy, so try to use them all to perfect the color level of your projections.
- The color balance of your projector is crucial, but don’t forget to adjust for ambient light, projection resolution, and other key features.
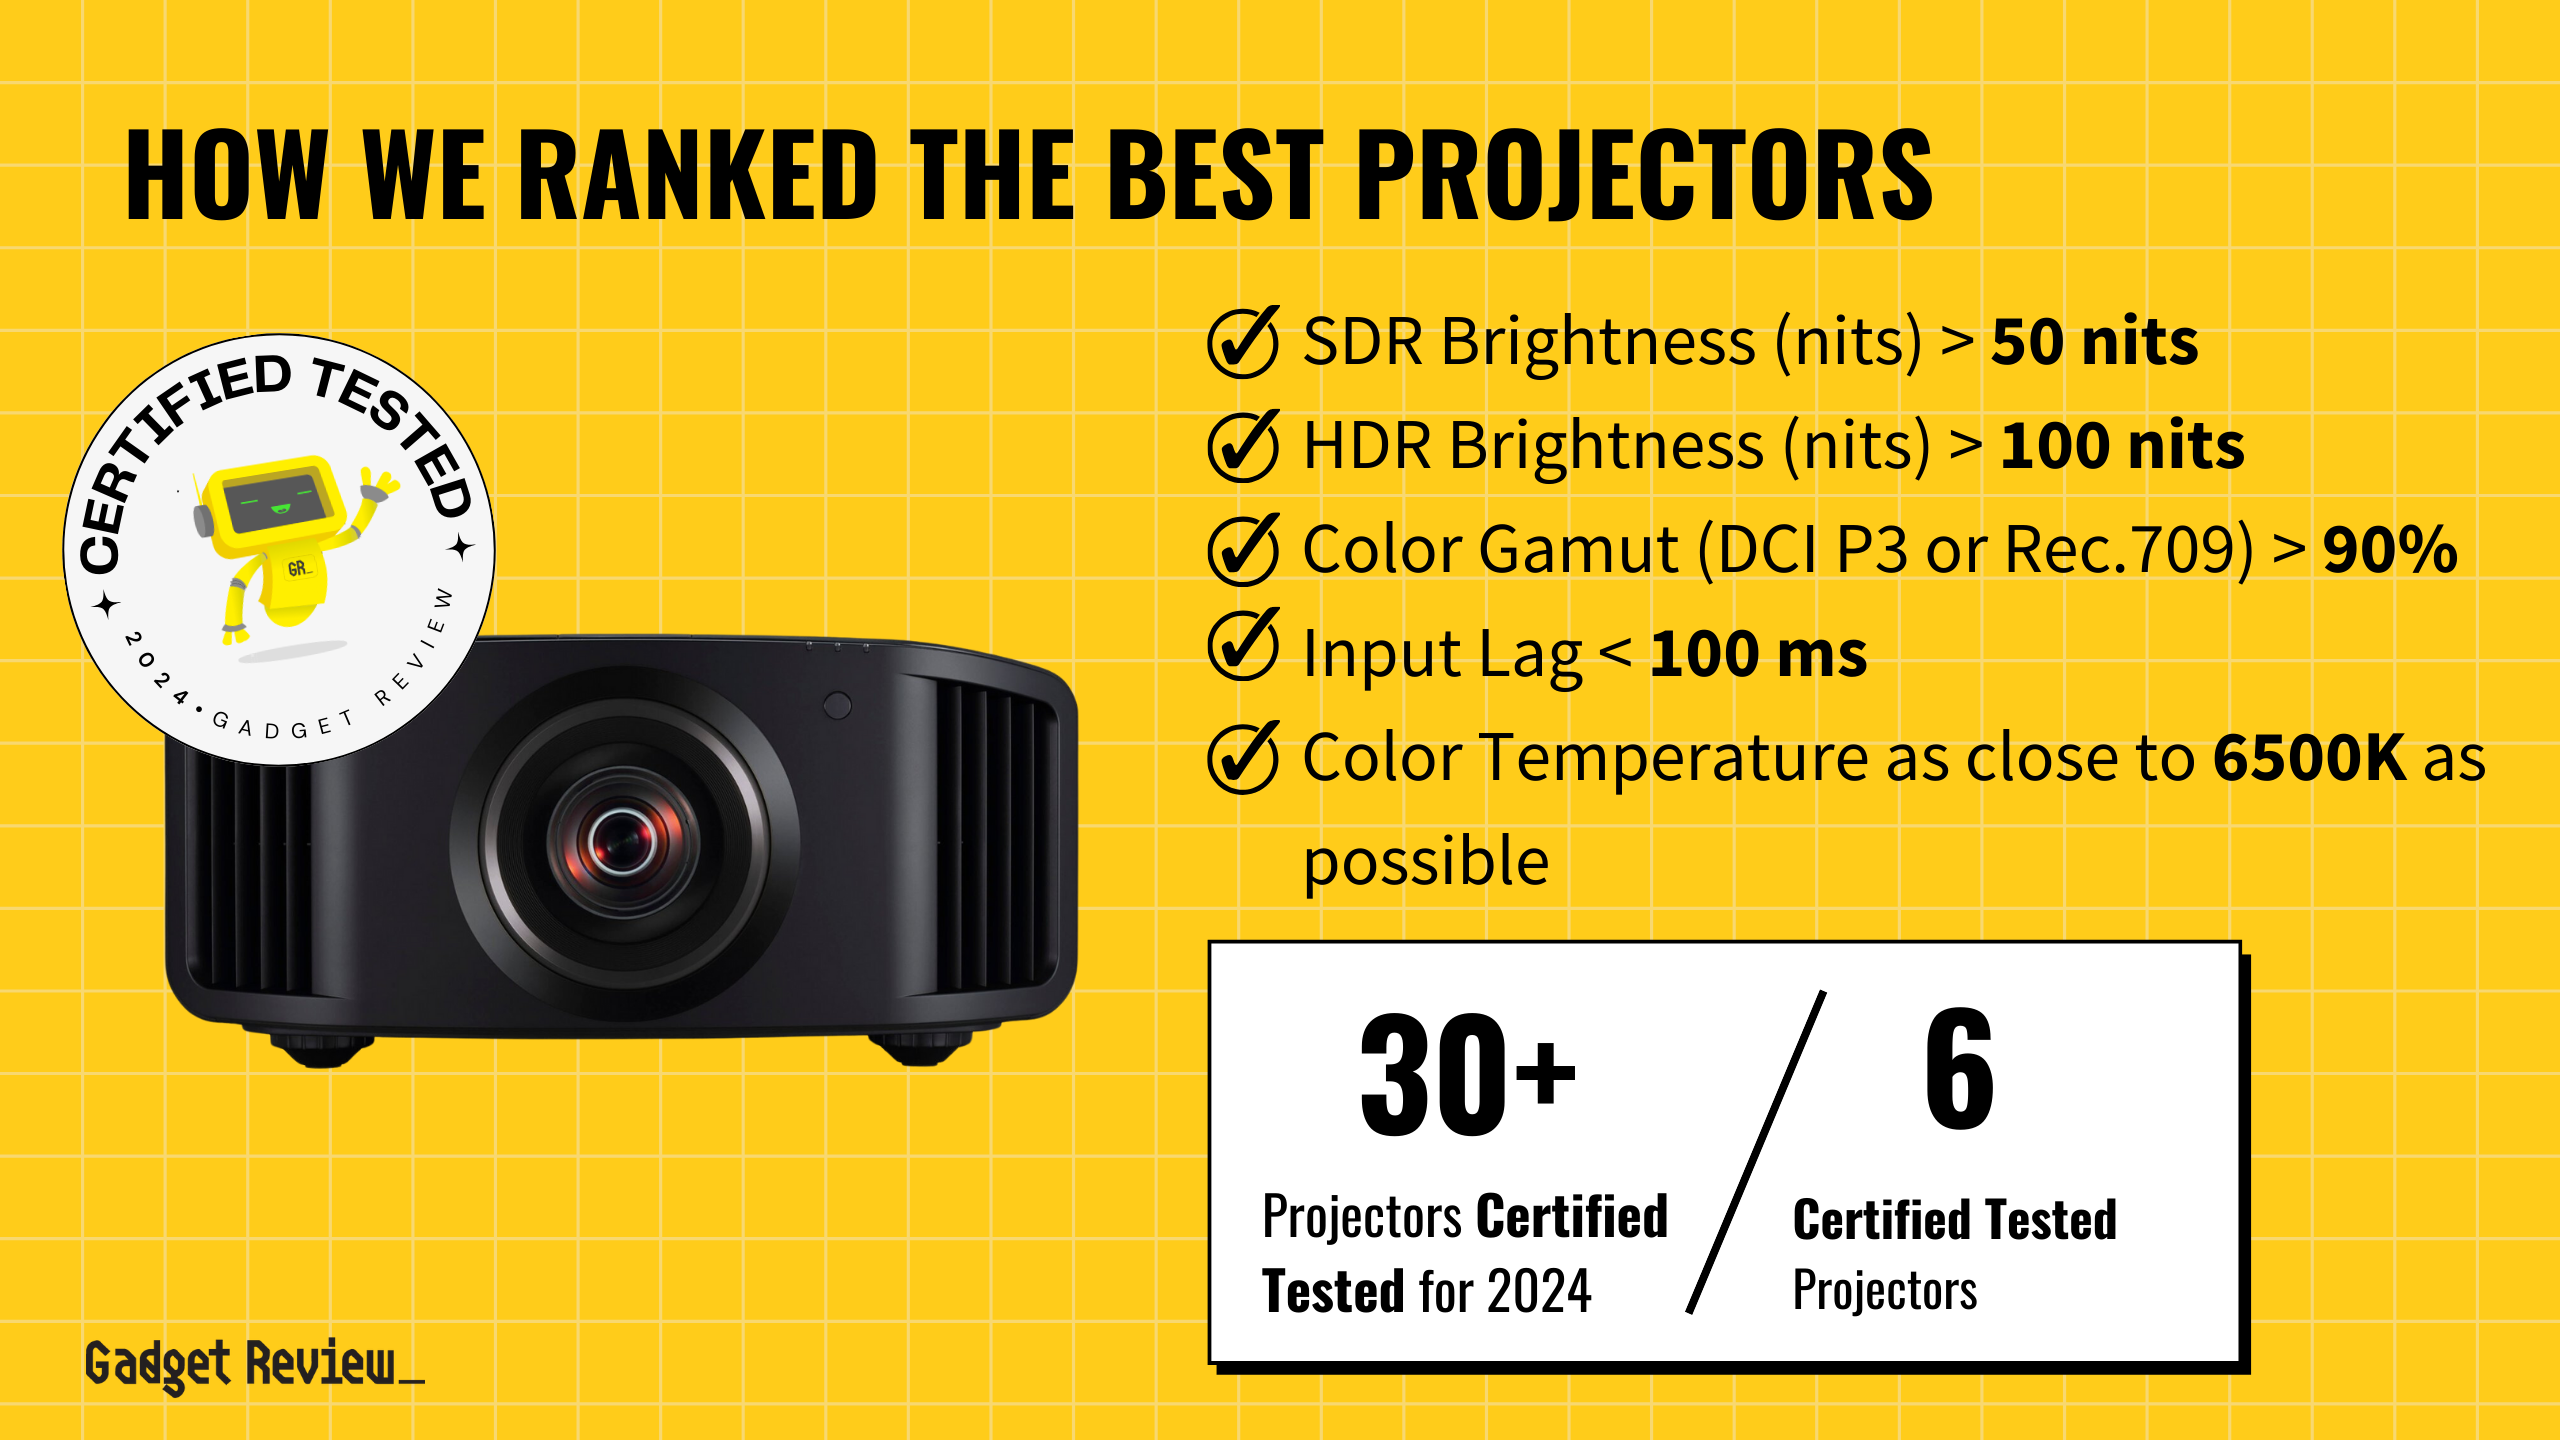
The best projectors for color accuracy still need to be set up correctly. No matter what, you’ll always end up having to adjust the images on your projector screen.
That said, you’ll also need to maintain your projector. Knowing more about your projector helps, as you’ll want to understand what is gain for your projector screen.
Improving Projector Color Accuracy
Ambient light presents a challenge for even the best short-throw projector on the market. Beyond this, dealing with poor distribution of light or low native resolutions can throw a wrench in the best plans. Light sources are essential no matter what you’re doing.
Calibrate Your Projector
Calibration can help primary colors look better and encourage better projector resolution. Learning how to adjust a projector screen will allow you to calibrate it correctly.
STEP 1 Use Built-In Calibration Options
Check to see if your projector has built-in calibration options. If so, use these first to get the best baseline you can. However, you will still need manual calibration for the best results.
STEP 2 Choose Appropriate Images
Choose a different image for each setting you’re calibrating. Different settings will have different brightness levels. For example, dark scenes are best when adjusting for black colors.
STEP 3 Ensure Full-Color Gamut Visibility
Use detailed images where the black colors aren’t entirely uniform. You want to ensure the whole color gamut is viewable. Even deeper blacks should be broken up a little bit by shades of gray.
STEP 4 Set Up the Room as Usual
Make sure that you set up the room however it will be when using your current projectors. You want the room to appear as it usually would to get accurate colors.
STEP 5 Enjoy the Calibrated Display
Once you’ve finished adjusting the colors, it’s time to sit back and enjoy your ideal screen size. The color space should be far more accurate now.
Use Frame Interpolation
Engineers have developed various workarounds and algorithms to provide a wider color gamut for projectors. This technology will reduce image blur.
STEP 1 Select a Blu-Ray Disc
This method is rarely used for anything outside of making sure Blu-Ray discs play correctly. Frame interpolation provides a smooth, judder-free image. Pick out the Blu-Ray you’re going to test the setting on.
STEP 2 Adjust Frame Interpolation Settings
Turn the frame interpolation on and to a medium-high setting. At the highest settings, you may notice inconsistencies throughout the entire image. Anything that moves quickly, such as people’s heads, might be funky.
STEP 3 Fine-Tune the Settings
Continue to play with the levels, and move up or down depending on your projector’s reaction. You’ll need to play with these settings for a bit before finding the best levels.