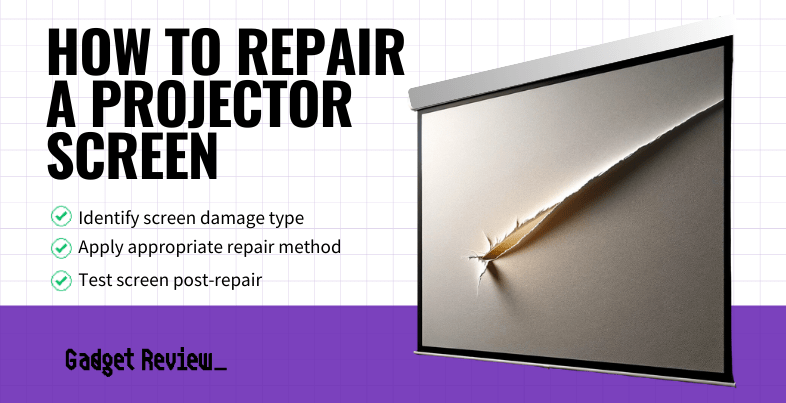
Even if you buy the best projector, it will only be as good as the projector screen you choose, as in a fixed screen vs a pull-down projector screen. In addition, screens are expensive, so you should know how to repair a projector screen to keep your investment around longer.

Key Takeaways_
- Repairing a projector screen only requires vinyl tape for tears and projector screen paint for extreme stains.
- Apply vinyl screen tape to the back of the screen to close the tears.
- For extreme stains and discoloration, use plastic primer and projector screen paint to restore your screen.
Repairing a Projector Screen
The most common projector screen issues are tearing in the vinyl screen or a diminished image and light reflection from stains. If you have an outdoor screen, you should also learn how projectors work to get the best image after your repairs. Additionally, when your repairs are done, you should also look into learning how to hide a projector screen if it’s constantly in the way and prone to further damage.

insider tip
Lay a soft blanket on the ground before laying your projector screen face down. Dust and dirt on the floor might scratch your screen and negatively affect its ability to repel ambient light.
Fixing a Torn Screen
In the same way that repairing a projector keeps your investment around longer, try to patch a tear before shelling out cash to fix a retractable projector screen or buy a replacement. While you may consider a cheap sewing kit to fix a small incision, the tape is a bit easier. For more extensive tears in the projector screen fabric, consider reaching out to a sewist for help sewing it up, because it will disrupt the projected view of your top-rated quiet projector.

warning
Never use abrasive cleaners or scrubbers to clean your projector screen. Doing so will scratch your screen or, at worst, tear it.
STEP 1 Lie the Screen on the Floor
Lie the screen face down on some towels or soft blankets to avoid scratching the screen with dirt or dust particles.
STEP 2 Close the Tear With Tape
Find the tear and use translucent tape to close it. Try not to use too much tape because even clear video might show on a thin vinyl screen. If you want a more specialized product, consider Tear-Aid from Amazon.
STEP 3 Let the Tape Settle
Allow the tape to settle on the back of your screen. Watch out for any warping or wrinkles as you roll up the screen. If it seems smooth, your screen tear is fixed.
Fixing Stains With Paint
If your screen is stained, experts recommend cleaning the screen with soft brushes and a non-abrasive sponge. That said, if the stains are bad enough, you can use plastic primer and projector screen paint to renew your screen.
STEP 1 Clean the Screen and Let it Dry
Use a brush to sweep away any dirt or dust from the screen. Next, use a 1:5 ratio of oil-free detergent and hot water to blot away stains with a non-abrasive sponge.
STEP 2 Mix the Primer
Thoroughly mix plastic primer and paint it on the screen with a soft roller. Don’t use a paintbrush because your paint coats will be uneven, and the bristles might scratch your screen. Let the primer dry before moving on.
STEP 3 Roll on the Screen Paint
Roll a light coat of projection screen paint onto the screen and let it dry. Do two more coats of paint and let them dry, too. You should now have a refreshed projector screen. On the other hand, if you’re trying to fix a glossy vs matte projector screen, make sure you buy the correct paint type.