Wondering how to replace your robot vacuum bumpers on your great vacuum cleaner?
This guide will walk you through the process of installing and replacing bumpers on your robo-vac.
How to Replace and Install Robot Vacuum Bumpers
This process will differ slightly depending on the make and model of your vacuum, but these steps should approximate the method for the vast majority of robots out there.
STEP 1 Remove the Cover
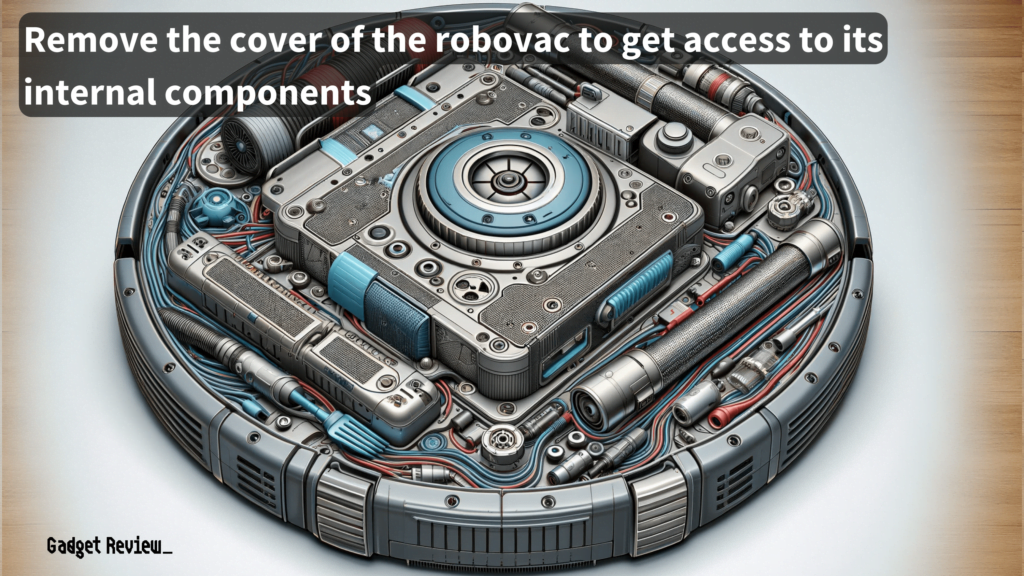
- The bumpers are likely embedded underneath covers, as they feature sensitive components like sensors.
- Look for screws surrounding a number of small covers.
- Unscrew these areas and remove the cover.
STEP 2 Remove the Bumpers
- You should now have access to the bumpers along with any integrated sensors.
- Unscrew and remove these bumpers using the appropriate screwdriver.
- You may have red and black wires to unplug, so do that.
STEP 3 Install New Bumpers
- Break out the new bumpers and line them up in front of the appropriate screw holes.
- Screw them in and reattach any red or black wires, making sure to do so in the correct order and location.
STEP 4 Reattach the Covers
- Now that the sensors and bumpers are back in place, it is time to reattach the cover.
- Place the cover over the bumpers and line up the screw holes.
- Screw them back in and enjoy your newly bumperized robot vacuum.
Fixing Robot Vacuum Bumpers on a Roomba
To learn how to replace or repair bumpers on a specific vacuum, like the Roomba, check out the video below:
In summary, installing and replacing robot vacuum bumpers is key to maintaining your device’s performance and durability.
With the steps in this guide, you can confidently manage these essential components, preserving your investment in robotic vacuuming.