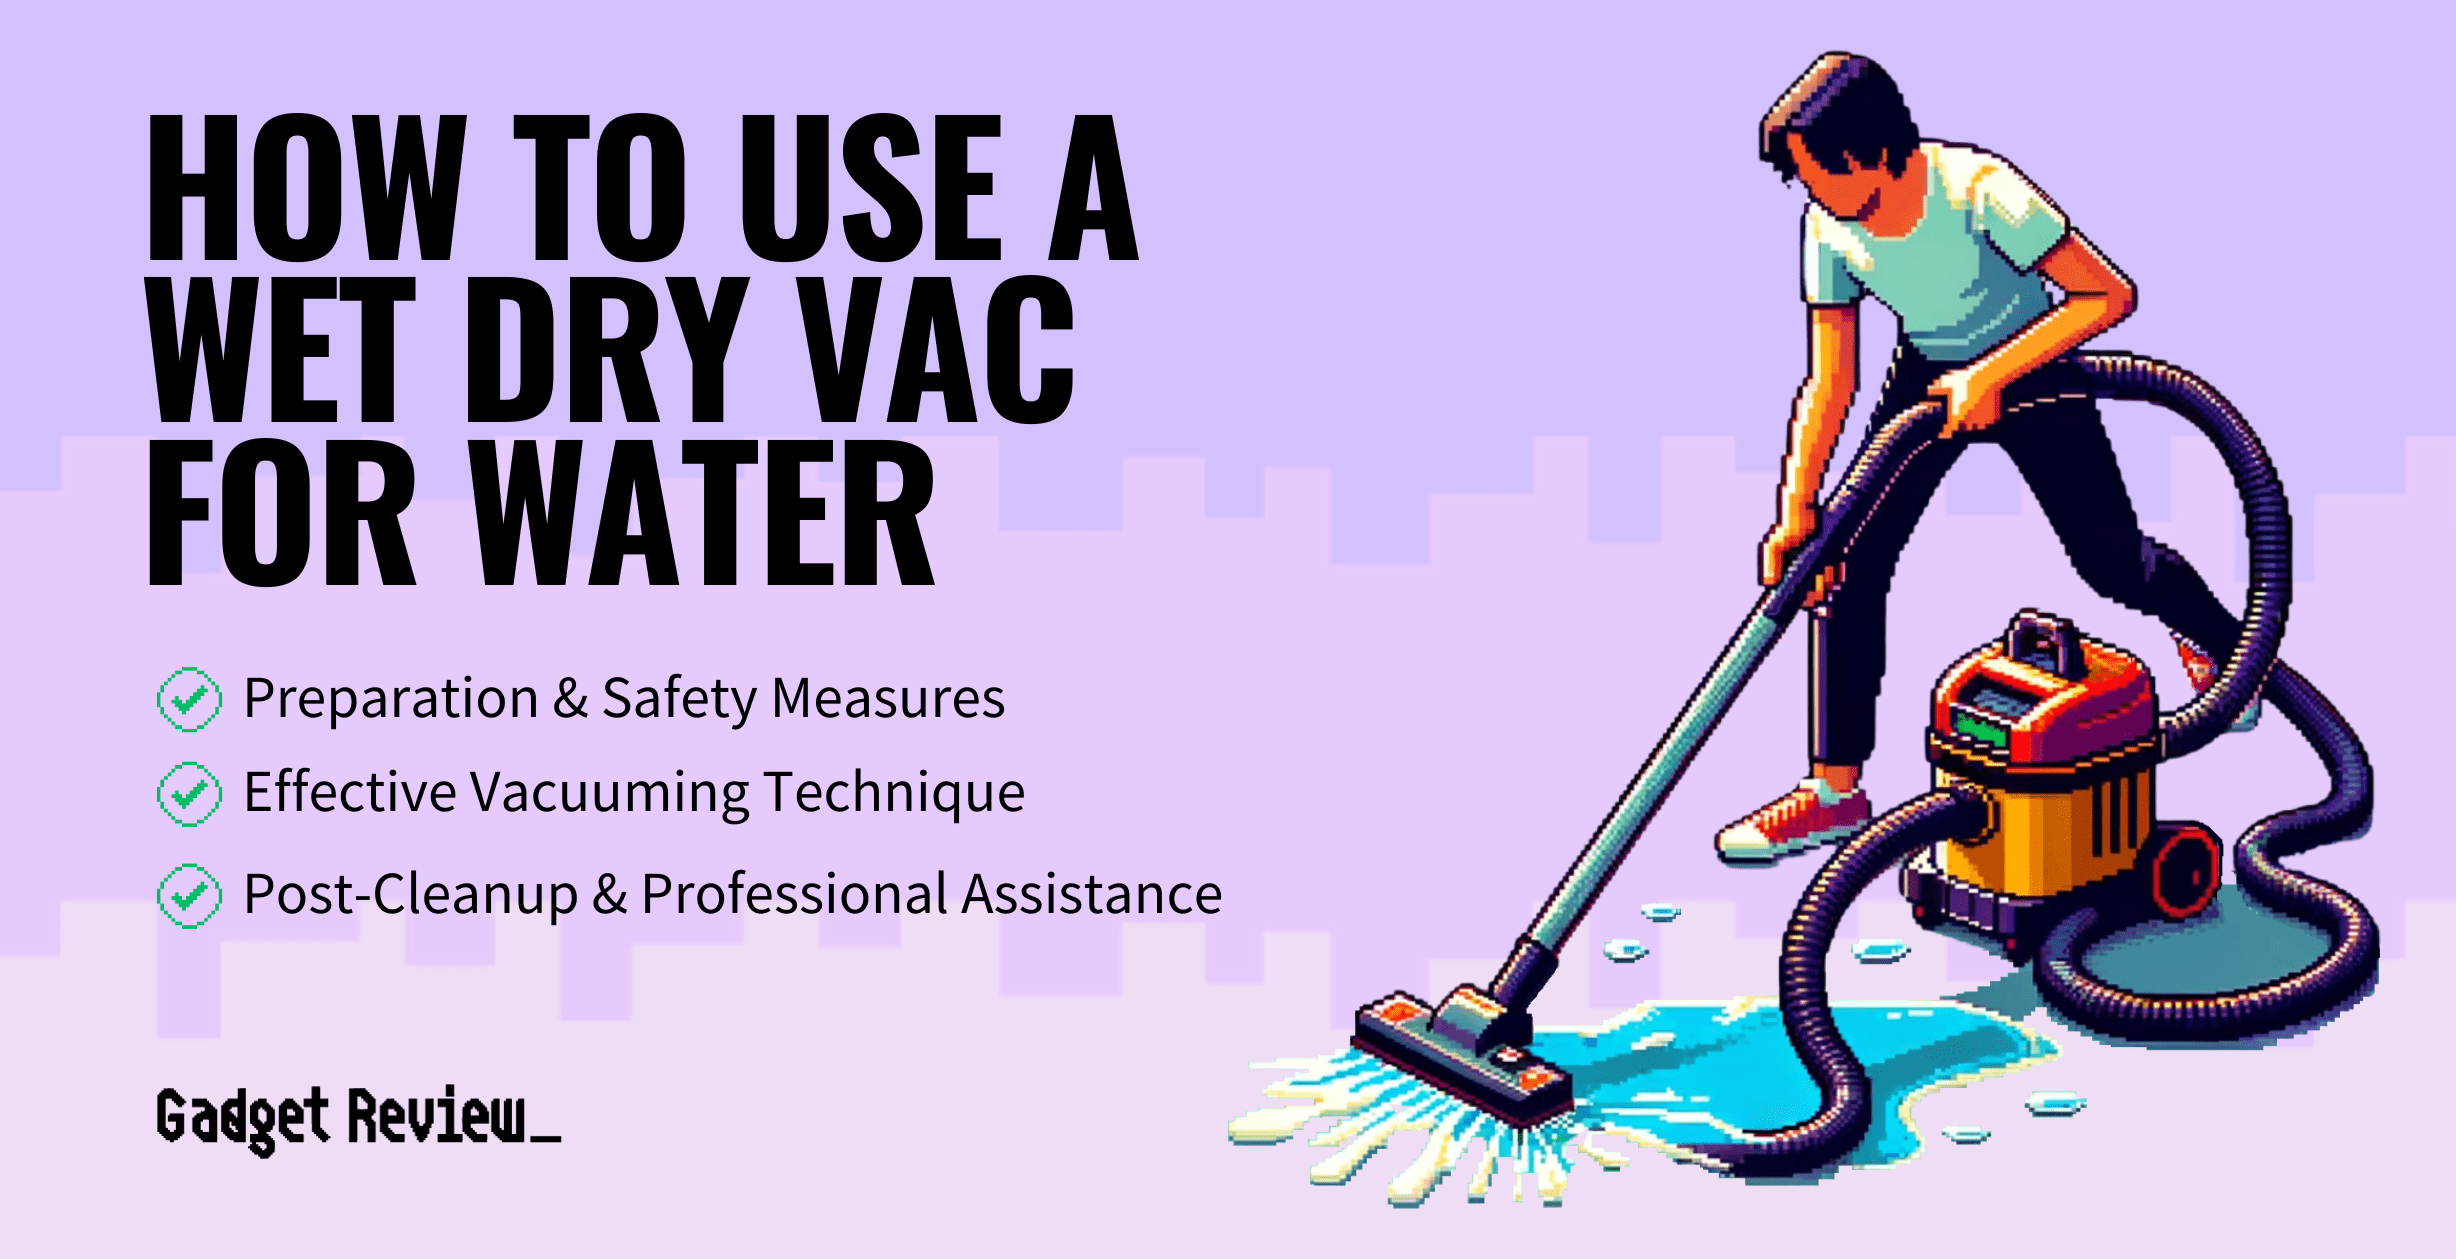
Water-related messes in your home, like a flooded basement or an accidental spill, can be daunting.
But with a wet/dry vacuum, you can tackle these challenges quickly.
This guide will walk you through the simple yet effective use of a wet/dry vac for water removal, ensuring you’re prepared for these wet situations.
Using a Wet/Dry Vac for Water: Quick Guide
To quickly use a wet/dry vac for picking up water:
- Start by removing the filter and any dust bag.
- Ensure the vac is plugged into a GFCI outlet for safety.
- Using the appropriate attachment, vacuum the water, moving steadily across the area.
- After use, dispose of the water correctly and clean the vac to prevent mold growth.
Vacuuming Water with a Shop Vac
Get more insight on this capability with the video below.
Understanding Your Wet/Dry Vac
A wet/dry vac is a versatile tool designed to handle both dry debris and liquid spills. It’s a go-to equipment for cleaning up after home emergencies like pipe leaks or floods.
Key Features:
- Ability to switch between dry and wet vacuuming.
- Various attachments for different cleaning needs.
Preparing Your Wet/Dry Vac
- Removing the Filter and Bag: Before tackling water, remove the vacuum filter and dust bag. This prevents damage to the vac and ensures efficient water pickup.
- Safety First: Using a GFCI Outlet: Always plug your wet/dry vac into a Ground Fault Circuit Interrupter (GFCI) outlet. This protects you from electrical hazards in wet conditions.
- Estimating Water Quantity: Check how much water you need to remove. If it’s a significant amount, like in a flooded room, a wet/dry vac can be your best bet.
Vacuuming Water Effectively: A Detailed Step-by-Step Guide
Handling water spills or floods in your home can be managed efficiently with a wet/dry vac. Here’s a detailed, step-by-step guide to ensure you use your wet/dry vac effectively and safely.
STEP 1 Choose the Right Attachment
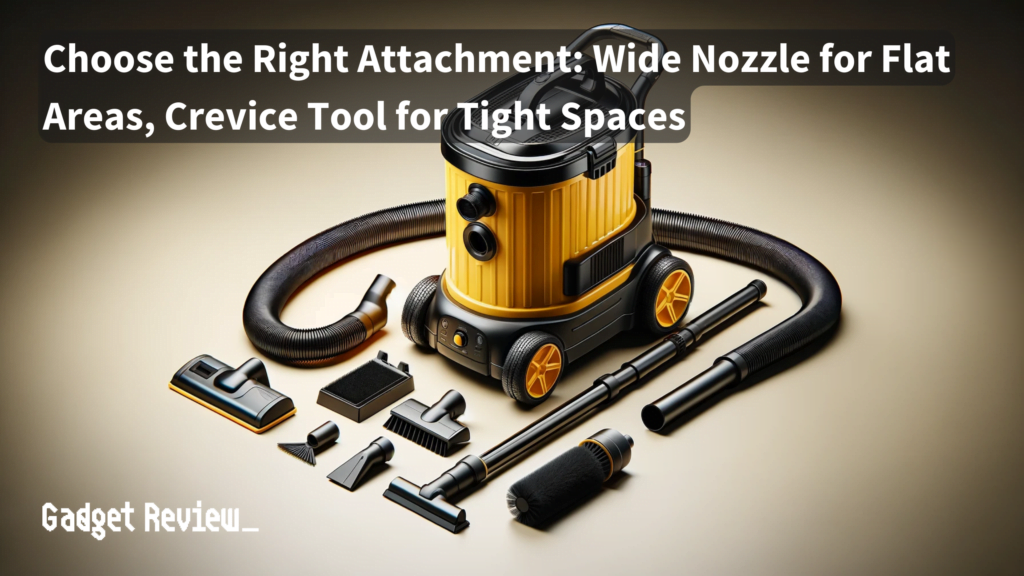
- For Large, Flat Areas: Use a wide nozzle or floor attachment. This helps cover more area and is effective for general water pickup.
- For Tight Spaces and Corners: Opt for a crevice tool. It gets into narrow spaces where water might accumulate.
- For Carpets and Upholstery: If available, use a squeegee attachment. This helps in pulling water out of fabric and carpet fibers.
STEP 2 Position Your Wet/Dry Vac
- Place your wet/dry vac close to the area you’ll be cleaning.
- Ensure the cord and hose have enough reach without stretching them too thin.
STEP 3 Start with the Worst Area
- Begin vacuuming from the area with the most water accumulation. This helps in reducing the spread of water to dry areas.
- Move the nozzle slowly over the water, giving the vac time to suck it up effectively.
STEP 4 Overlapping Passes for Thorough Cleaning
- Don’t just go over an area once. Make sure to overlap each pass to ensure no water is left behind.
- For carpets, go over the area in multiple directions to extract as much water as possible.
STEP 5 Regularly Check the Canister
- Keep an eye on the water level in the canister. Wet/dry vacs have a limit to how much water they can hold.
- Once the canister is full, turn off the vacuum, unplug it, and empty the water safely.
STEP 6 Addressing Remaining Moisture
- After removing the bulk of the water, go over the area again to pick up any residual moisture.
- For carpets and upholstery, you might need to press down slightly to extract water that’s soaked into the material.
STEP 7 Dispose of the Water Properly
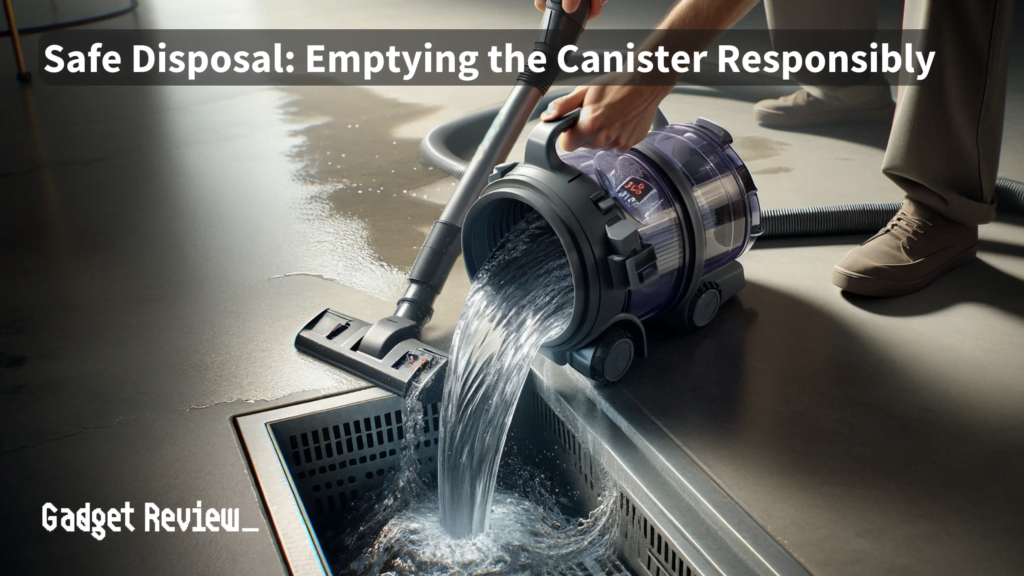
- Dispose of the collected water in an appropriate drain or outdoor area.
- Avoid pouring it into sinks or toilets (water with debris will cause clogs).
STEP 8 Clean and Dry the Wet/Dry Vac
- After use, rinse the canister and attachments with clean water.
- Allow all parts to dry completely before reassembling to prevent mold and mildew growth.
Post-Cleanup Care
Disposing of Collected Water
- Dispose of the water collected in your vac.
- Avoid pouring it into garden beds or areas where it could cause damage.
Cleaning the Vac
- Rinse the canister and attachments with clean water.
- Dry them thoroughly to prevent mold and mildew buildup.
Safety Considerations
Always prioritize safety. If the water is extensive or contaminated, consider calling a professional.
When to Call a Professional
In cases of severe flooding or when the water is too much for your vac, don’t hesitate to call a water damage restoration professional.
Keeping Your Home Dry and Clean
Owning a wet/dry vac is a smart move for any homeowner. With this guide, you now have the knowledge to use your wet/dry vac effectively for water removal, ensuring your home stays dry and clean in any situation.
Remember, the key is to act quickly and safely, using the right tools and techniques for the job.