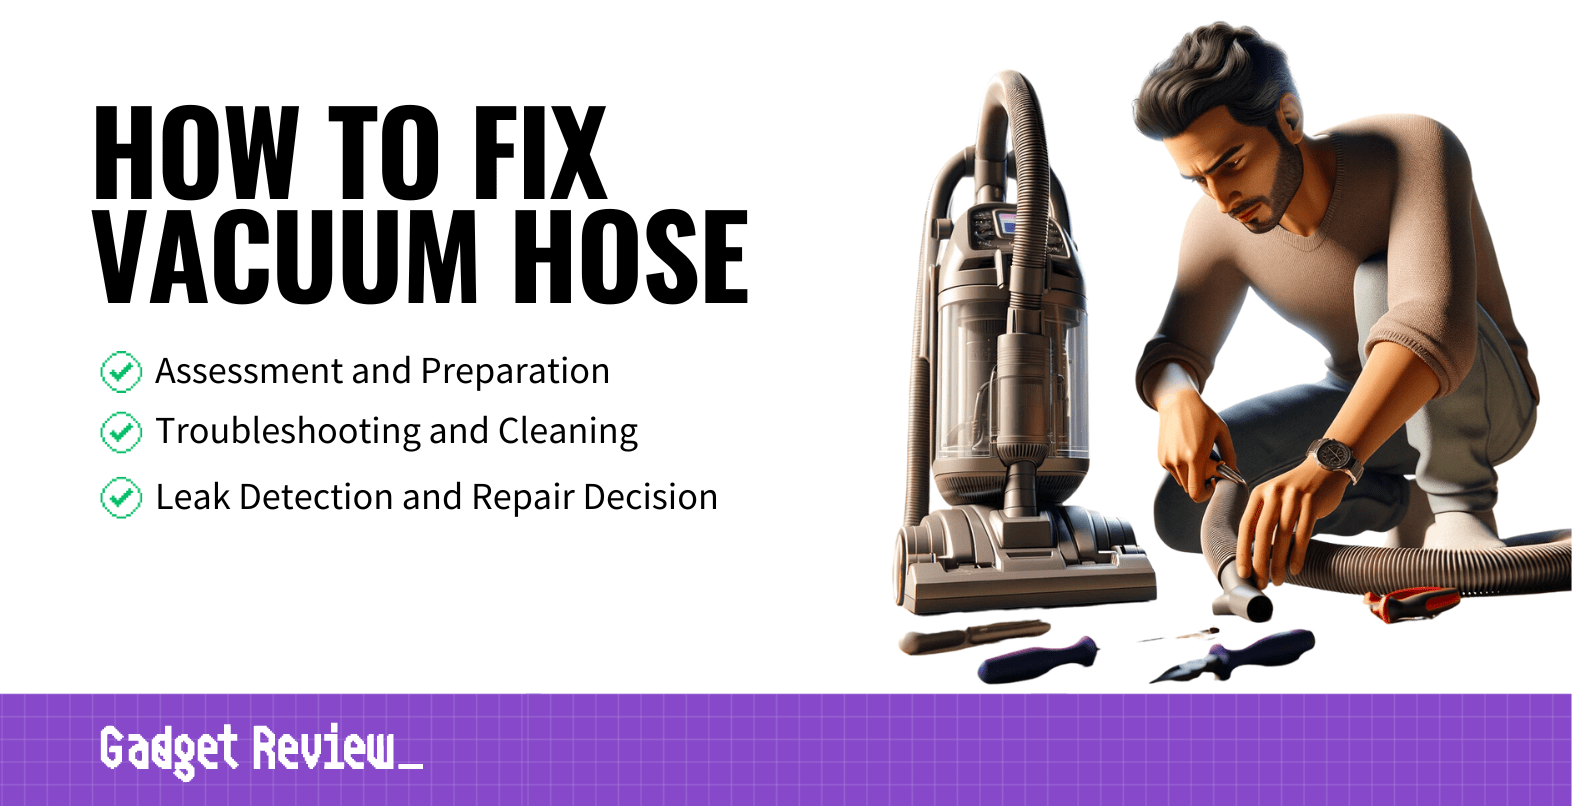
Looking to fix a vacuum hose? You don’t have to be a seasoned vacuum technician to troubleshoot, diagnose, and repair a leaky vacuum hose. Anybody can easily carry out this process. Even better, it should never take you longer than around a half hour to do, depending on your troubleshooting steps.
However, there are a few things to consider, such as whether it is better to replace the hose altogether. For an older or lower-end type of vacuum cleaner, repairing is almost certainly the way to go.
For higher-end vacuum cleaners, it might be best to replace the hose if repairing it is not feasible.
Repairing a Vacuum Hose Without Tape
Watch the video below to learn how to repair a vacuum hose without tape.
How to Fix a Vacuum Hose
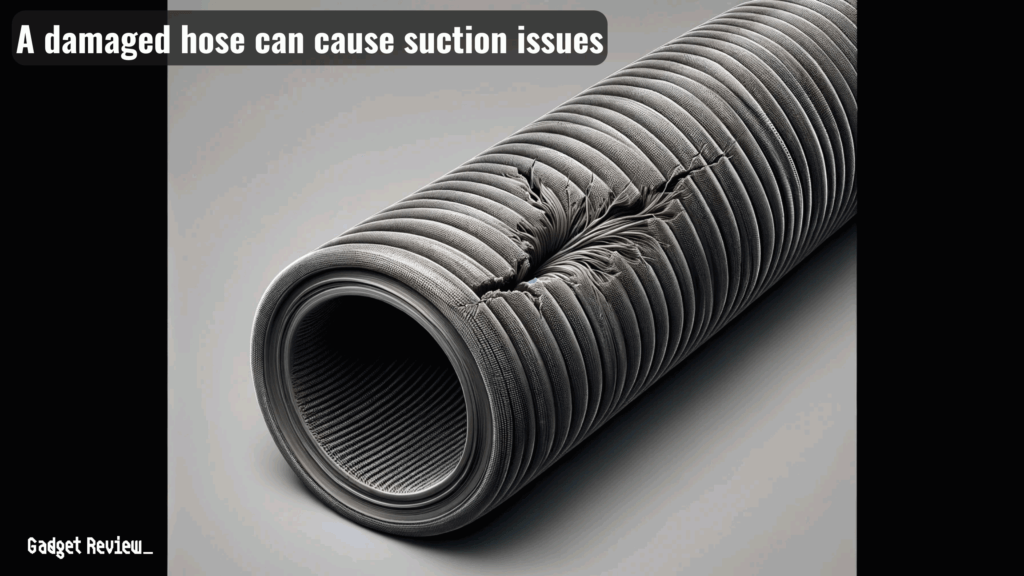
Figuring out how to fix a vacuum hose is about as easy as you could hope where repairs are concerned. Make sure that you look into what the brand has to say and any warranties you might have.
The same applies to fixing your vacuum cleaner in general. You might be able to get a new hose sent to you at little or no cost if you have any sort of purchase protection.
The contract might state that you must report any problems encountered to the brand, as well, or you risk voiding your warranty.
Vacuum Maintenance Tips
If you’re dealing with long hair in your household, our guide on the best vacuum for long hair will be useful. To effectively unclog your vacuum hose, read our detailed guide. Check out our tips on removing hair from a vacuum roller. Additionally, our resources on cleaning a bagless vacuum and using a wet-dry vac for water will help ensure your vacuum performs optimally. For those looking to upgrade or enhance their vacuum, explore the best vacuum accessories for efficient cleaning. If maintaining quiet surroundings is a priority, consider reading about the best quiet vacuum.
STEP 1 Gather Your Supplies and Tools
You don’t need many supplies for this job. The few you need should be easy to find at local hardware stores or even mainstream shopping centers. Here are some things to have on hand:
- A Flashlight
- Cleaning Rag
- Dish Detergent
- Wire Hanger
- Hose Sealant
- Gloves
STEP 2 Check for Potential Clogs
The first step in fixing a potential vacuum hose leak is to unplug it. Never cut or slice into a hose that has a current running through it.
Work through the hose as you troubleshoot it. You might be experiencing a loss of suction power or debris spitting back because of a clog.
If your hose is translucent, you can use a flashlight to check for potential clogs. This should work even if the hose is on the darker side. You should see a dark lump.
warning
If your vacuum’s motor is underperforming, it might need a repair. Our article on vacuum motor repair provides essential troubleshooting tips. For robot vacuums, proper maintenance is crucial. Our guides on fixing a Roomba and installing or replacing robot vacuum bumpers will help keep your device in top condition. If you have a wet carpet, learn effective solutions in our guide on how to dry wet carpet without a vacuum. When disposing of your old vacuum cleaner, follow the correct procedures in our guide on how to dispose of vacuum cleaners to avoid environmental harm.
STEP 3 Clear Clogs and Try Again
Use your wire hanger to slide into the hose and break up any clogged materials. You should also clean your hose thoroughly using soapy water to give it a good scrub.
Rinse it off in cool water and let it completely air dry before reattaching the hose to the vacuum. After this, turn your vacuum back on and check the suction power.
This will tell you if it was just the clog all along or if you’re still facing problems with suction power.
STEP 4 Test For a Potential Leak
Once your hose is clean, it’ll be much easier to check for leaks. Even if your flashlight test doesn’t turn up any clogs, you’ll still want to clean all areas thoroughly.
Some cracks are big enough to spot, but you may not see them because collecting grime makes it difficult. Turn the vacuum on and run your hands down the hose slowly.
You’ll be able to feel any place where a leak has disrupted the flow of air.
Maximizing Robot Vacuum Use and Maintenance
For those curious about the longevity of their robot vacuum, check out our article on robot vacuum lifespan. If you’re debating between a robot vacuum and a regular one, our comparison of a robot vacuum vs. a regular vacuum can help you decide. Learn about how loud a robot vacuum can be to ensure it fits your household’s noise tolerance. To understand the power requirements of your cleaning devices, read our article on how many amps a vacuum uses. For deep cleaning, you might also want to explore our guide on the best steam cleaners to find a suitable option for your home.
STEP 5 Decide Whether to Repair or Replace
Now that you’ve figured out that what you’re dealing with is a leak, it’s time to figure out if it’s worth repairing. In most cases, replacing your hose isn’t a bad idea.
Sealant is only a temporary fix and will eventually wear out and need more sealant. If it’s an older type of vacuum cleaner, then you’ll probably just want to slap on sealant and call it a day.
For newer or higher-end vacuum models, it’s recommended that you just replace the hose altogether and solve the problem entirely.
STEP 6 Repair the Leak With Your Sealant
Using sealant is a quick, painless process. Put on your gloves to protect your hands from getting sealant on them, and make sure to read any warnings on the packaging for skin exposure.
Make sure the area you’re applying the sealant to is entirely dry, as well. Follow the directions that your sealant comes with to ensure correct application.
If you incorrectly use apply sealant, you could find yourself in the same position sooner than you’d think.


