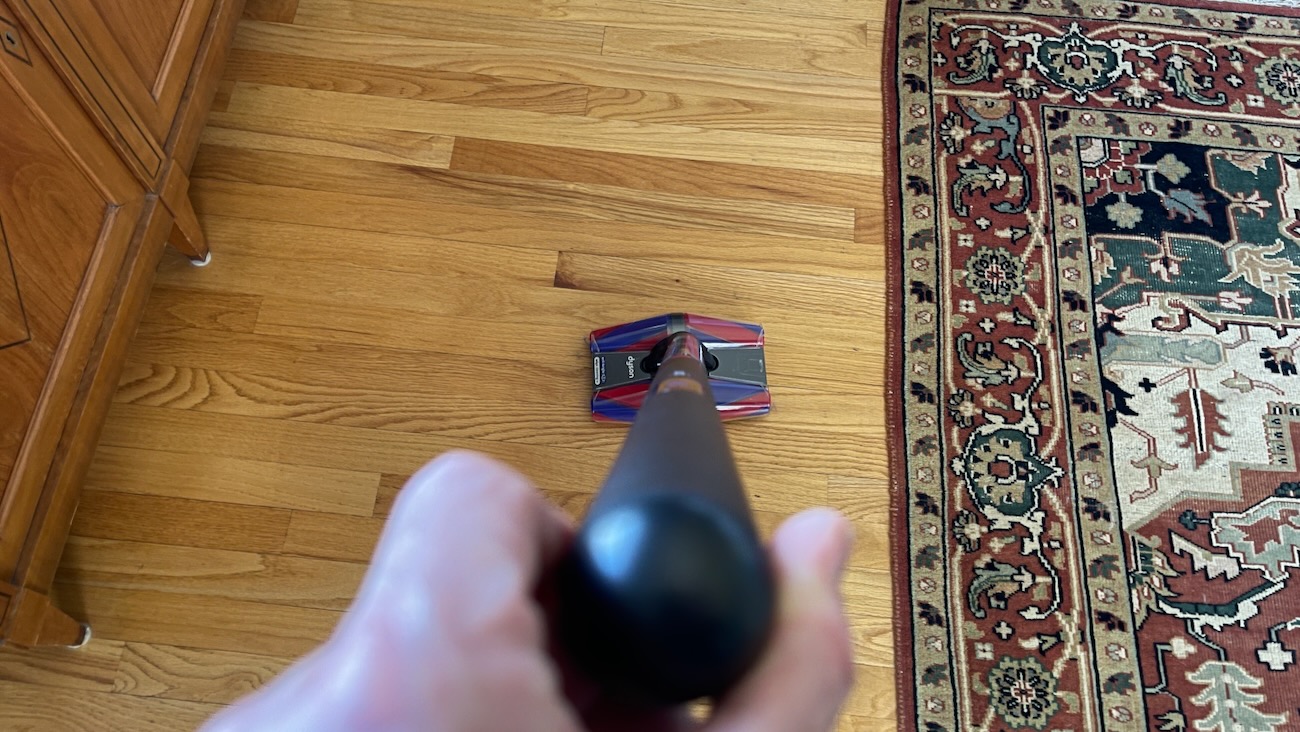
Even great vacuum cleaners occasionally face motor issues.
Understanding how to diagnose and repair a vacuum motor extends the appliance’s lifespan.
However, before you dive into repairing your vacuum motor yourself, keep in mind that manufacturer warranties may cover it. Alternatively, if you’re subscribed to Akko insurance, they can repair it for you.
Signs Your Vacuum Motor Needs Repair
Vacuum Maintenance Tips
Maintaining your robot vacuum can extend its lifespan and improve its performance. If you’re experiencing issues, resources such as how to fix a Roomba can help get it back in action. For general issues, our robot vacuum troubleshooting guide offers comprehensive solutions. To keep your vacuum’s bumpers in top condition, find out how to install and replace robot vacuum bumpers. Prevent your vacuum from getting stuck by following tips on how to keep robot vacuum from getting stuck under furniture. If you need to clean up water, consider how to use a wet dry vac for water. For routine maintenance, check out how to clean a bagless vacuum to ensure optimal performance.
- Loss of Suction Power: A noticeable decrease in suction power often points to motor or component issues.
- Unusual Noises: Sounds like grinding or whirring can indicate motor problems that require immediate attention.
- Overheating: Frequent overheating may signal a malfunctioning motor.
Vacuum Motor Replacement
For a detailed walkthrough on vacuum motor repair, watch the video below.
Let’s dive into the steps.
Pre-Repair Checklist
STEP 1 Take Safety Precautions
Always disconnect your vacuum from power sources before attempting repairs.
STEP 2 Gather the Necessary Tools and Materials
Prepare the appropriate tools and replacement parts before starting the repair.
You’ll need some basic tools like a screwdriver, some pliers, and a new motor or parts if the old one is badly broken.
Enhance Your Vacuum’s Performance
Increase your vacuum’s efficiency by learning how to increase vacuum suction. Understand the lifespan of your device with our guide on how long robot vacuums last. Discover the technology behind your vacuum in our article on what is gyro navigation in robot vacuums. If you’re experiencing issues with the hose, here’s how to fix a vacuum hose. For a quieter cleaning experience, explore options in our best quiet vacuum guide. Additionally, consider the pros and cons of a broom vs. a vacuum or a robot vacuum vs. a regular vacuum to determine the best fit for your cleaning needs.
Step-by-Step Guide to Vacuum Motor Repair
STEP 1 Open the Vacuum
Carefully remove the screws or clips that hold your vacuum together according to the model you have.
Remember where each screw goes so you can put them back later.
STEP 2 Locate the Motor
The motor is usually a big, round thing with wires connected to it. It might be hidden under other parts, so gently move them out of the way if you need to.
STEP 3 Check for Obvious Problems
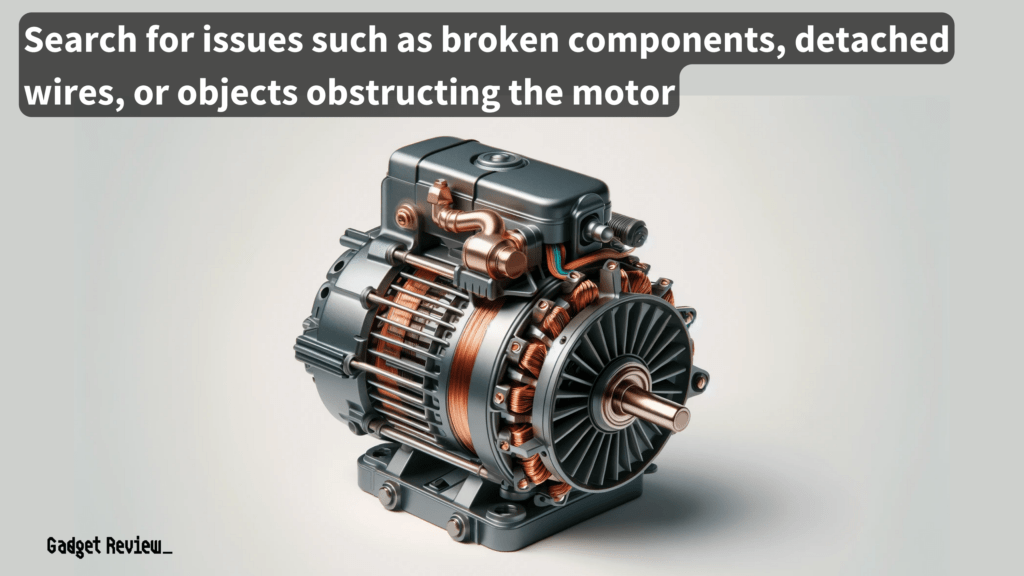
Look for things like broken parts, loose wires, or stuff that’s stuck in the motor. Sometimes, just removing debris or reconnecting a wire can fix the problem.
STEP 4 Test the Motor
If you can, carefully connect the motor to power and see if it works. If it doesn’t turn on, makes weird noises, or smells funny, it might be broken.
STEP 5 Replace or Fix Parts
If a part of the motor is broken, like a belt or a brush, you can usually replace just that part. If the whole motor is bad, you might need to get a new one.
STEP 6 Reassemble the Vacuum
Once you’ve fixed or replaced the motor, carefully reassemble everything.
Ensure the parts are secure and the screws are tight.
STEP 7 Test Your Vacuum
Plug it in and turn it on (but be ready to turn it off quickly if something’s not right).
If it works well, great job! If not, it’s time to take it to a repair shop.

warning
Understand why robot vacuums are expensive to make informed purchasing and maintenance decisions. Additionally, if you own a Dyson vacuum, learn how to register your Dyson vacuum to take advantage of warranty and service benefits. Avoid battery damage by knowing how long to charge a robot vacuum. Dispose of your old vacuum properly by following guidelines on how to dispose of vacuum cleaners to prevent environmental harm.
Understanding Vacuum Motors
- Types of Vacuum Motors: Vacuums come with different motor types, each with specific mechanisms and potential issues. Knowing your vacuum’s motor type helps with effective troubleshooting.
- How Vacuum Motors Work: A vacuum’s primary function is to create suction. It does this by spinning a fan to draw air into the machine, a fundamental concept in diagnosing motor issues.
Troubleshooting Common Vacuum Motor Problems
- Blocked Airflow: Check and clear any blockages affecting motor performance.
- Faulty Bearings: Identify and replace worn bearings.
- Electrical Issues Address: Electrical problems impacting motor functionality. Check all wire connections, as a bad connection can often be the culprit.
warning
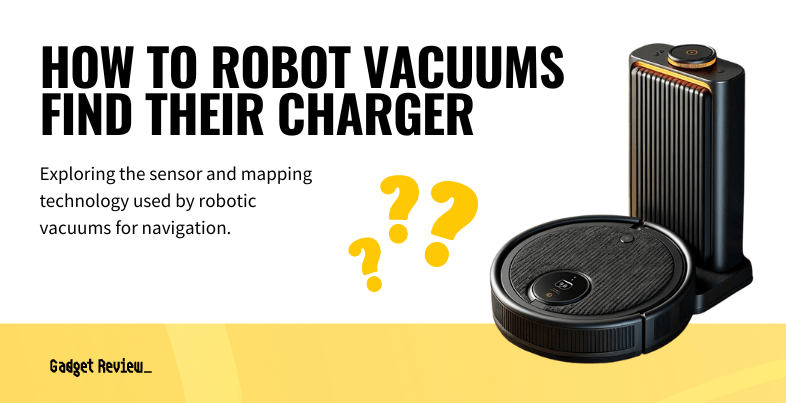
Manage expectations around noise levels with our guide on how loud robot vacuums are. If you have wet carpets, avoid damaging your vacuum by learning how to dry wet carpet without a vacuum. Prevent electrical issues by understanding how many amps your vacuum uses. Ensure your robot vacuum can find its charger with our tips on how robot vacuums find their charger.
Maintenance Tips to Prolong Motor Life
- Regular Cleaning: Maintain cleanliness to prevent motor issues.
- Proper Usage and Storage: Use and store your vacuum correctly to minimize wear and tear.
- When to Seek Professional Help: Recognize when a problem requires professional repair.
It Can Be Done
Vacuum motor repair can be a fulfilling DIY project.
With the right knowledge and tools, you can repair your vacuum motor confidently.