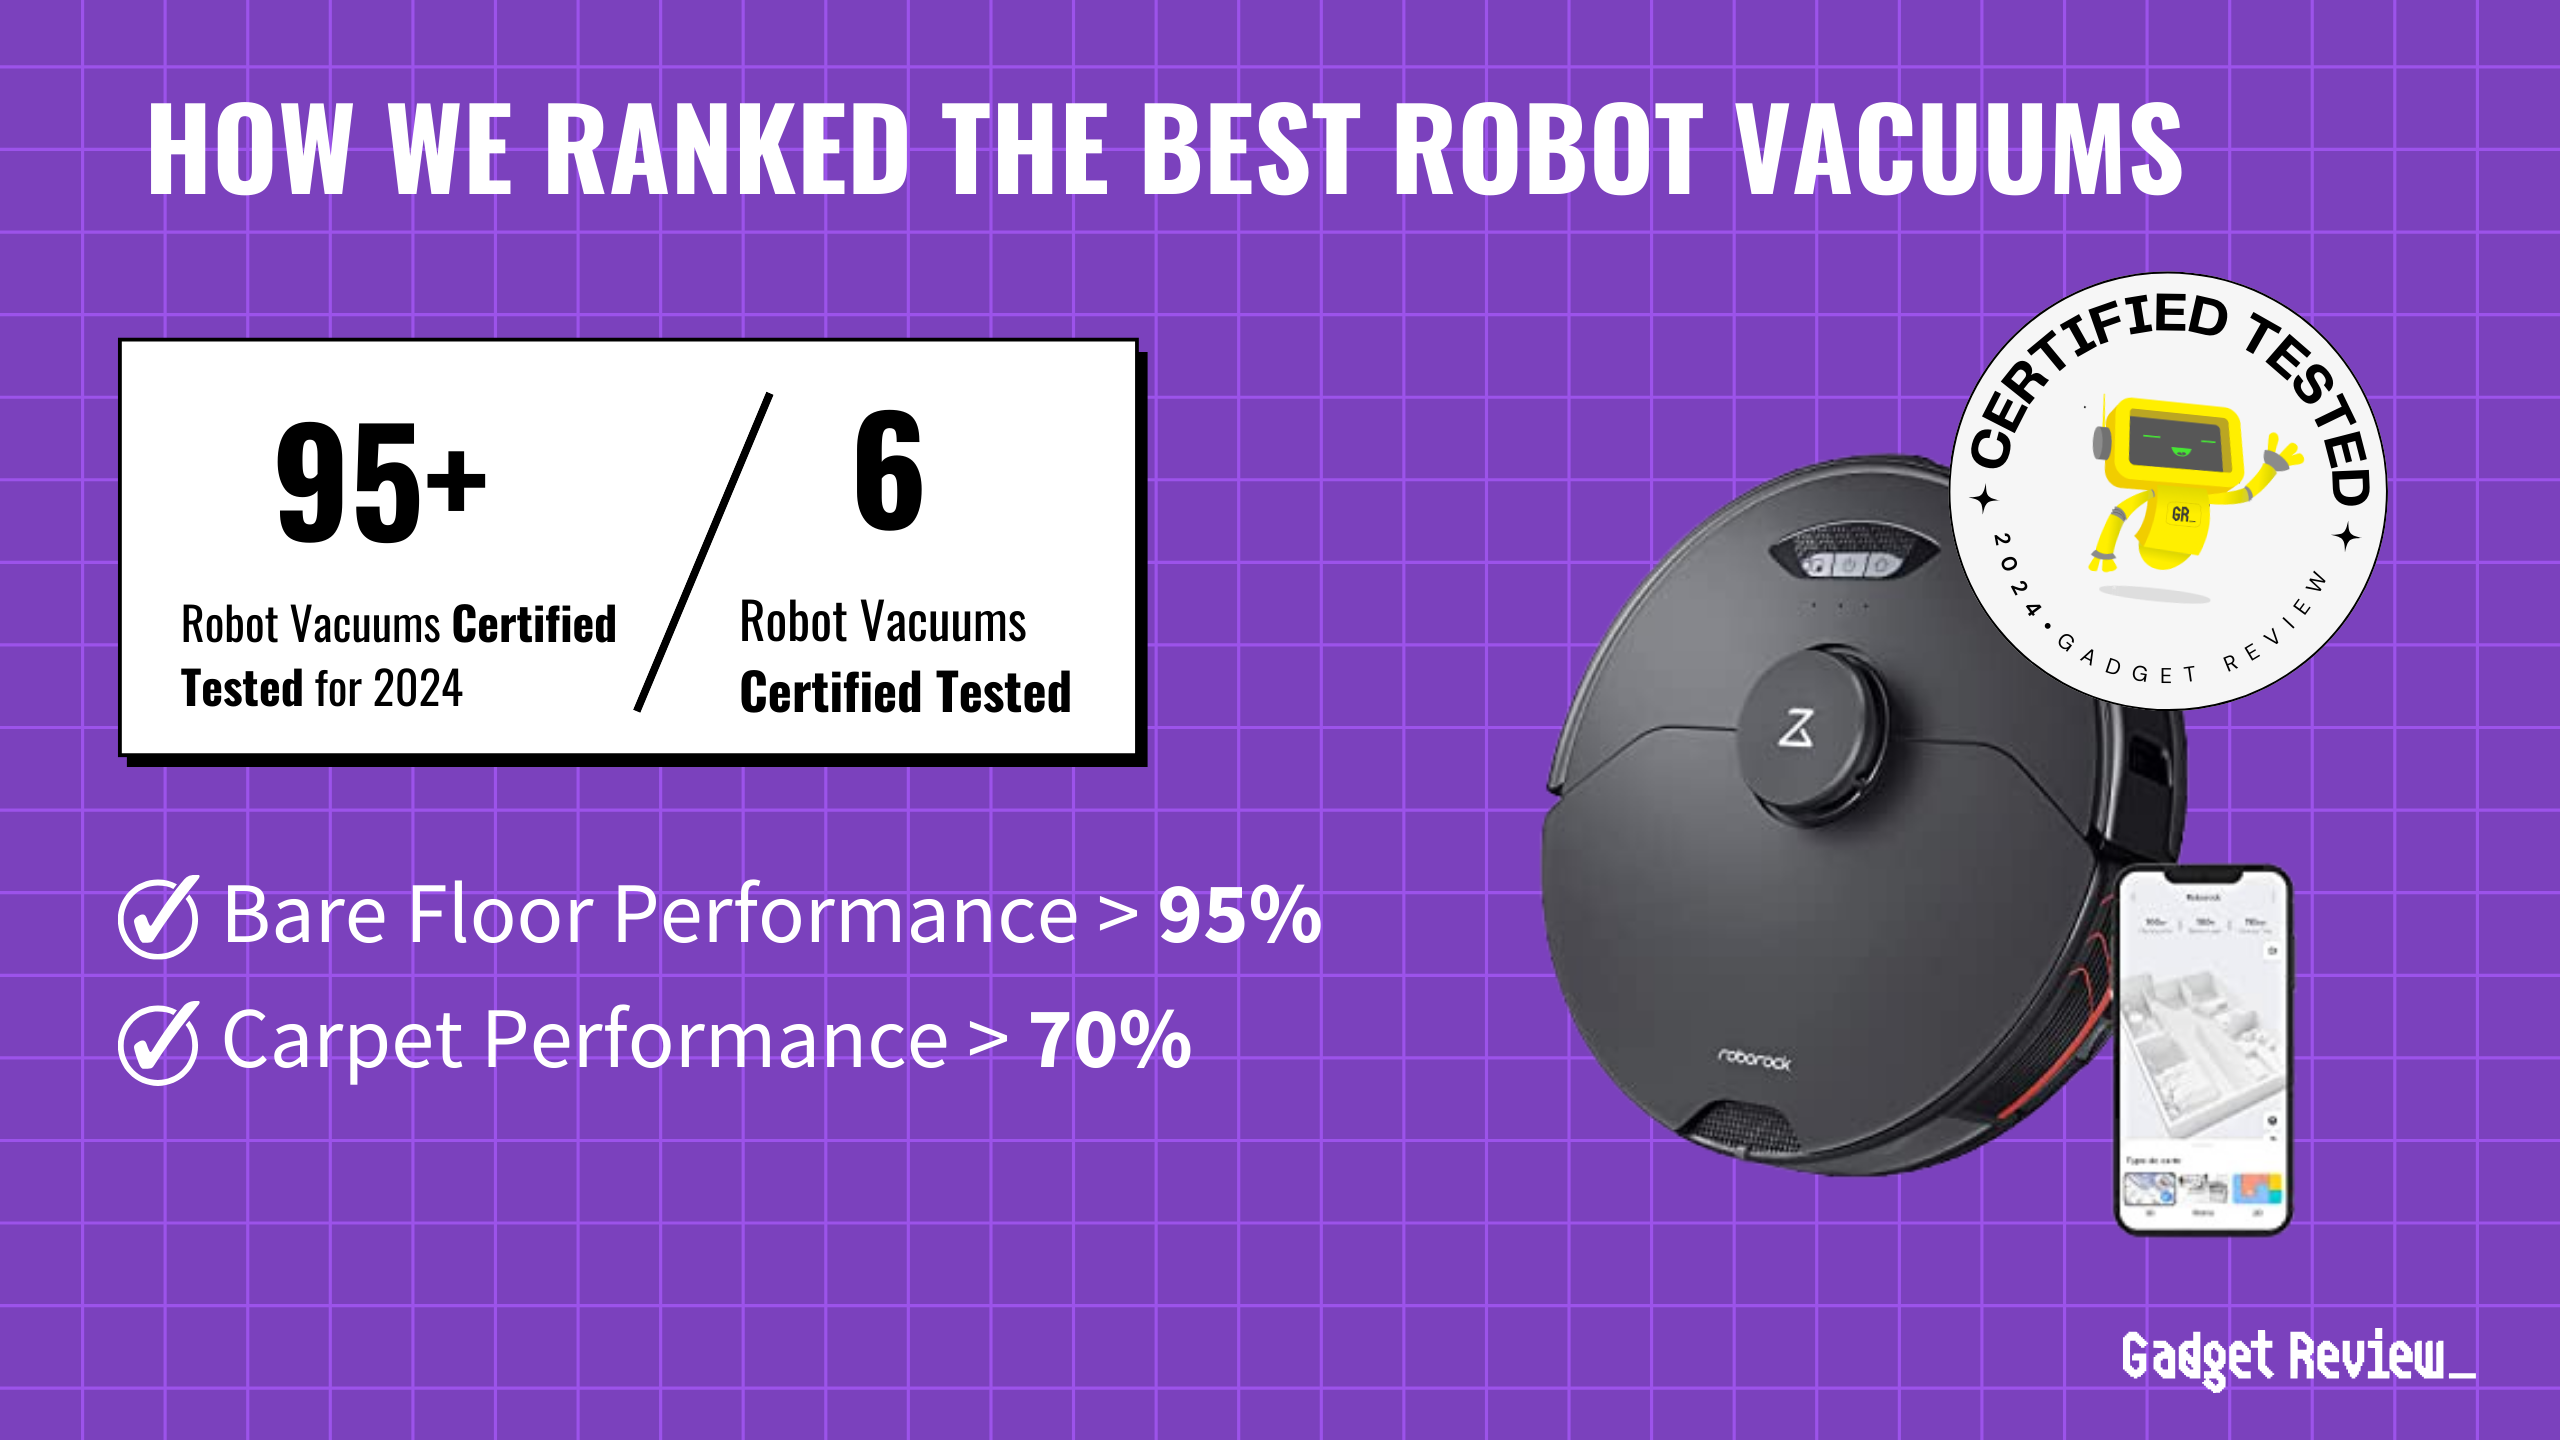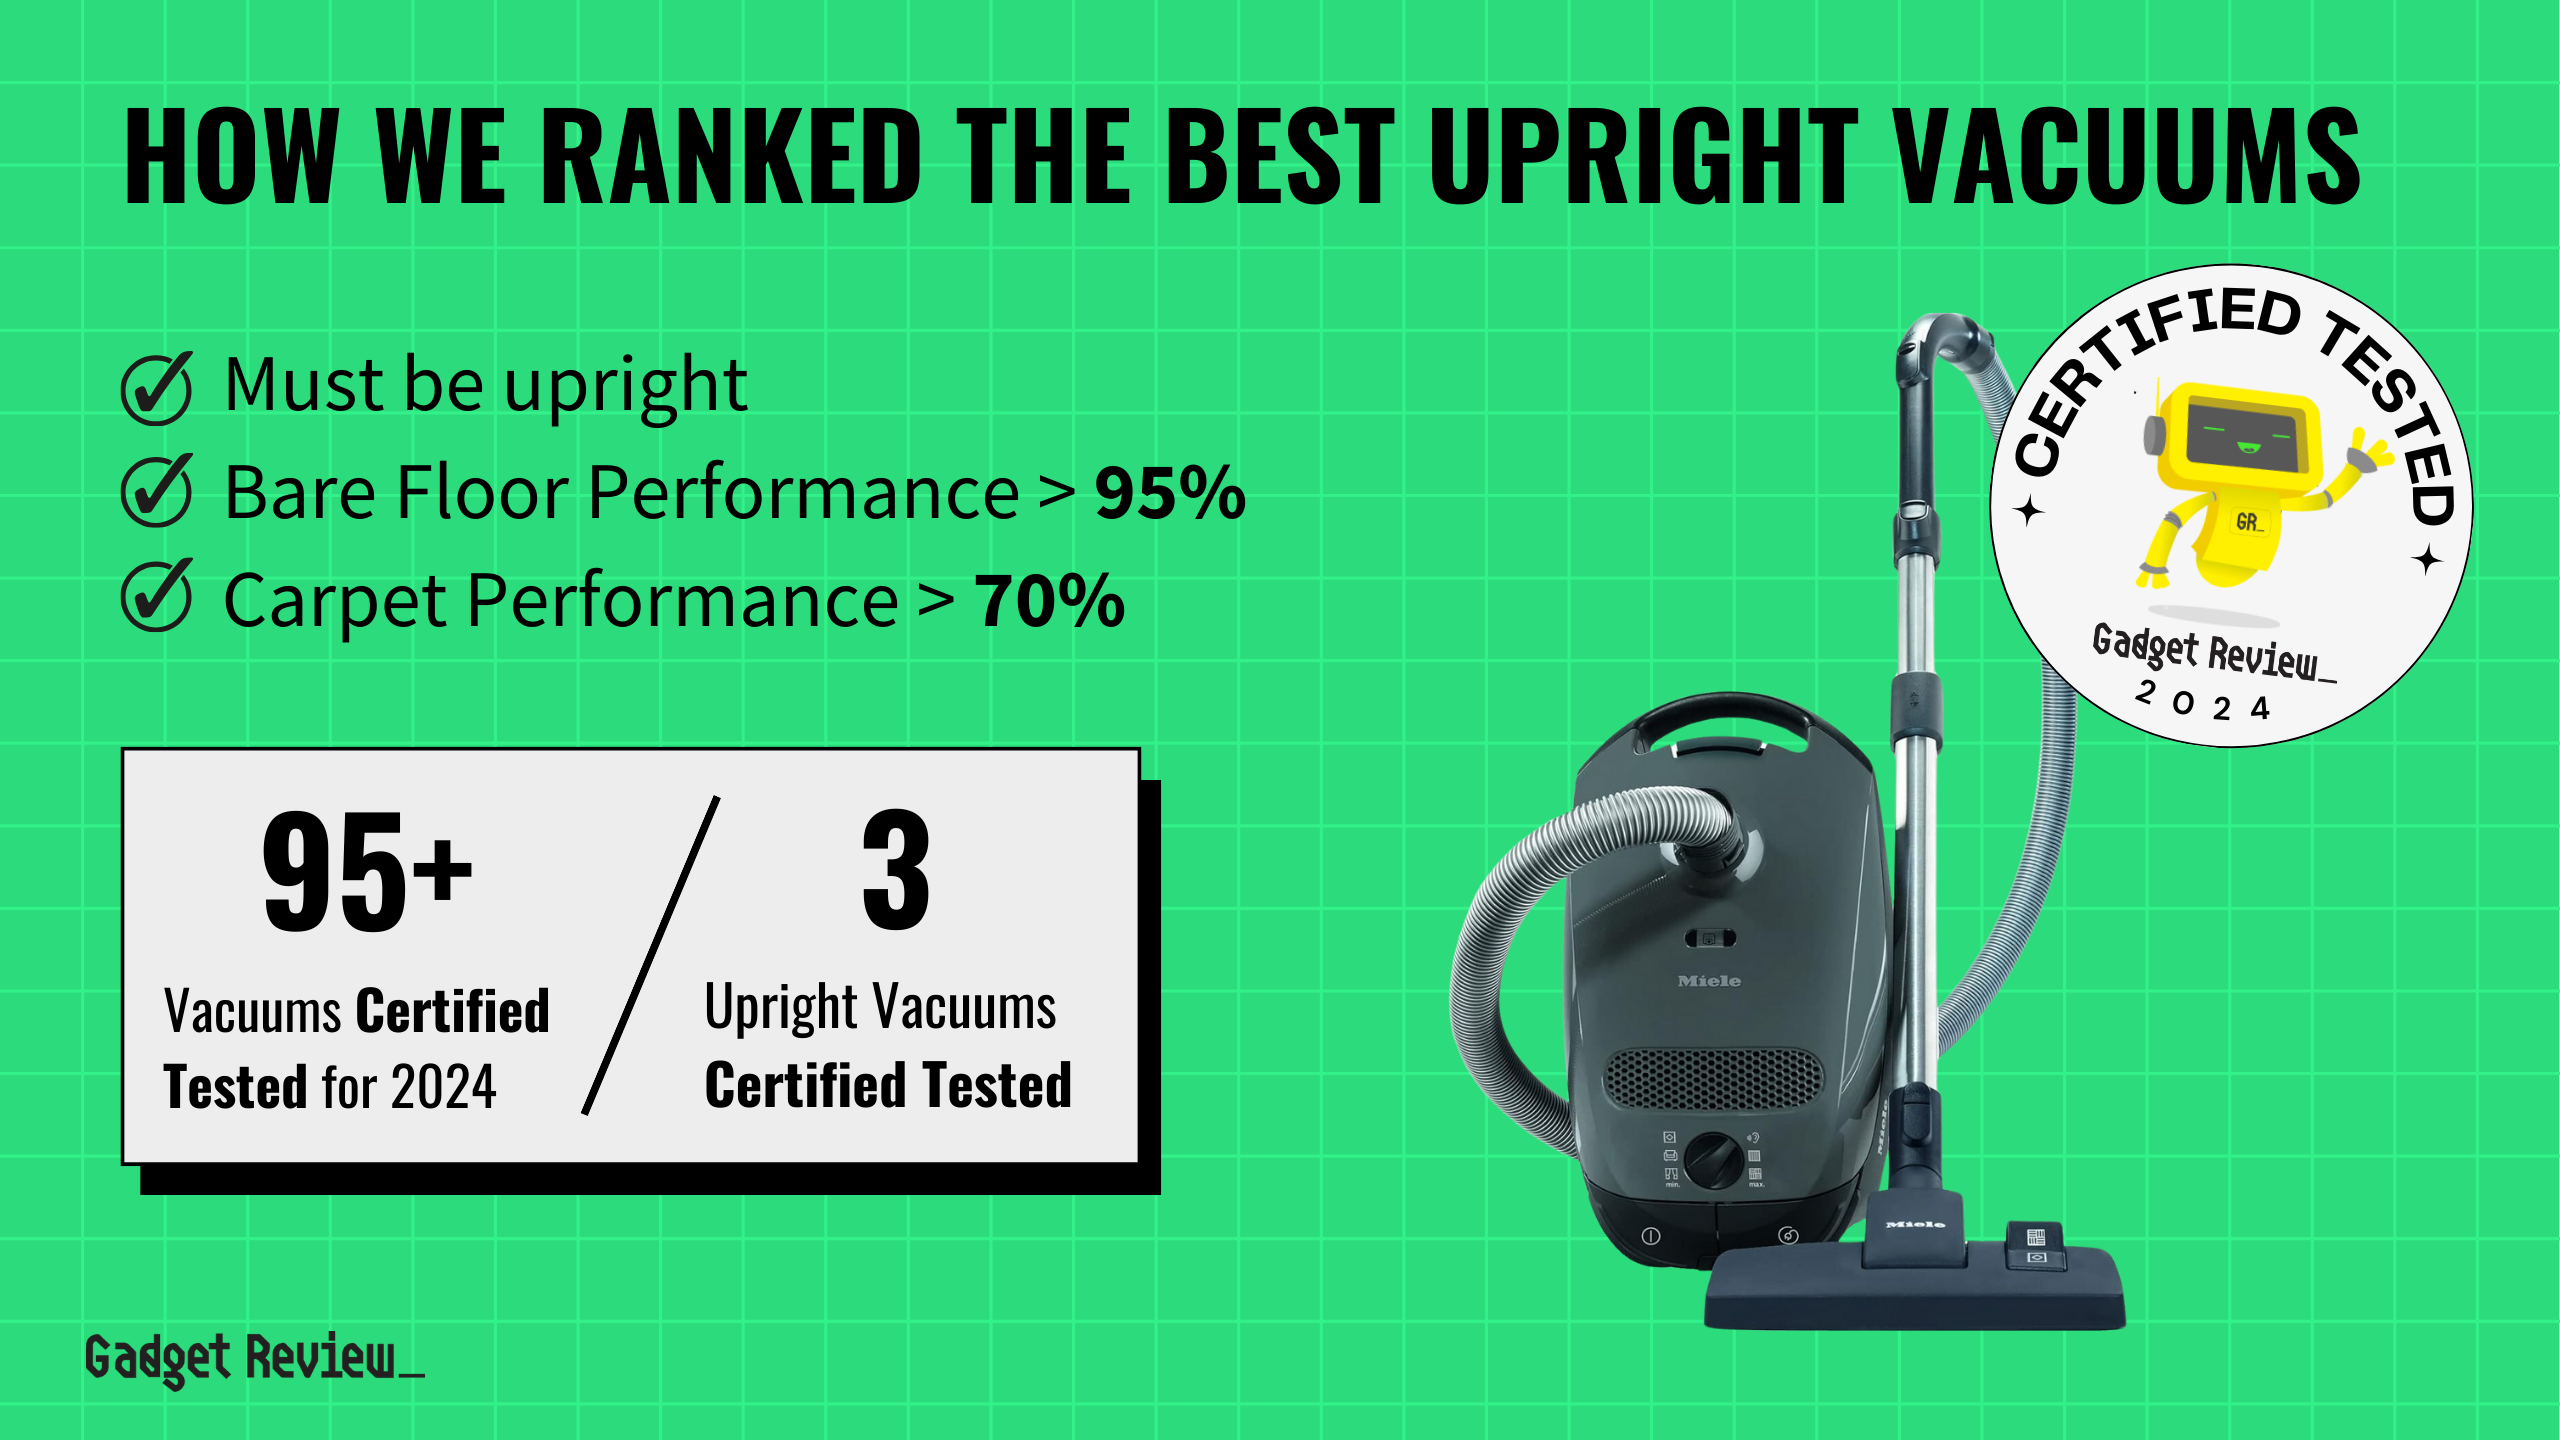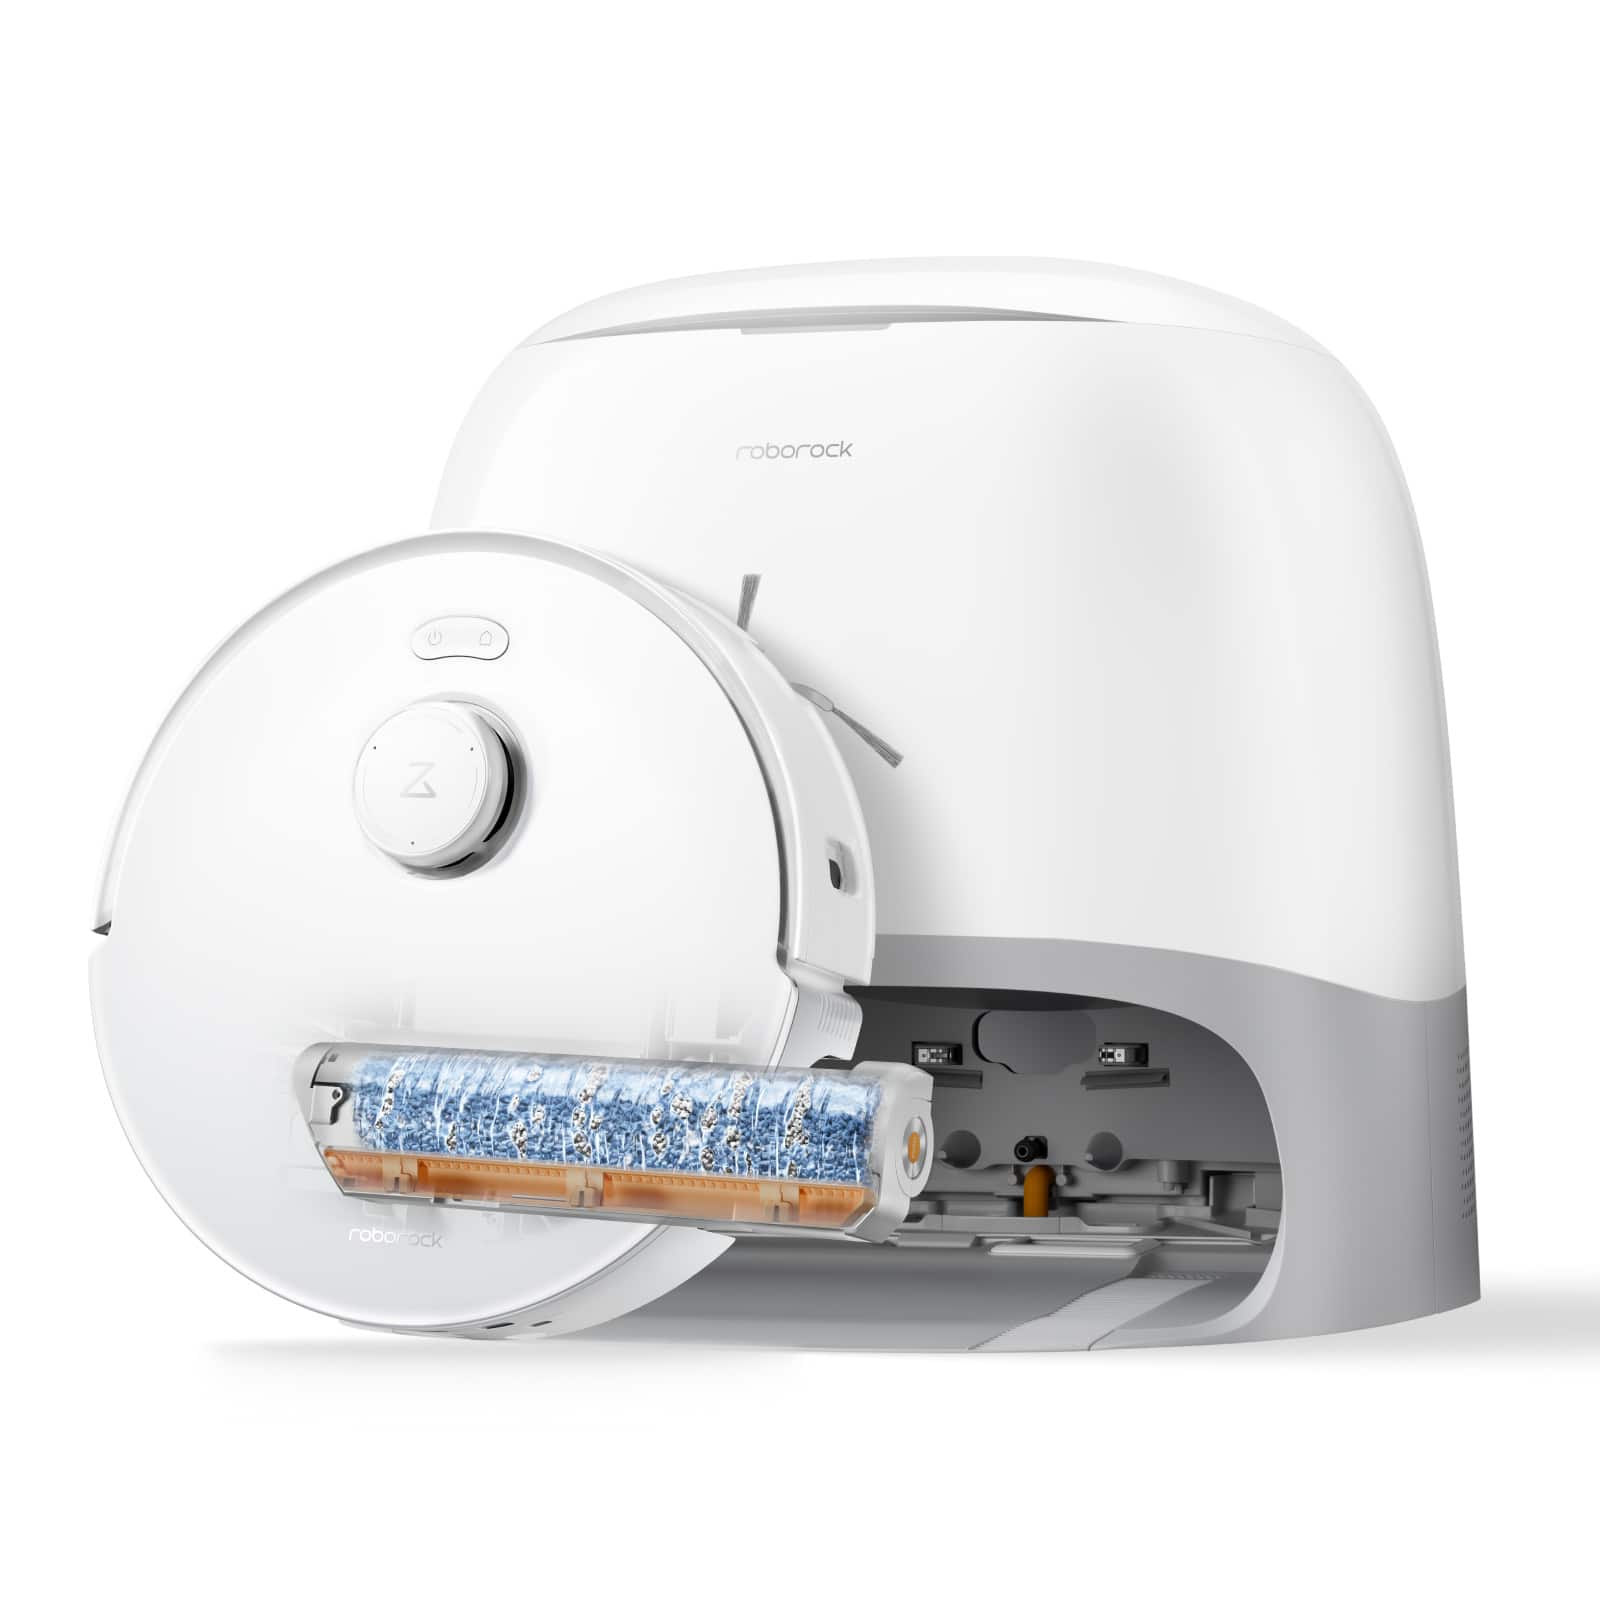
Vacuum cleaners require regular care to function at their best. For those with bagless models, knowing how to clean and maintain your strong vacuum cleaner helps it work efficiently.
To clean your bagless vacuum, the steps are rather simple:
- Disassemble it
- Wash the canister and filters
- Dust the compartments and clear clogs
- Reassemble it
Simple, right?
Actually, there’s a little more to it. For instance, you’ll want to really clean the roller brush or beater bar from pet hair using a seam ripper.
Moreover, using a soft cloth on the vacuum head will remove any prints or dust on the outside.
The list above is just a quick rundown for a clean vacuum. For the full deep cleaning steps, you’ll want to keep reading.
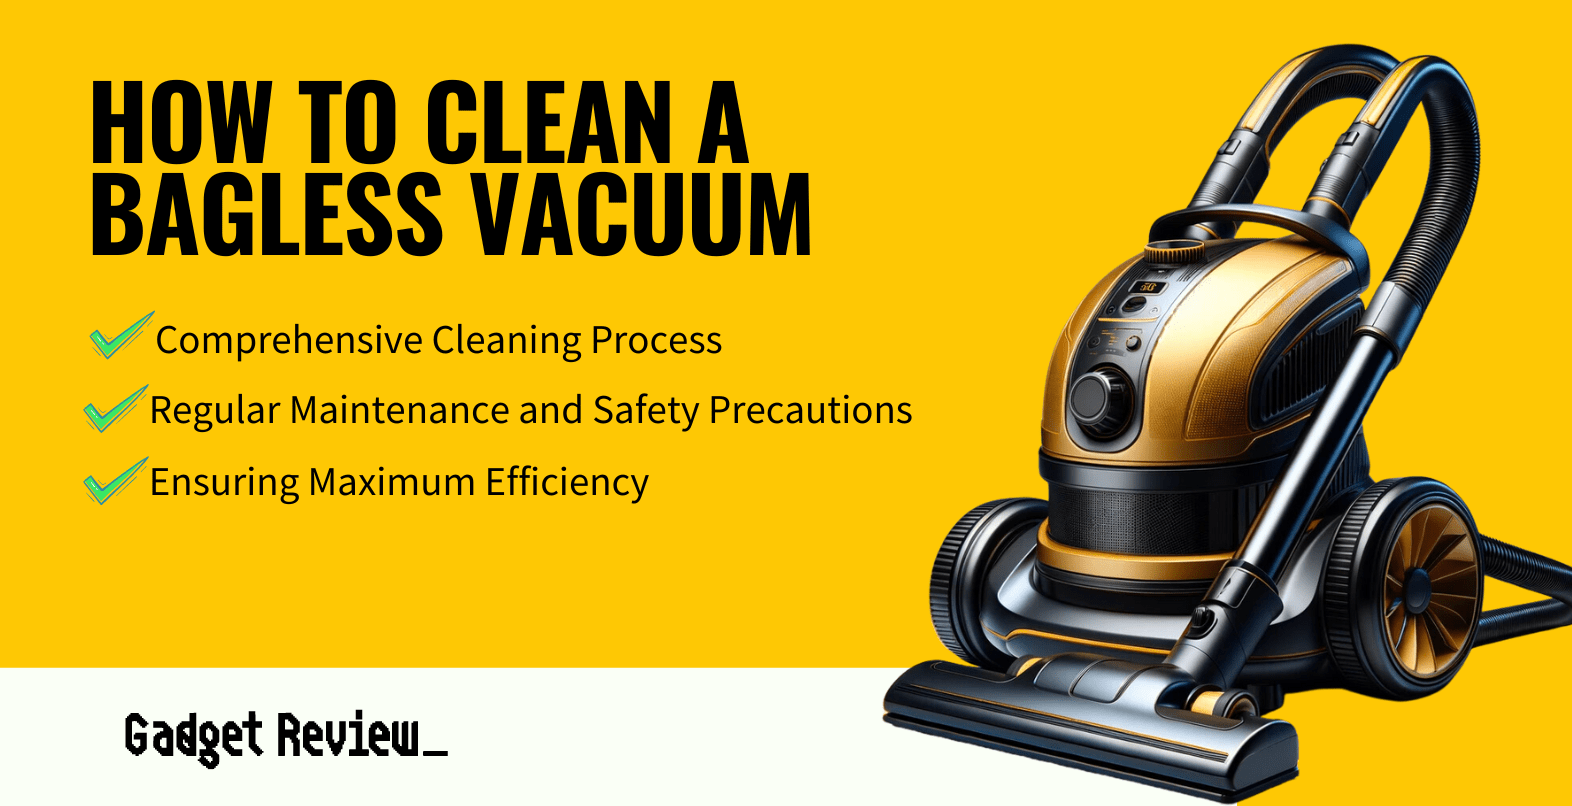
Cleaning a Bagless Vacuum
For those who want visual guidance, check out the video walkthrough for more help.
Steps to Cleaning Your Bagless Vacuum
STEP 1 Preparation: Gather Your Tools
Before you start, make sure you have the following items:
- Dish soap
- Microfiber cloth
- Small brush or toothbrush
- Compressed air can
- Scissors
- Screwdriver
- Dryer vent brush
- New filter (if necessary)
STEP 2 Safety First: Unplug your Unit
Unplug your vacuum before beginning.
Wear a dust mask to protect yourself from airborne particles and lay down a tarp to catch any mess.
STEP 3 Disassembly: Follow the Manual
Consult your vacuum’s owner’s manual for specific instructions on disassembling your model.
This step is crucial for accessing all the parts that need cleaning.
STEP 4 Canister Cleaning: Wash or Wipe
If your model allows, wash the canister in warm, soapy water and let it air dry.
If not, a thorough wipe-down with a microfiber cloth will suffice.
Ensure the canister is completely dry before reassembling to avoid any electrical hazards.
STEP 5 Filter Maintenance: Replace or Clean
Filters should be replaced or cleaned every three to six months.
Washable filters can be rinsed under warm water until the water runs clear.
Allow them to dry fully before putting them back in place.
STEP 6 Dusting and Air Blowing: Reach the Unreachable
Use a microfiber cloth to dust internal compartments.
For areas you can’t reach, use compressed air to blow out dust and debris.
STEP 7 Brushroll and Drive Belt: Clear and Inspect
Remove tangled hair and debris from the brushroll using scissors.
Check the drive belt for signs of wear and replace it if necessary.
STEP 8 Clearing Clogs: Ensure Free Airflow
Inspect the hose and air inlet for clogs.
Use a wire hanger to dislodge any blockages, ensuring that air can flow freely through the vacuum.
STEP 9 Reassembly and Testing: Put It All Back Together
Once everything is clean and dry, reassemble your vacuum. Follow the instructions in your manual to ensure everything is put back correctly.
Test the vacuum to make sure it’s working properly.
Regular Maintenance: The Key to Longevity
To keep your vacuum in peak condition, clean it every six months or more frequently if you have pets or use it heavily.
Always empty the canister when it’s halfway full to maintain maximum suction.
And regularly inspect for clogs, cracks, and wear, especially on the belt and brush roll.
Keeping Your Vacuum at Its Best
Ensure the life of your vacuum cleaner by maintaining the canister. By following these steps, you can keep your vacuum running smoothly.
Remember, a well-maintained vacuum is a key player in keeping your home clean and healthy.