If you are experimenting with your wireless network, you may wonder how to turn off DHCP on a router. The best routers, after all, allow for all kinds of setting adjustments to suit different consumers. Why would you turn off DHCP on a router and how would you go about doing it? Keep reading to find out.

Key Takeaways_
- Turning off a DHCP server can help improve the overall security of your wireless network, though it does complicate the process of connecting to valid devices.
- Start by heading into the network settings adjustment page of your wireless router, which is typically done by entering the router’s static IP address or current IP address into a web browser on a PC or mobile device.
- Look for the DHCP settings page, and be sure to disable the feature. Save your changes and reset the router.
Why Turn Off DHCP on a Router?
Router Configuration Tips
When turning off DHCP on your router, it might be beneficial to understand how to SSH into your router for more advanced configurations. Additionally, knowing how to disable AP isolation can help ensure all your devices can communicate effectively. If you experience connectivity problems after turning off DHCP, it might help to read about how to fix the red light on your WiFi router and investigate why your WiFi extender might be slow.
The main reason one would do this is for increased security. DHCP is the protocol your router uses to automatically give each of your connected devices an IP address. It does this automatically via a pool of available IP addresses. If you turn off DHCP, you’ll have to manually configure each connected device and assign it an IP address. This is more time-consuming but is considered to be safer.
STAT: By default, the router acts as a DHCP server. The router assigns IP, DNS server, and default gateway addresses to all computers connected to the LAN. The assigned default gateway address is the LAN address of the router. (source)
For more useful info on networking, check out our guide to converting an older router into an access point and turning off the WiFi on a router.
How to Disable DHCP on a Router
Enhancing Your Network
While configuring your router, consider the benefits of using your own equipment by learning how to replace your ISP router with your own. Additionally, explore the differences between a business router and a home router and know what to do with an old router to help you repurpose or recycle your devices effectively. Understanding the latest technologies can greatly enhance your network. Explore 5G on your wireless router for faster speeds and compare the benefits of a dongle vs. WiFi router to find the best solution for your needs. If your current equipment isn’t performing as expected, find out why your WiFi booster might not be working and consider upgrading to the best wireless internet extender.
Each router is different, so it will demand a unique process for turning off DHCP, so we have tried to keep these guidelines as universal as possible. Don’t fret, however, as it is not too difficult of a process, akin to learning how to turn off 5GHz on a router. Here are the steps to take.

insider tip
While in the settings menu, you can disable wireless bands or conduct network surveys, among other tasks.
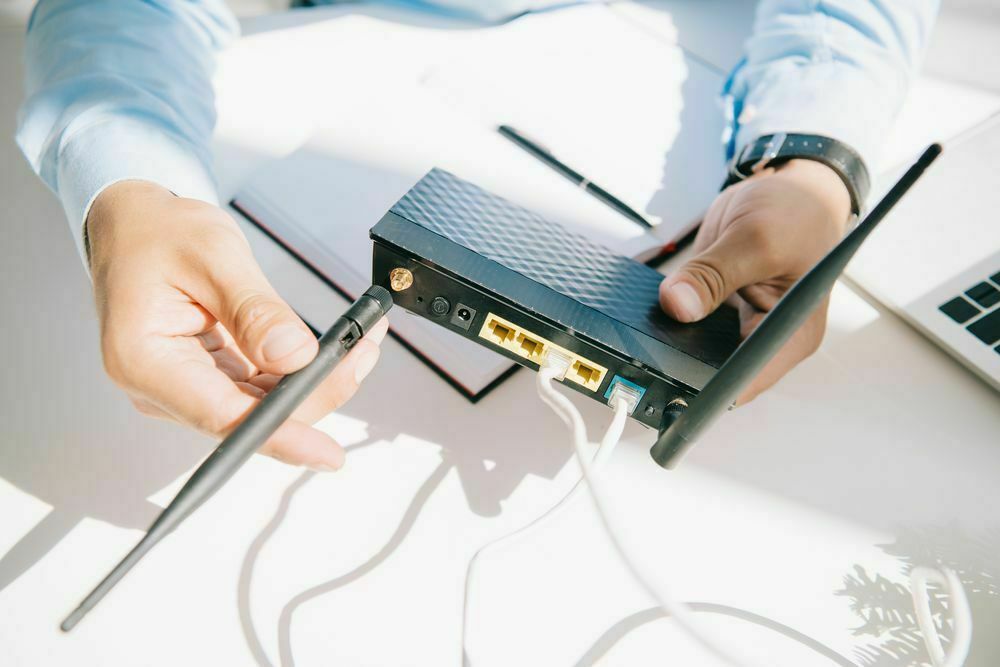
STEP 1 Ensure the Router is Connected
- Make sure your router is connected properly to the modem via an Ethernet cable and that both devices are operating successfully.
- The modem should transmit a valid Internet connection, and the router should transmit this signal wirelessly to all connected devices.
STEP 2 Access Admin Settings
- You’ll have to access the settings page or admin panel to make these changes. This process differs from router to router, so check your instructions for specific steps for your model. You can also perform a quick web search for specifics.
- In most cases, you can access a router’s settings page by entering the public IP address into the address bar of a web browser.
- Other options? Open up the firmware software or use the manufacturer’s mobile app.

warning
Be careful while managing your router settings. Disabling DHCP can expose your network to security risks if not done correctly. It’s essential to learn how to prevent a DDoS attack on your router and understand what is UPnP on a router to safeguard your network. If you plan to reset your router, learn what happens if you reset your router to avoid unexpected downtime or loss of settings. Moreover, for better control over your network, find out how to block sites through your router to restrict access to unwanted or harmful websites.
STEP 3 Disable DHCP
- Find the part of the settings menu that allows you to enable or disable DHCP.
- Disable the function and save your changes.