
When you’re looking for the best 24-inch monitor, consider factors like image quality, response time, and ergonomics. Excellent brightness, accurate color gamut coverage, and a good contrast ratio are key for vibrant and dynamic visuals. Monitors with low input lag and high refresh rates will also ensure smooth motion, crucial for gaming and fast-paced content.
We analyzed 196 monitors and selected three top performers. Our process included 320,054 reviews and identified that 71% of expert reviews weren’t trustworthy. Using a combination of our True Score and Trust Score, we certified products as tested and filtered out fake and low-quality reviews, ensuring that our winning monitors stood out for their verified performance and reliability. This provides you with the confidence to make an informed decision to purchase a top-rated monitor based on reliable test data and genuine insights.

TL;DR
When you shop through our links, you’re backing our mission.
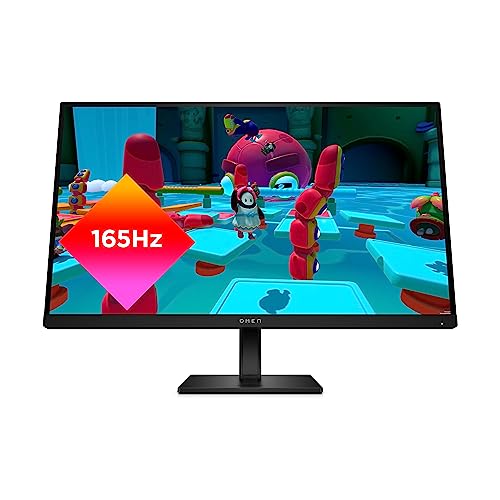
🕹️ Gamers pick HP X24lh, the perfect value buy all-arounder for games and office work.
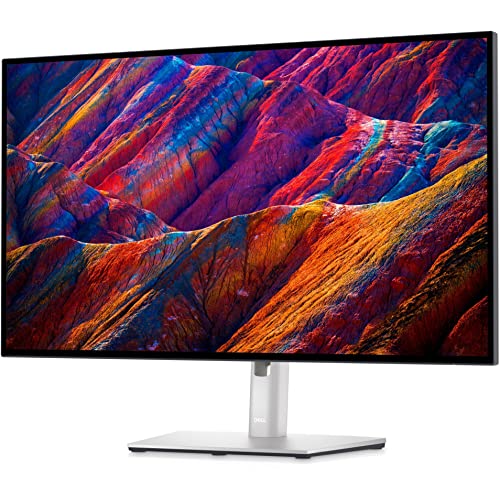
💼 Select the Dell S2421H, the best budget pick with low-tested lag for fast gaming.
🌟 Get Acer Nitro XF243Y for premium visuals, brightness, and HDR champ for bright rooms.
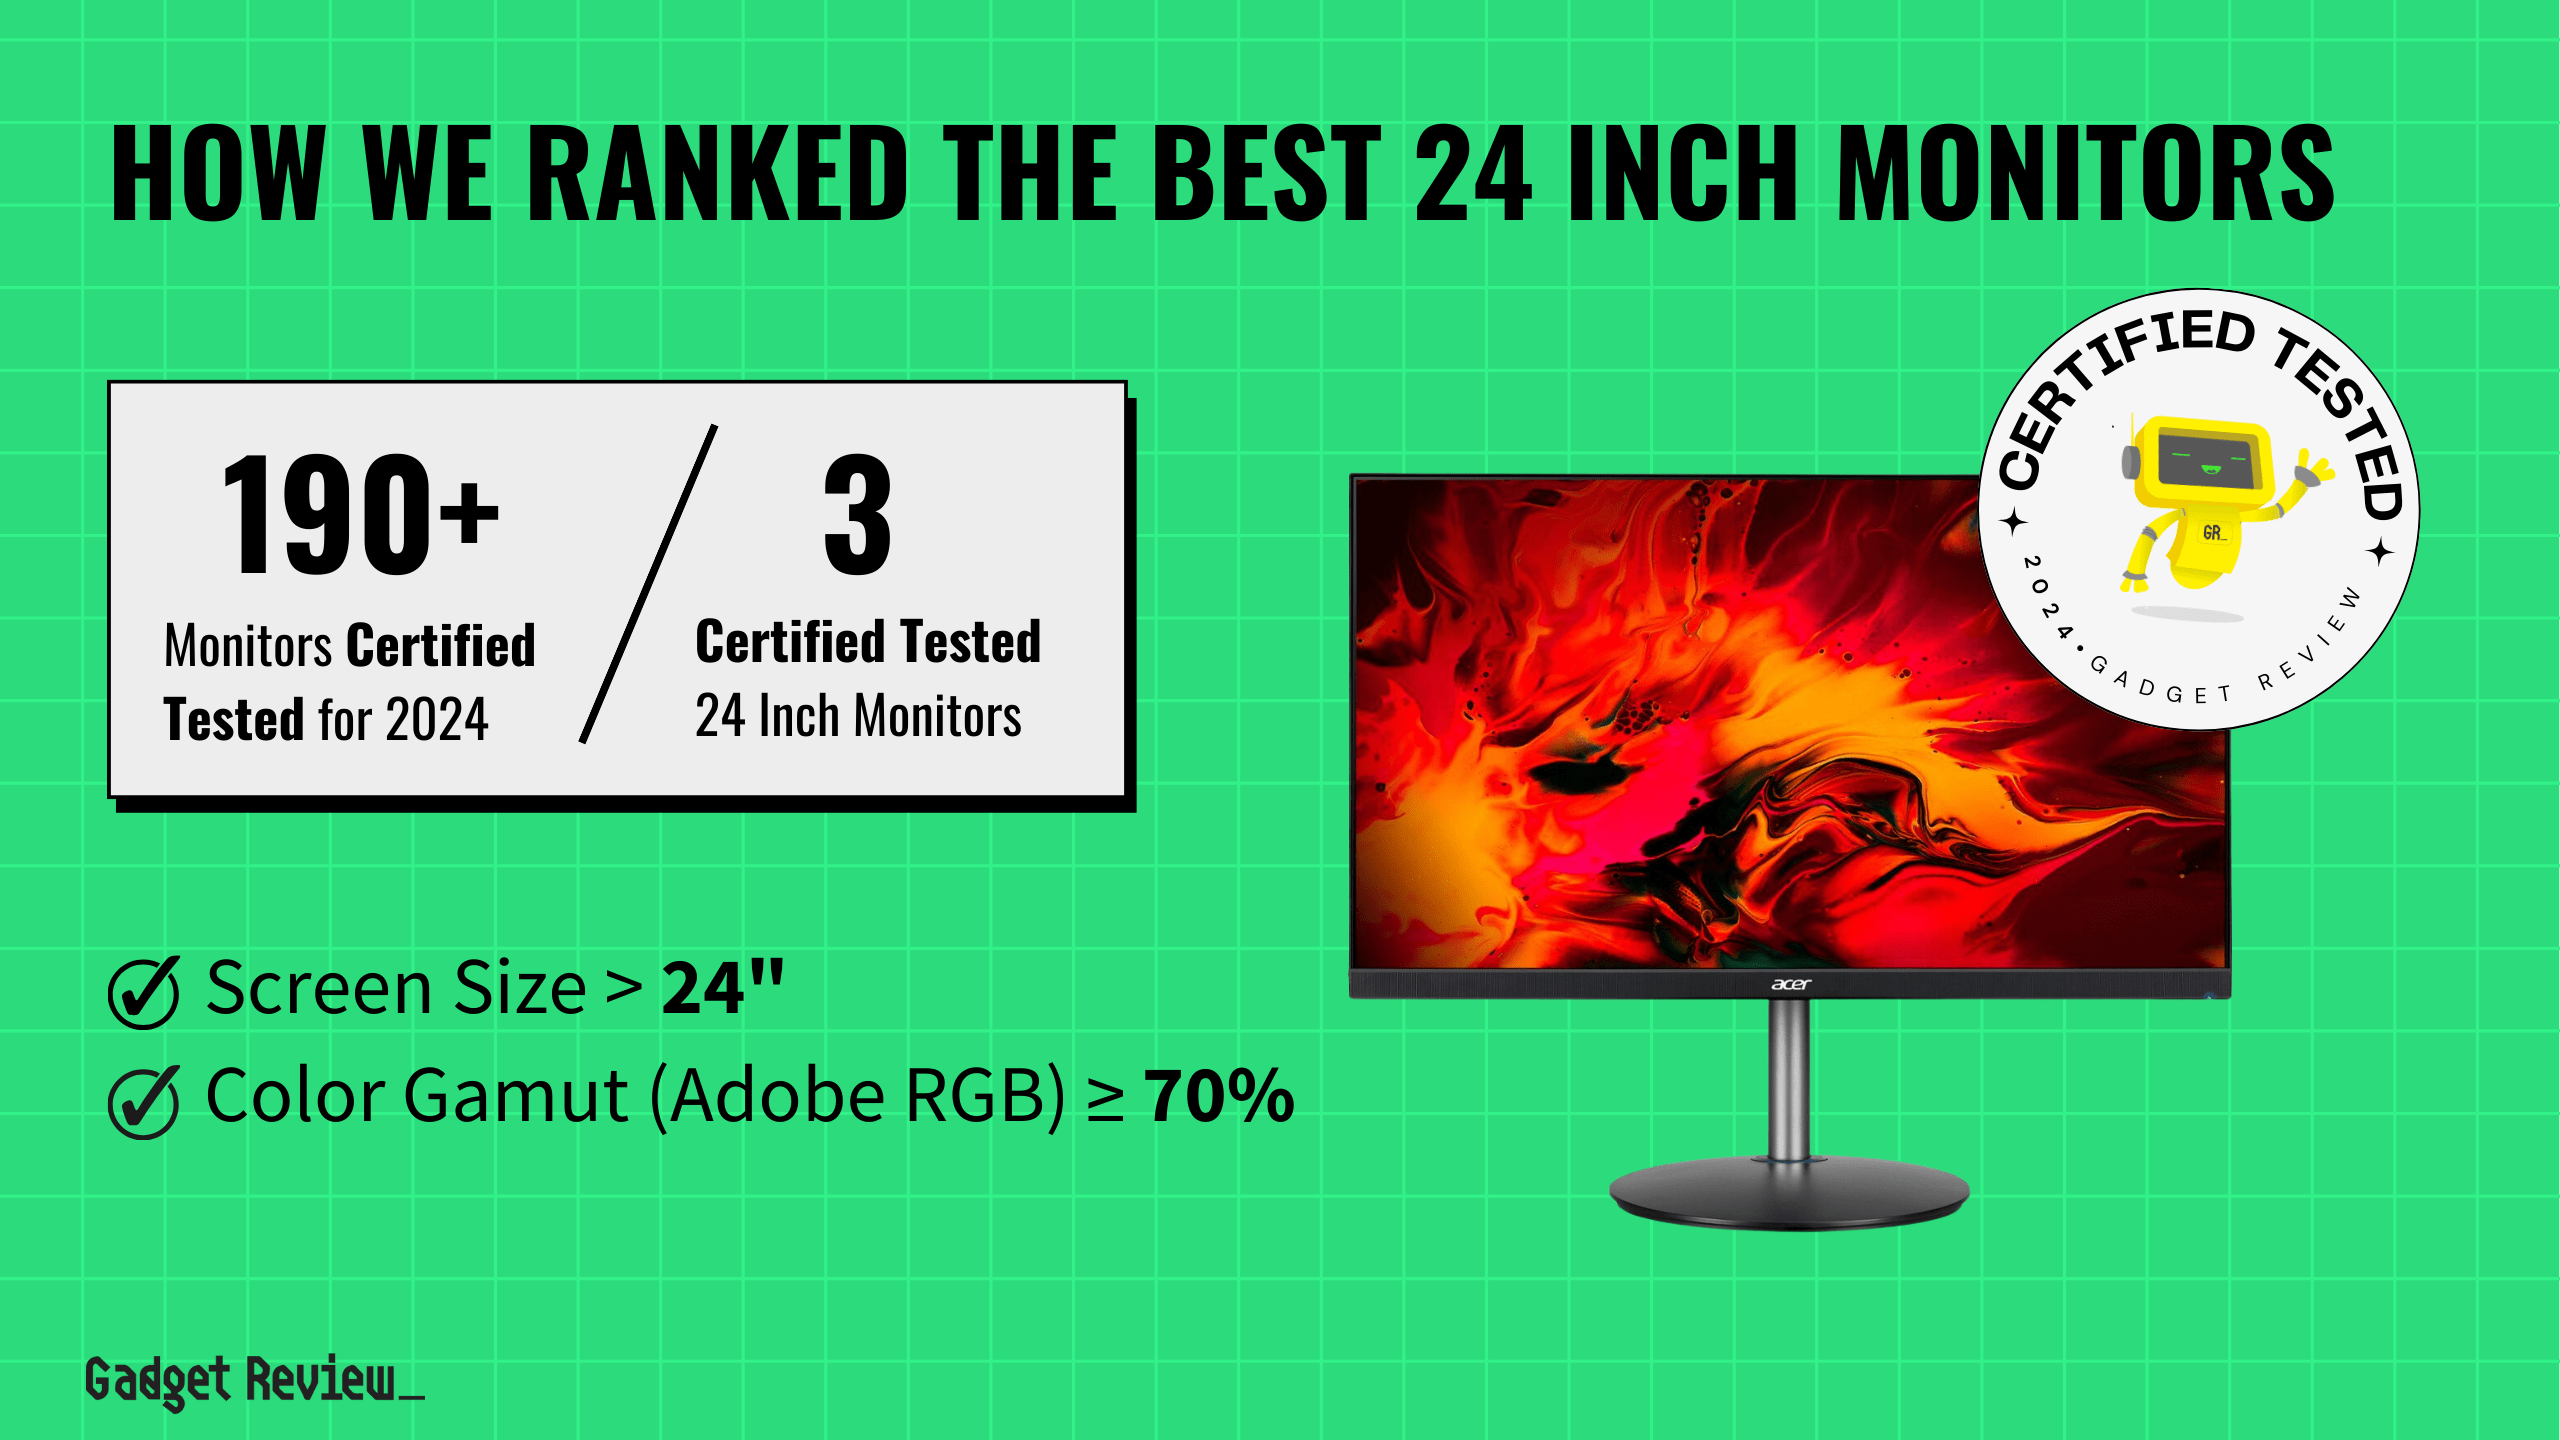
How Did We Rank the Best 24 Inch Monitors?
To bring you the ultimate guide for 24-inch monitors, Gadget Review analyzed data from over 200 websites. We synthesized findings from rigorous testing methods and numerous customer reviews to determine what truly matters. Our process identified 1 required test result and 1 must-have specification. This exhaustive research ensures our buying guide is backed by both expert opinions and actual user experiences, offering recommendations that excel in functionality and reliability.
Our commitment to unbiased reviews is powered by our ‘True Score’ system, targeting low quality and fake reviews. When you shop through our links, you’re backing our mission. Dive deeper to see how.
Minimum Specifications
- Screen size must be 24″.
Test Criteria
- Color Accuracy: At least 70% of the (Adobe RGB) color gamut, providing rich and vibrant colors.
Latest Updates
- 04/29/2024: Published the list of best 24-inch monitors based on our True Score system.
Top Best 24-Inch Monitors For 2025
Prices accurate at the time of publishing

Best Overall

Runner Up

Best Value

Best Budget

Best Mid-Range

Premium Pick
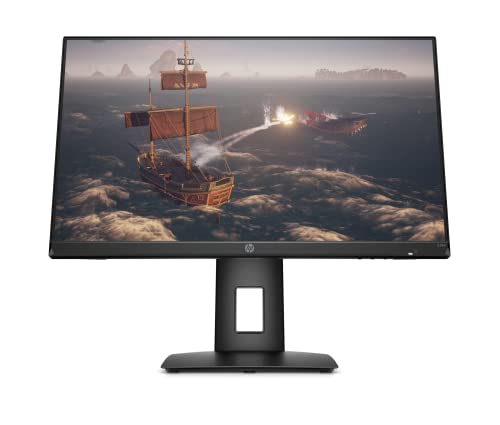
HP X24Ih
Sporting ultra-low input lag and high refresh rates, the HP X24Ih is a formidable option for gamers and office workers alike, though its contrast ratio and lack of HDR support could be better.
True Score
84821Experts
91171Customers
Absolutely Fresh

 SAVE $29$149.00$119.99
Read More

Snapshot
Reasons to Buy
- Good Peak Brightness
- Low Response Time
- Low Input Lag
- Good Viewing Angles
- 144Hz Refresh Rate
Reasons to Avoid
- No HDR
- 24 Inch Screen
- Low Contrast Ratio
- Poor Stand
Specifications
Display Type LED HDMI Inputs 1 HDR Format n/a Max Resolution 1920 x 1080 (Full HD) 
Panel Type IPS Refresh Rate 144 Hz 
Response Time 1 ms Screen size 24″ 
Sync Technology AMD FreeSync Test Results
Brightness (nits) 330 Contrast Ratio (as ratio x:1) 891 Color Gamut/Accuracy % (DCI P3 xy) 0 Color Gamut/Accuracy % (DCI P3 uv) 0 Color Gamut % (sRGB Coverage xy) 100 Color Gamut % (Adobe RGB Coverage xy) 78 Color Gamut % (Rec. 2020 Coverage xy) 0 Color Gamut % (Rec. 709 Coverage xy) 0 Input Lag (ms) 4 Response Time (ms) 4 Horizontal Viewing Angle (Washout Left) 49 Horizontal Viewing Angle (Washout Right) 49 Vertical Viewing Angle (Washout Above) 36 Vertical Viewing Angle (Washout Below) 36 Reflections % (Total Reflections) 5 All Retailers
 $119.99$149Save $29
Our Verdict
If you’re looking for a 24-inch monitor that can pull double duty with office work and games, the HP X24Ih should be your first choice, thanks to its unbeatable input lag of 4.1 ms. Plus, it offers smooth motion and reduced eye strain thanks to its high refresh rate of 144 Hz, which pairs excellently with its response time of 4.1 ms. This fantastic response time makes the monitor excellent at keeping games blur-free and any fast-paced media you watch on your monitor.
While its brightness of 330 nits doesn’t quite match up to the Acer Nitro XF243Y’s 351 nits, it’s still an exceptional level of brightness for working in moderately lit and even brightly lit offices. Where it drops the ball is with its contrast ratio. Coming in at 891:1, this contrast is good enough for everyday needs and will hardly make a difference in any casual video watching, but will be noticeable in dramatic scenes when streaming movies or playing games.
Unfortunately, the HP X24Ih also does not support HDR, which limits the dynamic range of visuals compared to monitors that do. If you’re looking to get the most out of highly dynamic content, you’d be better served by Acer’s Nitro. However, the monitor covers 100% of the sRGB color gamut, making it fantastic for browsing and watching YouTube videos.
Despite these shortcomings, the HP X24Ih is still an excellent, responsive monitor. Its low input lag, high refresh rate, low response time, and perfect color gamut coverage make it an extremely versatile monitor for professionals and gamers alike.
Read Less
Best Overall
Runner Up
Best Value
Best Budget
Best Mid-Range
Premium Pick
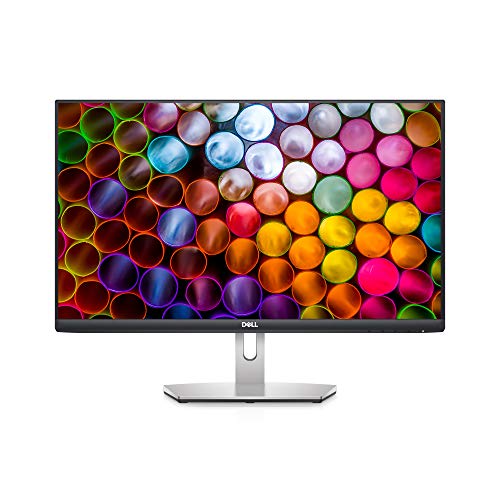
Dell S2421H
Ideal for budget-conscious users, the S2421H balances cost with performance, offering good brightness, impressive contrast, and low input lag, making it versatile for gaming and general use, albeit without HDR support.
True Score
83812Experts
913kCustomers
Absolutely Fresh
$299.99Read More
Snapshot
Reasons to Buy
- Excellent 7.4 ms input lag
- Decent 7.5 ms response time
- FreeSync support
- Very wide horizontal and viewing angles
- Good reflection handling
Reasons to Avoid
- Stand supports only limited adjustment
- Lacks DisplayPort connector
- Relatively small screen
- So-so text clarity
- Low 1,126:1 contrast ratio
Specifications
Display Type LCD HDMI Inputs 2 HDR Format n/a Max Resolution 1920 x 1080 (Full HD) Panel Type IPS Refresh Rate 75 Hz Response Time 4 ms Screen size 24″ Sync Technology AMD FreeSync Test Results
Brightness (nits) 250 Contrast Ratio (as ratio x:1) 1,126 Color Gamut/Accuracy % (DCI P3 xy) 0 Color Gamut/Accuracy % (DCI P3 uv) 0 Color Gamut % (sRGB Coverage xy) 96 Color Gamut % (Adobe RGB Coverage xy) 74 Color Gamut % (Rec. 2020 Coverage xy) 0 Color Gamut % (Rec. 709 Coverage xy) 0 Input Lag (ms) 9 Response Time (ms) 7 Horizontal Viewing Angle (Washout Left) 36 Horizontal Viewing Angle (Washout Right) 39 Vertical Viewing Angle (Washout Above) 32 Vertical Viewing Angle (Washout Below) 32 Reflections % (Total Reflections) 5 All Retailers
- $299.99
Our Verdict
The Dell S2421H is a solid choice if you’re looking for a computer monitor that offers excellent value for money. Its 250 nits brightness provides adequate visibility for most indoor environments, although it may struggle in brightly lit spaces. The contrast ratio of 1126:1 is impressive for its category, ensuring that your images are crisp with good depth.
The Dell S2421H may not be as bright or responsive as the Acer Nitro XF243Y PBMIIPRX Monitor (it has a response time of 7.2 ms compared to the Nitro’s 2.7 ms), but it is brighter and has superior input lag if you want your monitor to do double duty for gaming. With its input lag coming in at 8.9 ms, it’s a great choice for casual and competitive gaming and general use.
The Dell S2421H also boasts a 75 Hz refresh rate, a step above the standard 60 Hz, providing a slightly smoother visual experience. However, it’s worth noting that it lacks HDR support, which might be a downside if you’re looking for more vibrant color representation in multimedia content. That said, it does have an sRGB coverage of 95.9%, meaning it will accurately render most content on the web, including most non-HDR media.
The Dell S2421H is a solid choice if you’re seeking a balance between performance and cost. While it may not be the brightest or fastest monitor on the market, it offers a decent gaming and multimedia experience at an extremely affordable price.
Read Less
Category Snapshot
Computer Monitors
- Total Brands/Products Tested
27 Brands, 196 Products
- Top 2 Brands
Dell, HP
- Price Range (Budget-Premium)
$100-$1,500
- Average True Score
74.46
- Important Test Criteria
Brightness (cd/m2)
Contrast Ratio (1000:1) - Most Trusted Testers

- Top Monitor Experts
- Typical Warranty
2 years
- Covered by Insurance
Yes – AKKO
Best Overall
Runner Up
Best Value
Best Budget
Best Mid-Range
Premium Pick
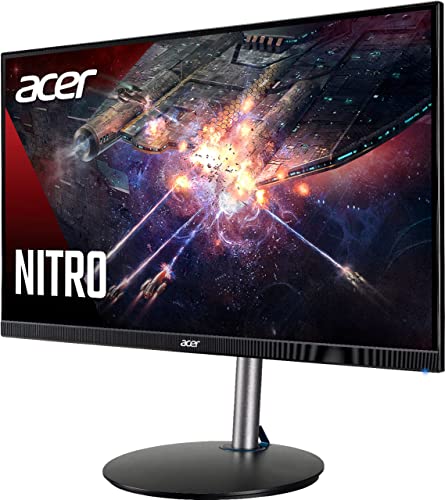
Acer Nitro XF243Y PBMIIPRX Monitor
Bright, responsive, and with HDR, the Nitro XF243Y excels in delivering a vivid, smooth experience for gamers and multimedia enthusiasts, justifying its mid-range price with superior specs.
True Score
81803Experts
88390Customers
Absolutely Fresh
 $199.99
Read More
Snapshot
Reasons to Buy
- Exceptionally high 165 Hz max refresh rate
- Superb color reproduction out of the box
- FreeSync Premium and GSync compatible
- Fantastic reflection and glare handling
- Extensive viewing angles
Reasons to Avoid
- Poor native contrast ratio
- Sub-par black levels
- Lack of HDMI 2.1 ports
- Absence of local dimming
- Lacks a true 10-Bit panel for HDR
Specifications
Display Type LCD HDMI Inputs 2 HDR Format Yes Max Resolution 1920 x 1080 (Full HD) Panel Type IPS Refresh Rate 144 Hz Response Time 0.5 ms Screen size 24″ Sync Technology AMD FreeSync Test Results
Brightness (nits) 351 Contrast Ratio (as ratio, x:1) 1,006 Color Gamut/Accuracy % (DCI P3 xy) 78 Color Gamut/Accuracy % (DCI P3 uv) 0 Color Gamut % (Adobe RGB Coverage xy) 76 Color Gamut % (sRGB Coverage xy) 99 Color Gamut % (Rec. 2020 Coverage xy) 56 Color Gamut % (Rec. 709 Coverage xy) 0 Input Lag (ms) 9 Response Time (ms) 3 Reflections % (Total Reflections) 5 Horizontal Viewing Angle (Washout Left) 51 Horizontal Viewing Angle (Washout Right) 48 Vertical Viewing Angle (Washout Above) 39 Vertical Viewing Angle (Washout Below) 36 All Retailers
 $199.99
Our Verdict
If you need the brightest monitor possible to counter direct sunlight, you need the Acer Nitro XF243Y. With best-in-class brightness of 351 nits, it can deal with brightly lit offices and rooms in your home. The vivid display also offers a contrast ratio of 1006:1; while slightly lower than the Dell S2421H, it still ensures dramatic visuals and rich blacks.
This 24-inch monitor also features a high refresh rate of 144 Hz, which makes all types of content, from movies to streaming to games, much smoother. Working in tandem with this high refresh is a best-in-class response time of 2.7 ms, making the Nitro a fantastic choice if you’re looking to watch fast-paced movies or play action games. This response time pairs well with the decent input lag of 9.3 ms, giving you a greater competitive edge in games.
The Nitro also supports HDR, which means the 99.40% sRGB color gamut accurately renders colors. The monitor offers a rich viewing experience when combined with the high brightness, making it great for movies and web design work. However, the low DCI P3 color gamut of 78.10% isn’t great for video editing.
What holds the Nitro back is its price. While far from premium priced, the more mid-range price of the monitor might be a turn-off if you’re working with a tight budget. However, the extra cost does net you extra specs! If you’ve got the money for it, the high brightness, fantastic responsiveness, and improved refresh rate of the Nitro XF243Y are hard to turn down.
Read Less
Which Criteria Matter for Testing Best 24-Inch Monitors?
By focusing on these criteria (1 required), anyone can quickly and easily compare these computer monitors and how they’ll perform. This helps you make an informed decision and purchase the best 24 inch monitor.
| CRITERIA | RANGE | REQUIRED | DEFINITION |
|---|---|---|---|
| Color Gamut (Adobe RGB) | > 70% | Yes | How much of the Adobe RGB color gamut is covered by the monitor, which helps indicate color accuracy for photos and photo editing. |
Our Trusted Data Sources
We looked at 110+ computer monitor reviewers and found that 33 are trustworthy (60%+ Trust Rating). The three we have listed below are our most trusted for computer monitors.
- Samuel Breton – Rtings, MuckRack
- Chris Eberle – Tom’s Hardware, LinkedIn
- Tony Hoffman – PC Mag, MuckRack
Interested in a comprehensive analysis of our data sources? We’ve got you covered. Below, you’ll find a detailed list of every computer monitor review website we’ve identified, organized by their respective Trust Ratings from highest to lowest. But we didn’t stop there. We’ve meticulously reviewed each publication and verified the data by checking whether the authors have bio links to MuckRack or LinkedIn. We’re committed to not only checking the facts but ensuring their veracity.
Computer Monitor Test Data & Results
1. Color Gamut % (Adobe RGB Coverage xy) Test Results
As the name might imply, the Adobe RGB gamut is mostly focused on photo printing, and was developed by Adobe themselves in order to give users the ability to know how a photo would look if it was printed using standard CMYK printers.
If you’re printing a lot of photos and editing them in most photo programs, this is a commonly used color gamut. By having it be at least 70% covered and properly calibrated, a reliable monitor for photo editing will be able to show you how a photo you’re editing will look when it’s printed out. If the coverage of this gamut isn’t high enough, you’ll suffer the opposite, and may end up wasting a lot of ink on photos that look great on your screen but seem to come out completely off when you print them. For those in graphic design, a great monitor for graphic designers that supports extensive color spaces like Adobe RGB can be crucial for producing high-quality work.
Color Gamut % (Adobe RGB Coverage xy)
> 70%
Acceptable range of performance
Definition: The amount of the Adobe RGB color space that the monitor covers with its panel.
Units of Measurement: %
Tools to Measure: Colorimeter
Why It’s Important:
The Adobe RGB color gamut is important for helping to ensure that photos are printed true to the editor’s intentions.
Color Gamut Adobe RGB (in %; higher is better)
Best 24 Inch Monitors: Mistakes To Avoid
- Ignoring resolution: While 24-inch monitors typically come in 1080p (Full HD) resolution, consider whether you might benefit from a higher resolution, such as 1440p (Quad HD) or even 4K (Ultra HD). Higher resolutions offer sharper images and more screen real estate, which can be beneficial for productivity tasks, graphic design, or multimedia consumption. If gaming is your main focus, the best 1080p gaming monitor is a reliable pick that provides excellent clarity and performance without the need for more demanding hardware. If you’re debating between 24 and 27-inch monitors, explore our recommendations of great 27-inch monitors as well, which can provide a better viewing experience with potentially higher resolutions and more workspace.
- Disregarding panel type: Different panel types—such as IPS, TN, and VA—offer varying characteristics in terms of color accuracy, viewing angles, and response times. IPS panels generally provide the best color reproduction and wide viewing angles, making them suitable for tasks like content creation and photo editing. TN panels offer faster response times, which may be preferred for gaming. Additionally, if better brightness and contrast are a priority and the monitor will be used in a well-lit room, VA panels are ideal as they typically offer higher contrast ratios and deeper blacks. Consider your specific needs and preferences when selecting the panel type.
- Overlooking refresh rate and response time: If you’re into gaming or fast-paced tasks, pay attention to the monitor’s refresh rate and response time. A higher refresh rate (e.g., 144Hz) and lower response time (e.g., 1ms) can result in smoother motion and reduced motion blur, making monitors like the best 240Hz gaming monitor ideal for such uses. However, if you prioritize color accuracy over speed, you may not need the fastest specs. If you prefer a balance of performance and affordability, consider the best 144 Hz monitors which aren’t as expensive as 240Hz models. For gamers who want to eliminate screen tearing and enhance overall gameplay, a good monitor with G-Sync technology could also be a great addition to your setup.
- Neglecting connectivity options: Ensure the monitor has the necessary ports to connect to your devices, such as HDMI, DisplayPort, and USB. Also, consider additional features like USB hubs or the best monitor with built-in speakers if sound quality is important for your setup. This is especially important for professional environments since a reliable monitor for work with enough connectivity options can greatly enhance your productivity and ease of use.
ADDITIONAL Monitor TIPS
While deciding on the best 24-inch monitor, you might also want to learn about the differences between a monitor and a TV to make an informed choice. It’s useful to know the lifespan of computer monitors to plan for future upgrades. Gamers can benefit from guides on how to connect a PS4 to a monitor and the importance of monitor sharpness for gaming. Check out our tips on connecting a gaming PC to a monitor and the best practices for dual monitor setups. You might also be interested in learning how to set up dual monitor wallpaper in Windows 10 to enhance your desktop aesthetics. Finally, explore whether ultrawide monitors are worth it for your needs.
The Best 24-Inch Monitor Tests Compared
Product |
True Score
|
Brightness
|
Contrast Ratio
|
Color Gamut (Adobe RGB)
|
Color Gamut (sRGB)
|
Input Lag
|
Response Time (ms)
|
Reflections %
| |
|---|---|---|---|---|---|---|---|---|---|
84 |
|
|
|
|
|
|
|  $119.99 $149 $29 | |
| 83 |
|
|
|
|
|
|
| $299.99 |
81 |
|
|
|
|
|
|
|  $199.99 |