Understanding display settings is crucial if you want to optimize your device’s visual performance, especially if you just got a great computer monitor and want to get your money’s worth. Whether it’s adjusting the display resolution, managing light settings, or customizing icons, the right settings can enhance your viewing experience. This article will look at the nuances of display settings across various devices, from adjusting screen resolution on Windows to customizing display on Mac and mobile devices. We’ll explore advanced display settings and troubleshoot common issues for your display for both work and leisure.

Key Takeaways_
- Adjusting display settings like resolution, brightness, and orientation is key to enhancing visual clarity and reducing eye strain, with different settings catering to various needs such as gaming or graphic design.
- The process of adjusting display settings varies across devices, and there is no one group of display settings that will work for everyone and every device.
- Regularly updating drivers and troubleshooting common issues like incorrect color problems is crucial for maintaining an optimal viewing experience.
Understanding Display Settings
Your computer’s display settings encompass various aspects, such as display resolution, brightness, and orientation.
These settings are essential for ensuring that the content on your screen is clear, vibrant, and comfortable to view.
Choosing the Right Monitor for Your Needs
Enhance your gaming experience with the right monitor setup. If you’re unsure about LCD vs. LED monitors, our guide can help you decide. Check out our list of the best monitors with webcams for work and play, and explore our selection of the top AOC monitors for top performance and value. If you love retro gaming, learn what a CRT monitor is to appreciate the authentic experience these classic displays offer.
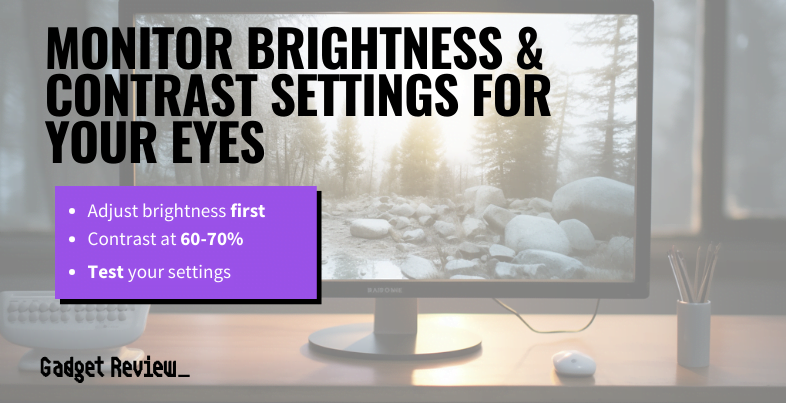
Adjusting the display brightness can help reduce eye strain, especially in low-light conditions. If you use Windows, check out our guide on how to change the brightness on Windows 10.
The screen resolution, measured in pixels, determines the clarity and sharpness of the images and videos on your display.
Higher resolutions offer more detail but can affect performance and battery life on portable devices.
Using the native resolution of your monitor is recommended for the best display quality.
It’s important to understand that display settings are not one-size-fits-all. Gamers might prefer higher refresh rates, while graphic designers might focus on color accuracy.
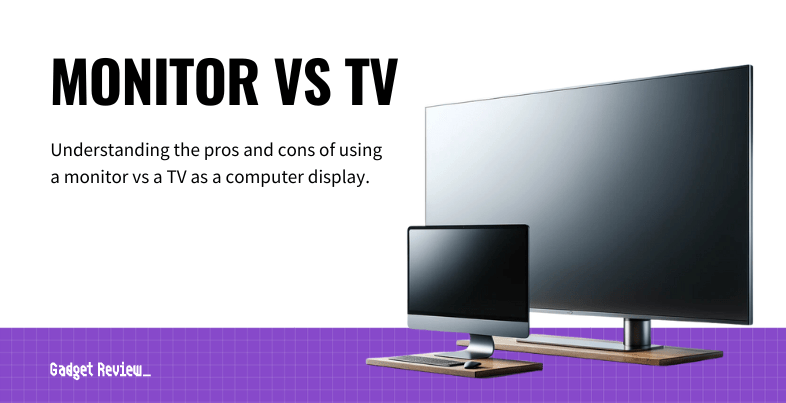
If you’re using a monitor as a TV, ensure the resolution and scaling are adjusted for optimal viewing from a distance.
Optimizing Gaming Display Settings
When using multiple screens, managing mouse movements effectively is essential. Learn how to lock the mouse on one screen while gaming with two monitors to avoid any interruptions during your gameplay. Additionally, ensuring your monitor is not a bottleneck for your PC is crucial for optimal performance. Discover how to tell if your monitor bottlenecks your PC gaming and what steps you can take to improve your setup.
Changing the background image on your device can also enhance your experience and help personalize your device, regardless of the device type.
Understanding your specific needs can help you tailor your display settings for optimal performance and comfort.
Adjusting Display Settings in Windows
Remember, the steps below are a general guide; depending on the OS version, the exact steps may be different.
STEP 1 Accessing Display Settings
- Open the ‘Settings‘ app by clicking on the Start menu or pressing ‘Windows + I.’
- Navigate to ‘System‘ and then select ‘Display‘.
STEP 2 Modifying Screen Resolution
- In the ‘Display‘ settings, find the ‘Scale and Layout‘ section.
- Click on ‘Display resolution‘ to open a drop-down menu.
- Select the desired resolution from the list of options.
STEP 3 Adjusting Display Scaling
- Still under ‘Scale and layout,’ click on ‘Scale.’
- Choose a scaling percentage that suits your preference, enhancing readability and app icon size.
- On the Accessibility settings screen, you can also adjust the mouse pointer size and color to improve visibility.
STEP 4 Changing Display Orientation
- Locate the ‘Orientation‘ option in the same section.
- Select either ‘Landscape‘ or ‘Portrait‘ based on your needs
- Changing the orientation can be helpful when using a secondary monitor for tasks like document editing or graphic design.
- For instance, some programmers preferred display orientation for a secondary monitor is vertical as it allows for more code to be visible on the screen.
- Changing the orientation can be helpful when using a secondary monitor for tasks like document editing or graphic design.
STEP 5 Managing Multiple Displays
- Scroll down to the ‘Multiple displays‘ section if you have more than one monitor connected.
- Here, you can choose to extend your display, duplicate it, or show it on only one monitor.
- You can drag display windows to and from your primary monitor and secondary monitors when using a secondary display.
- Drag and drop the displayed screens to match their physical arrangement.
- Select a display and choose ‘Make this my main display‘ to set it as primary.
- This is useful if you want to designate a larger or higher-resolution monitor as your primary monitor.
STEP 6 Applying and Saving Changes
- After making your adjustments, click ‘Apply‘ to preview changes.
- Confirm the changes or revert back if the new settings are not satisfactory.
Advanced display settings offer deeper customization. This includes adjusting the refresh rate for smoother video playback or gaming and tweaking color spectrum settings for graphic design. You can access advanced settings through the ‘Advanced display settings‘ link in the display settings screen. Here, you can also find options for virtual displays and check for updates for display adapter properties.
Customizing Display on Mac
Remember, the steps below are a general guide; depending on the OS version, the exact steps may be different.
STEP 1 Accessing Display Settings
- Click on the Apple menu at the top left corner of your screen.
- Select ‘System Preferences‘ from the drop-down menu.
STEP 2 Navigating to Display Preferences
- In the System Preferences window, click on ‘Displays‘.
- This will open the display settings panel.
- You can also personalize your desktop background from the ‘Desktop & Screen Saver‘ option in System Preferences.
STEP 3 Adjusting Screen Resolution
- In the ‘Display‘ tab, you will see the ‘Resolution‘ option.
- Choose ‘Default for display‘ for optimal resolution or select ‘Scaled‘ to manually adjust the resolution.
- If you’ve chosen ‘Scaled‘, select from the available resolution options to increase or decrease screen real estate.
- This is useful for tasks that require more detail or larger workspace.
STEP 4 Changing Color Temperature
- Switch to the ‘Color‘ tab within the Displays settings.
- You can adjust the color profile to change the display’s color temperature.
STEP 5 Managing External Displays
- Connect your external display to your Mac.
- The external display will appear in the Displays settings, where you can adjust its resolution and scaling separately.
- When setting up a secondary display, you can choose to mirror or extend your desktop across both screens.
STEP 6 Customizing for Different Environments
- For different lighting environments, consider adjusting brightness and color temperature to reduce eye strain.
- Use ‘Night Shift‘ for warmer colors in low-light conditions.
STEP 7 Applying and Confirming Changes
- After making your adjustments, close the System Preferences.
- Your changes will be automatically saved and applied.
Optimizing Display Settings for Mobile Devices

Remember, the steps below are a general guide; depending on the OS version, the exact steps may be different.
STEP 1 Accessing Display Settings
- For iOS: Open the ‘Settings‘ app and scroll to ‘Display & Brightness.’
- For Android: Go to ‘Settings,’ then tap on ‘Display.’
STEP 2 Adjusting Screen Brightness
- On both iOS and Android, find the ‘Brightness‘ slider in the display settings.
- Drag the slider left or right to decrease or increase the screen brightness.
STEP 3 Scaling Icons and Text
- For iOS: In ‘Display & Brightness,’ tap on ‘Text Size‘ or ‘Display Zoom‘ to adjust.
- For Android: Under ‘Display‘, select ‘Advanced‘ and then ‘Display size‘ to change icon and text scaling.
STEP 4 Enabling Blue Light Filter
- For iOS: Activate ‘Night Shift‘ mode to reduce blue light.
- For Android: Turn on ‘Night Light‘ or ‘Blue Light Filter‘ depending on the device model.
STEP 5 Dynamic Resolution Adjustments
- Some apps on both iOS and Android automatically adjust the resolution for optimal performance.
- This feature is app-dependent and may not require manual settings.
STEP 6 Saving and Testing Settings
- After adjusting, navigate back to the home screen to save changes.
- Test the new settings in different lighting conditions to ensure comfort.
Troubleshooting Common Display Issues
Common display issues can range from incorrect screen layout to problems with color and brightness.
Troubleshooting steps may include checking cable connections for external displays, adjusting your display orientation, and updating display drivers.

warning
Neglecting your monitor settings can significantly impact your gaming performance. If you notice a decline, it might be due to improper configurations. Refer to our guide on monitor sharpness for gaming to ensure your display settings are optimized for the best visual experience.
For issues related to performance, adjusting the scaling settings or reducing the screen resolution can help.
In the end, effective management of your display settings can significantly enhance your computing experience.
Whether it’s for work or entertainment, the right settings ensure that your display looks its best, and don’t forget to regularly check for updates and explore different settings to find what works best for you.