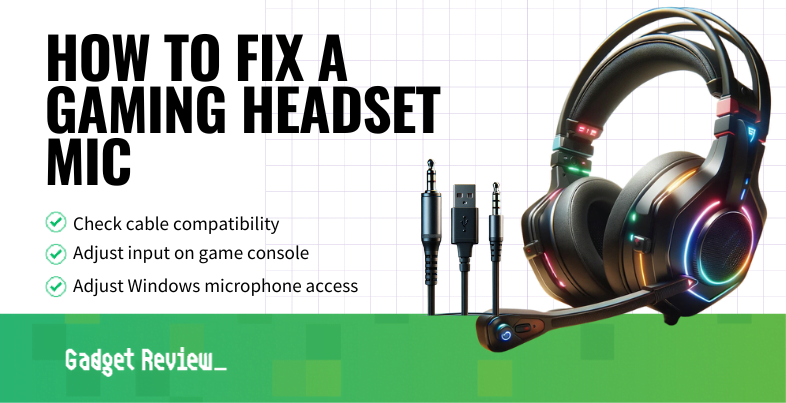
Communication with other players is vital in many gaming sessions, so you need to know how to fix a gaming headset mic if yours stops working. The best gaming headsets feature a built-in microphone that is mutable and easily connected to your device. You can also check out Sony gaming headsets to see what they have to offer.

Key Takeaways_
- Make sure that you’ve selected your headset mic as the input device in your computer’s settings and that it’s not muted.
- Make sure you’re using the correct cable for your headset and device.
- Make sure you’ve given your computer or console permission to access your headset microphone.
However, some of these models can have connection, compatibility, and device selection issues. Read on to find out how to fix some of these problems. Also, if you want to adjust the audio you hear, you can check out how to equalize a gaming headset.
Ways To Fix A Microphone On A Gaming Headset
First, make sure your headset microphone is not muted. This setting often gets turned on and forgotten, causing people to believe they’re experiencing microphone issues. Next, ensure your wire or USB dongle is fully inserted into the USB or audio port. Finally, check for an update for your computer, console, or headset drivers.
Optimizing Your Gaming Headset Mic
To ensure your gaming headset mic performs at its best, consider investing in the best mic for PC gaming. If you encounter issues where your gaming headset speaker and microphone both don’t work at the same time, our guide on gaming headset speaker and microphone both don’t work at the same time can help troubleshoot this problem. If your microphone volume is too low, follow our tips on how do I make my gaming headset microphone louder. Understanding what voice monitoring in a gaming headset entails can enhance your communication during gameplay.
If you are still experiencing problems with others hearing you through your microphone, check out some solutions below. Additionally, if you have a different problem with your mic, we have additional articles you can check out. For instance, if you are hearing yourself when speaking, check out how to disable the echo on a gaming headset. And if your voice is lagging behind, check out our guide on how to fix latency in gaming headset mic. Also, if you are having trouble with your gaming headset’s battery, learn how to fix the charging port for your gaming headset wireless.
Method 1: Compatibility with a Cable
STEP 1 Check your console/computer cable audio jack
- Google your gaming device or computer.
- Find information regarding the audio jack.
- This will tell you whether you have a three- or four-pin jack, determining how the headset handles sound.
- Many older model computers feature a three-pin jack, while a newer product may have a four-pin one.

warning
Be careful to avoid common issues that can affect your gaming headset’s performance. If you experience static, learn how to fix static in a gaming headset to ensure clear audio. For those looking to enhance their gaming audio, our guide on how to make any gaming headset surround sound PC provides useful tips. It’s also important to know when to replace the ear pads on your headset; read about when to replace ear pads on a gaming headset to maintain comfort and sound quality.
If you notice sensitivity issues, find out how to reduce gaming headset sensitivity to avoid picking up unwanted sounds. Regular maintenance is key, so learn how to clean a gaming headset to keep it in top condition. If your wireless headset has charging issues, understanding how to fix the charging port for a gaming headset wireless can prevent downtime.
STEP 2 Check your headset cable
- Check how many pins your mic cable includes.
- The manufacturer’s website is likely to have more information than the user’s guide for your headset, so this option would be better.
- However, you might also find the number of pins on your cable in a product description.
- Also, you might be able to tell from the number of lines or insets on your headset’s cable.
STEP 3 Determine if you need an adapter
- Compare your headphone jack to the number of pins on your cable.
- If the two do not match, you may need a headset adapter that converts three-pin to four-pin or vice versa.
Method 2: Input Device on Console
STEP 1 Connect headset to console
- Connect your gaming headset using the USB dongle or the audio cable.
STEP 2 Navigate your consoles sound settings
- Open your home screen or console menu.
- Select Settings and find the Audio Devices option.
- If you are using an Xbox, you will find this under “Profile & system,” “Settings,” and “General.”
STEP 3 Check your headset settings
- Select your headset for both your output and input default device.
- Make sure you are not muted.
- You will see a symbol showing a microphone with a line through it.
- The PlayStation 5 DualSense controller has a mute button for easy access while you game. So if you see an orange light on your DualShock 5, you are muted and can unmute by pressing this button.
- You will see a symbol showing a microphone with a line through it.
STEP 4 Test your microphone
- If you can’t hear yourself, try moving the bar to the right to increase the microphone sensitivity and volume. You may have a faulty cable or headphone jack if you still can’t hear yourself after these solutions.
Optimizing Your Gaming Headset Mic
To ensure your gaming headset mic performs at its best, consider investing in the best mic for PC gaming. If you encounter issues where your gaming headset speaker and microphone both don’t work at the same time, our guide on gaming headset speaker and microphone both don’t work at the same time can help troubleshoot this problem. If your microphone volume is too low, follow our tips on how do I make my gaming headset microphone louder. Understanding what voice monitoring in a gaming headset entails can enhance your communication during gameplay.
Method 3: Windows Microphone Access
STEP 1 Check Windows microphone settings
- Go into your Start menu by clicking on the Windows icon.
- Search for Settings or Control Panel.
- Select Privacy & Security, then Microphone.
STEP 2 Adjust microphone settings
- Turn on Allow apps to access your microphone.
- If you recently updated your computer or laptop, this setting may have been added without your knowledge. However, this step will only adjust the access for non-desktop apps.
- For desktop apps, turn on Let desktop apps access your microphone.
- Note: You cannot turn off access for specific desktop apps.
- If your teammates still cannot hear you, make sure you aren’t muted.
- Go to Sound in the settings menu or control panel.
- You should see more sound-related functionality settings that do not provide microphone access here.
- Go to Sound in the settings menu or control panel.
- Right-click on your device in the Recording tab and ensure it is the default recording device.
- You may need to adjust the microphone volume under the levels tab under the Properties option to suit your voice.