



Daily uploads to Instagram total tens of millions, yet many fall victim to the same avoidable pitfalls. Swapping lenses all day won’t help if your routine is a tangled mess—like owning a top-chef knife set and still microwaving dinner. This guide cuts through the noise, showing how seemingly minor habits become creative roadblocks. Your current workflow resembles a messy server room; consider this the cable-management upgrade. Practical adjustments and philosophical shifts can transform your output, moving you past just snapping pictures to actively crafting images that command attention. Even small tweaks deliver stunning results.
7. Removing the Lens Cap
Fumbling for a lens cap guarantees you’ll miss fleeting expressions and spontaneous gestures.
Removing the cap before you start shooting can reduce handling time—a critical advantage that dictates whether you capture a true “main character moment” or just the lingering aftermath. That initial fumbling, much like trying to unlock your phone with greasy fingers during a TikTok dance-off, ensures you miss the action. A practical workflow means removing the cap before any active shooting scenario, then relying on a robust lens hood for real-time protection against incidental impact.
The lens cap serves as the velvet rope for your expensive glass, keeping out dust, fingerprints, and accidental bumps during travel or storage. You bought that gear to capture life’s messy, beautiful chaos, so don’t let a small piece of plastic keep your pricey investment from doing its actual job.
6. Creating Cohesive Photo Stories
The real skill lies in crafting a connected series that tells a complete story, not relying on isolated images.
Many new photographers capture compelling individual shots yet struggle to weave them into a coherent narrative. An “album” approach treats an event as a continuous sequence—like a mini-documentary for your eyes. Aim for an establishing shot, key action, supporting details, climax, and conclusion. A strong visual narrative might include several core story shots and additional detail photos, allowing you to tell the story even if the exact chronological order is flexible. This process trains your eye to spot perspectives others might miss.
5. Neglecting Camera and Lens Maintenance
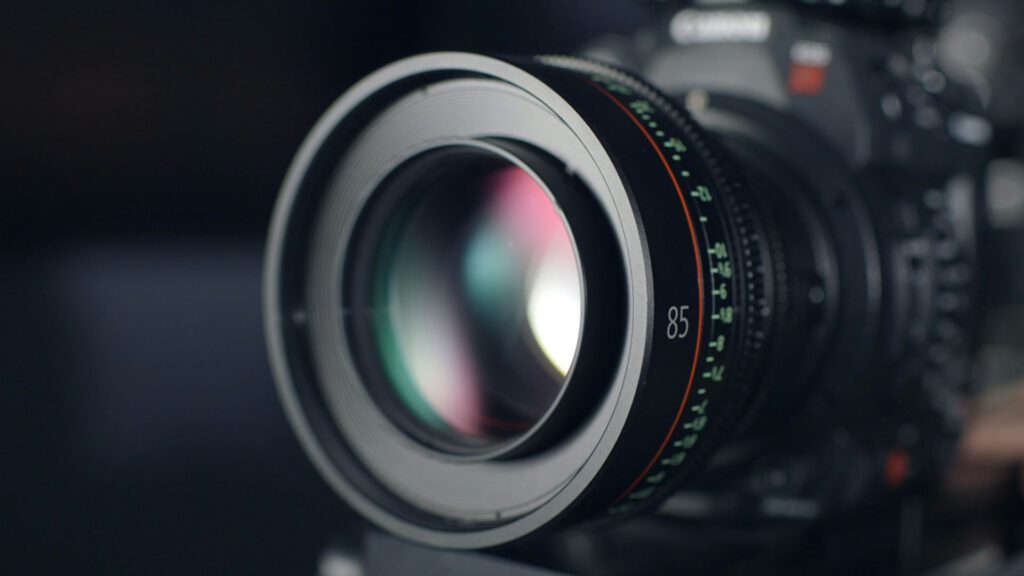
Dust and dirt act like tiny, unwelcome guests on your sensor, photobombing crucial moments.
These particles frequently appear in images from mirrorless cameras, even with careful handling. Changing lenses creates the perfect entryway; they then materialize as stubborn spots in your photos, especially at smaller apertures. Finishing a shoot feeling good, only to discover tiny specks forcing hours of tedious Photoshop cleanup, is no one’s idea of a productive afternoon.
Manufacturers recommend using the camera’s automatic sensor-cleaning function first. If that fails, a plain blower without a brush is the next step. Canon guidance cautions that the image sensor is extremely delicate; avoid pressurized air, sprays, or inserting blower tips too far. Lens surfaces need gentle care with a microfiber cloth and appropriate solutions—never household solvents. Persistent contamination may require professional cleaning, but proactive maintenance ultimately saves significant time scrubbing dust from your images.
4. Relying on Overly Broad Autofocus Areas
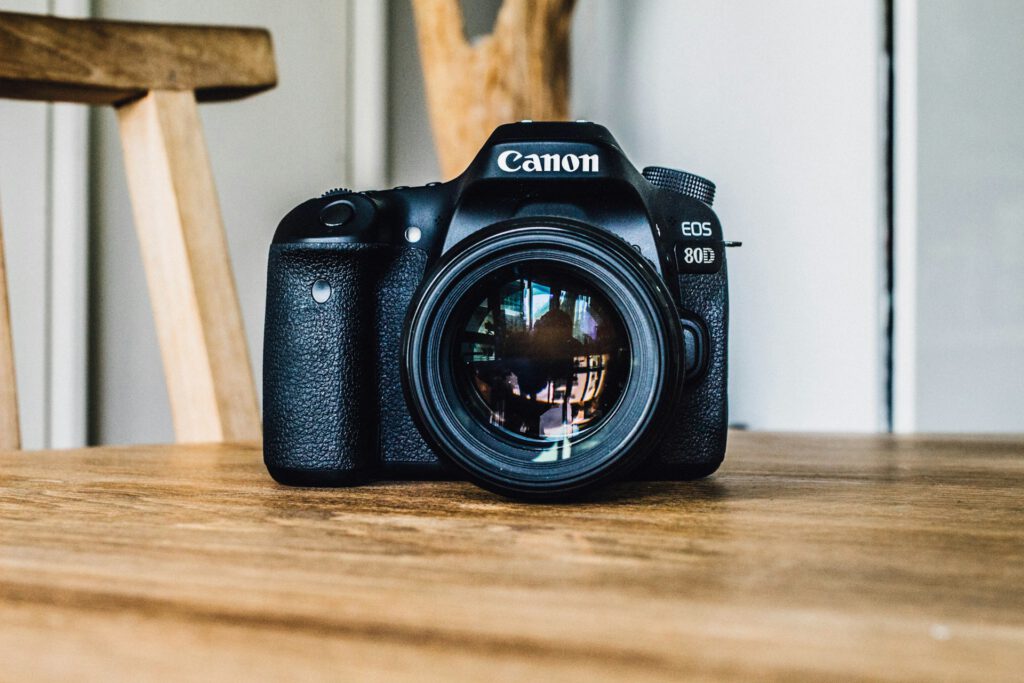
Default wide-area autofocus evaluates a large portion of the frame, often ignoring your actual target like a misfiring algorithm.
[Image Placeholder: A split image showing one part in sharp focus and another (unintended) part in focus, illustrating a focusing error.]
Reviewing a seemingly perfect shot later, only to find a bystander’s phone or a telephone wire sharp while your intended subject blurs, ranks high on the frustration scale. This occurs because the camera locks onto the closest or most apparent object within that broad area. While a shallow depth of field makes these errors obvious, a deeper depth of field can obscure them on your camera screen.
Selecting a smaller focus area or a subject-specific AF mode gives you more control. Enlarging the image during playback to check sharpness before leaving the location is especially useful when using a wide aperture and shallow depth of field.
3. Using an Extremely Wide Aperture for Every Photograph
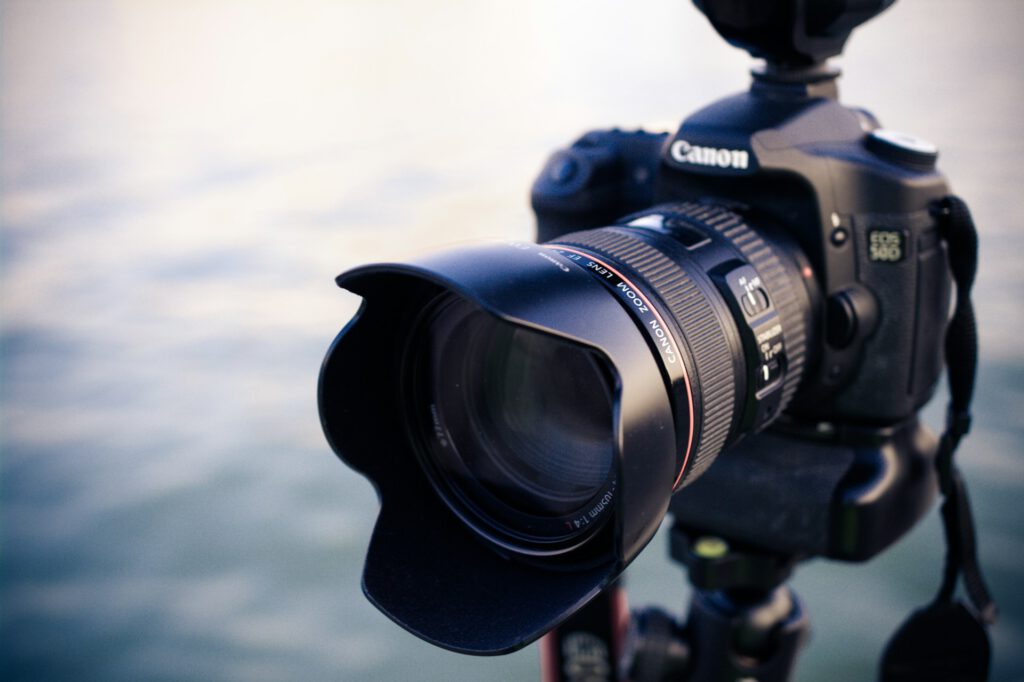
Wide apertures melt backgrounds into smooth blur but often leave less of the overall photograph acceptably sharp.
Apertures like f/1.4 admit significantly more light, producing shallow depth of field that creates striking subject-scene separation—much like melted candle wax. Reviewing old vacation photos, you might realize the iconic landmark behind your smiling face is completely obliterated, offering no real contextual clue. Adobe notes that depth of field depends on both aperture and focal length; cityscape photography commonly uses around f/8 or smaller, while portraits favor wider apertures.
Stopping down to f/4 or even f/5.6 increases depth of field, preserving more environmental context. Just because your lens can deliver extreme blur doesn’t mean every shot needs to look like a witness protection profile.
2. Waiting for Perfect Conditions
Wabi-sabi champions beauty in imperfection, transience, and incompleteness.
Waiting indefinitely for ideal conditions—perfect lighting, pristine first snow, or haze-free vistas—often leaves expensive cameras idle, an elaborate excuse. Canceling a shoot due to suboptimal weather, much like saving your best outfit for an event that never happens, delays crucial practice. This endless search for ideal timing stalls creative growth.
Ditching that perfectionistic mindset unlocks valuable experience. Shooting in difficult conditions provides real-world practice not simulated indoors. Managing reflections, haze, and shifting light reveals useful techniques. Working through imperfect scenarios sharpens technical skills, fostering adaptability and delivering unique stories.
1. Managing RAW File Backlog
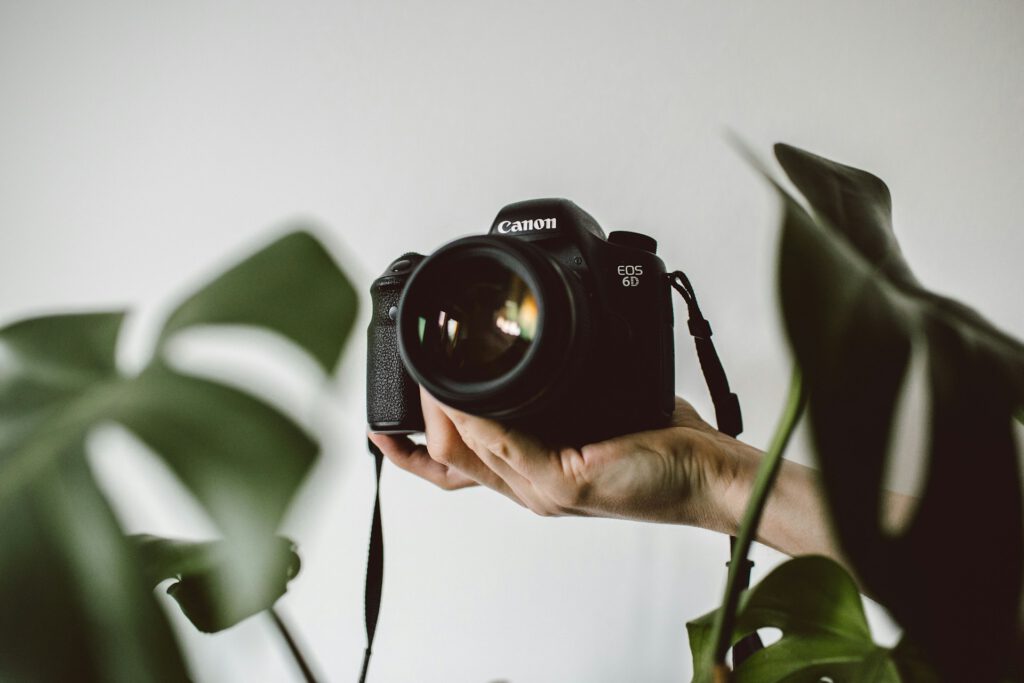
A digital backlog of thousands of untouched shots causes demotivation and delayed sharing.
RAW files preserve substantially more image data, functioning like a meticulously recorded master tape for your visuals. This provides greater flexibility for adjusting exposure, color, and detail during editing. JPEG files, however, are processed in-camera, immediately viewable, and easier to share, though they contain less recoverable information.
Many cameras support simultaneous RAW+JPEG recording, letting you share JPEGs while retaining RAWs for select portfolio pieces. Instead of editing every file, choose a handful of standout RAWs from each session for meticulous refinement. This prevents the “so true” moment of telling friends your vacation photos remain unedited years later, motivating actual sharing.