



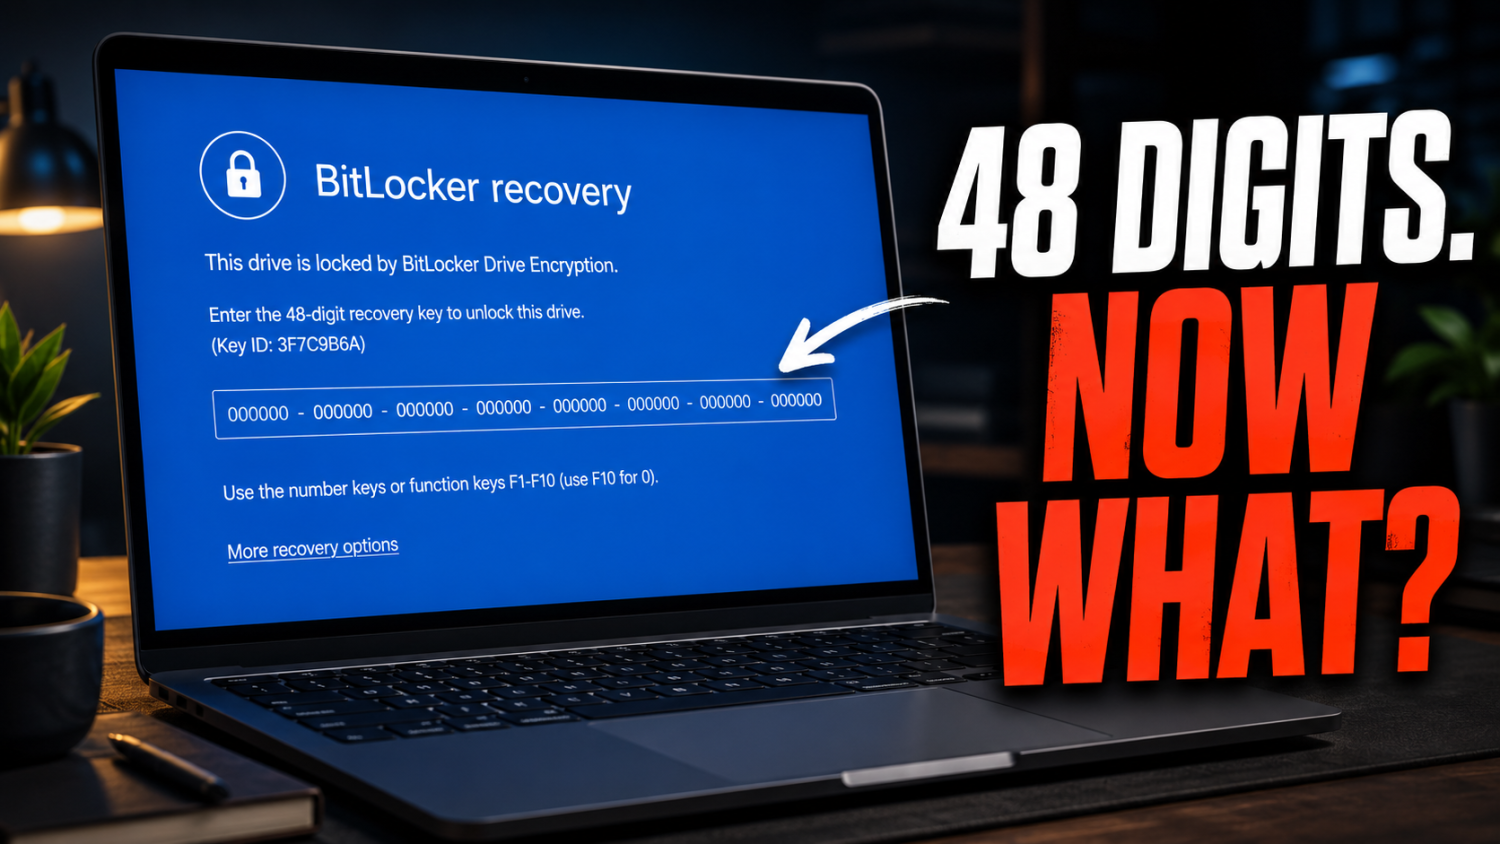
A blue screen shows up out of nowhere, asking for a 48-digit recovery key most people didn’t know they had. It happens after a routine update, a BIOS change, or a new motherboard, and the drive itself is usually fine. Windows just doesn’t trust the hardware anymore, so it locks everything until someone proves they’re allowed in.
BitLocker is Microsoft’s built-in encryption tool, and it works well at the one job it’s built for. It scrambles an entire drive so a lost or stolen laptop doesn’t hand over every file to whoever finds it. The tradeoff shows up the moment something unexpected trips the system: a TPM reset, a secure boot change, even a routine firmware update can trigger recovery mode, and getting back in isn’t always obvious.
Here’s what actually works.
1. Find the Recovery Key Windows Already Saved
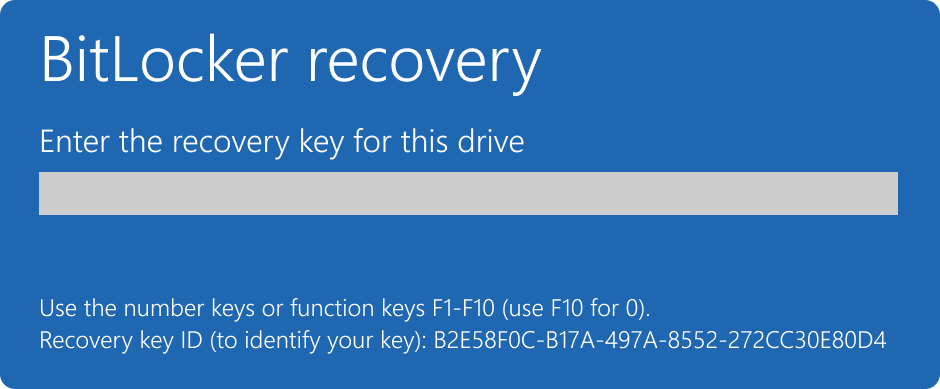
Every BitLocker setup generates a recovery key, and it usually gets saved somewhere the person doing the setup never thought to check again. A Microsoft account, a printed copy, a USB drive, or an organization’s IT system are the most common spots. Signing into a Microsoft account online and checking the BitLocker recovery keys page recovers a lost key more often than people expect.
2. Use Windows’ Built-In Tools for Basic Management
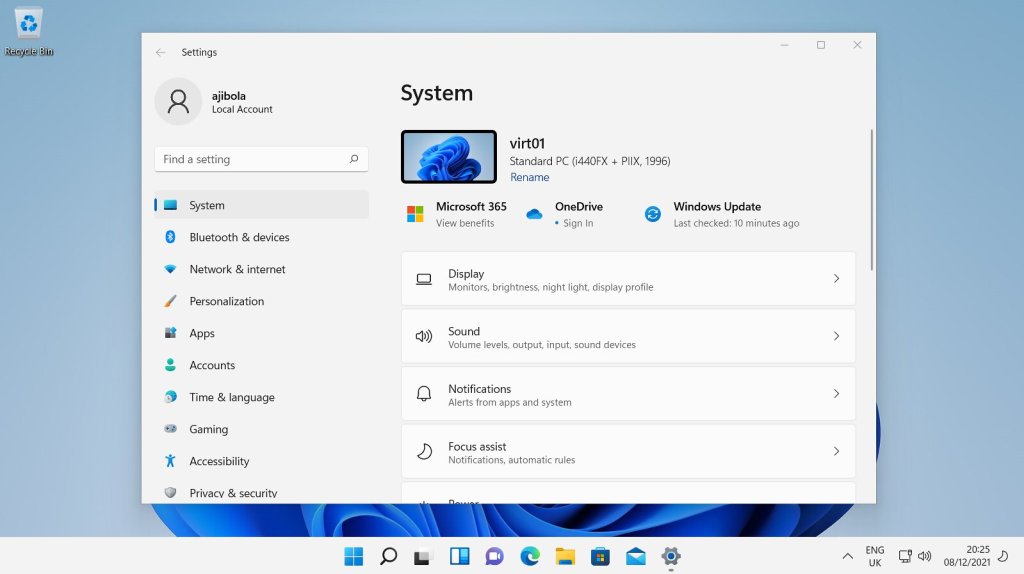
Control Panel and Settings handle the everyday BitLocker tasks: turning encryption on or off, checking status, managing a password. For more advanced operations, Command Prompt’s manage-bde tool and PowerShell give full control, though both require knowing the right commands. Windows’ native tools are free, reliable, and fully built into the operating system, and they remain the right call for anyone comfortable working in a command-line environment.
3. Boot Into a Recovery Environment When Windows Won’t Start
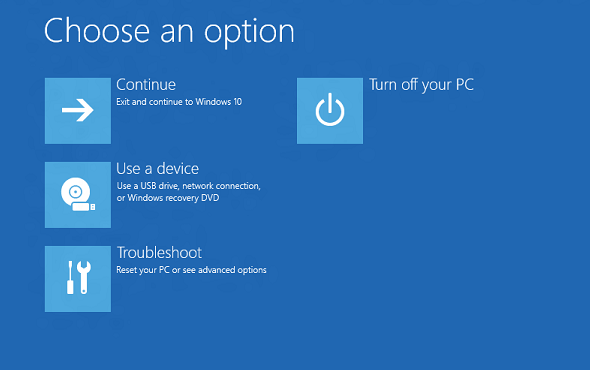
Sometimes the system drive stays locked, and Windows never gets far enough to ask for anything. That calls for a WinPE-based recovery environment, a separate, bootable version of Windows that runs from a USB drive instead of the installed system. EaseUS Partition Master builds one of these directly: connect a USB drive to a working PC, create the bootable media, then boot the locked computer from it. The tool detects the encrypted partition automatically and unlocks it or turns off BitLocker from there, without ever loading the original operating system.
4. Manage Everything From One Screen Instead of Four
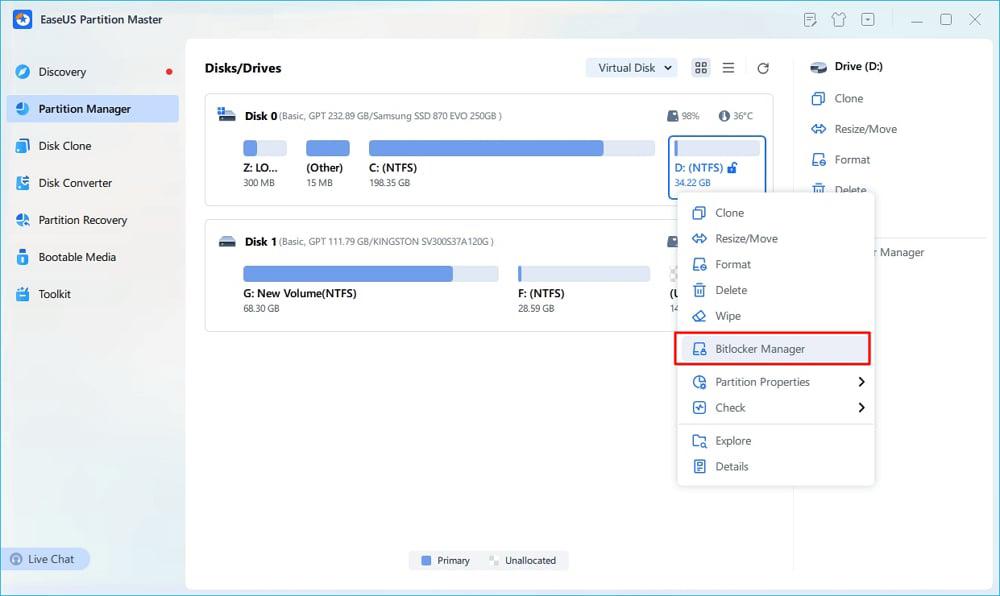
BitLocker’s native tools are scattered across Control Panel, Settings, Command Prompt, and PowerShell, and switching between all four for routine tasks slows things down fast. EaseUS Partition Master consolidates enabling, disabling, locking, and unlocking drives into a single interface. It also covers a spot that’s tripped up plenty of Windows Home users: BitLocker management on Home editions has historically been limited, and Partition Master extends support to newer Windows 11 Home builds, letting users decrypt drives and turn off encryption without hunting for workarounds.
Save the Key Before It Becomes a Problem
The best fix is the one that happens before any of this. Saving the recovery key to a Microsoft account, printing a copy, or storing it on a separate USB drive the moment encryption gets turned on means the blue screen never turns into a real emergency. A locked drive with a saved key is an inconvenience. A locked drive without one is a much longer afternoon.