Learning how to set up a modern gaming monitor will help you get the most out of your gaming experience. Today, gaming setups mainly constitute two monitors. The reason for shifting from one to two monitors is that dual monitors increase your productivity and gaming skills, coupled with FreeSync technology, it could enhance your overall gaming performance. But what we are going to focus on is how to set up a monitor for your gaming needs, from changing resolution and adjusting brightness to enabling HDR and more.

Key Takeaways_
- Take time to learn the impact of the settings on your monitor to know how they affect your gaming experience.
- Some of the more powerful monitor settings are usually not enabled by default.
- One gaming monitor is ideal for gaming, but a more rich experience involves using two or three monitors.
Although two or three screens provide you with larger real estate, it is essential to know how to set up a single display to make sure your gaming monitor is worth it.
You see, although your monitor is on and ready for a game, some of the critical features in a monitor are usually “OFF” by default; you have to configure the settings by yourself.
This includes adjusting the brightness settings and black levels to ensure optimal visibility and contrast in your games.
So, to help you set the correct configurations, we will guide you through the process. But if dual monitor gaming is your thing, then learn about how to set a primary monitor for gaming.
In a dual monitor gaming setup, it’s ideal that both monitors have similar display features for a seamless experience. It’s also important to use the right cables and ensure proper cable management to avoid clutter.
Setting up Your Gaming Monitor
STEP 1 Choose Your Refresh Rate and Resolutions
NVIDIA Users
Ensure that you have the latest driver running on your PC. Modern graphics cards support variable refresh rates, which is crucial for a smooth gaming experience.
- Adjusting the Native Resolution
- Right-click the desktop.
- Select Nvidia Control Panel. Under “Display,” click the “+” and choose “Change Resolution.”
- Choose the maximum resolution.
- Adjusting Refresh Rate Settings
- On the panel’s right side, pick the highest refresh rates you see for your selected resolution.
AMD Users
Ensure that you have the latest driver running on your PC.
- Adjusting the Native Resolution
- Right-click the desktop and choose “Display Settings.”
- Scroll and select the highest resolution settings from the drop-down menu.
- Adjusting Refresh Rate Settings
- Choose “Advanced Display Settings,” located at the bottom of the page.
- Select “Display adapter properties” for Display 1 – if you have multiple screens, the number will change.
- Pick the highest refresh rate.
For those using ultrawide monitors, ensure that the resolution settings match the unique aspect ratio of your screen for an immersive experience.
STAT: Suppose you choose to pick a larger display with 4K resolution. In that case, you will need an ultrawide monitor with a 21:9 aspect ratio. (source)
For content creators, it’s important to choose a monitor with high resolution and color accuracy, which often means selecting a monitor with a larger size and higher pixel density.
STEP 2 Configure the Color Depth
For you to display HDR content, you have to configure the color depth of your monitor. This is especially important for content creation, where color levels and accuracy are paramount.
Find the process below.
NVIDIA Users
- Head to the screen where you configured the refresh rate and resolution above.
- At the bottom of the page, under “Apply the following settings,” select “Use NVIDIA Color settings.”
- Adjust the settings on the drop-downs in that section to the highest value.
- For example, choose “RGB” for Output Color Format and “Full” for Output Dynamic Range.
- Apply and save.
If you have a 4K monitor with 144Hz, the Output Color Depth may be reduced. Set it back to the highest value and then use the YCbCr444 as the new Output Color Format.
This way, your Output Dynamic Range will be set to “Limited.” In case the color depth changes again, use the lower Output Color Format of YCbCr422.

insider tip
For you to display HDR content, you have to configure the color depth of your monitor.
When you get to this point, your images or texts may have that ugly off-color around them. So, only use these settings for video and gaming. As a last resort, if all fails, drop to an 8-bit Output Color Depth, or lower the refresh rate. This procedure also applies when setting up dual monitors for gaming.
AMD Users
- Right-click on desktop
- Choose AMD Radeon Settings
- Select Display
- Set the highest settings for both Color Depth and Pixel format.
STEP 3 Enable HDR
Once you configure the PC to display HDR color, you also have to turn it on in Windows 10.
The process is below.
- Click the Start, then select Settings
- Choose System, then Display
- Choose the display you want to use HDR on, if you use multiple displays.
- Select Windows HD Color Settings
- Under Display capabilities, check to ensure Yes is selected next to Use HDR
STEP 4 Enable FreeSync/G-Sync
These technologies assist in delivering a dynamic frame rate that eliminates screen tearing for a smooth gaming experience. For competitive gaming, ensuring your game settings are optimized for your specific screen display is crucial.
Additionally, if you are getting erratic frame rates, it may be a sign of a bottleneck in your system.
Nvidia G-SYNC/ AMD FreeSync process
- Right-click on the desktop
- Choose Nvidia Control Panel/ AMD Radeon settings
- Under the Display section, select Setup G-Sync/ AMD FreeSync
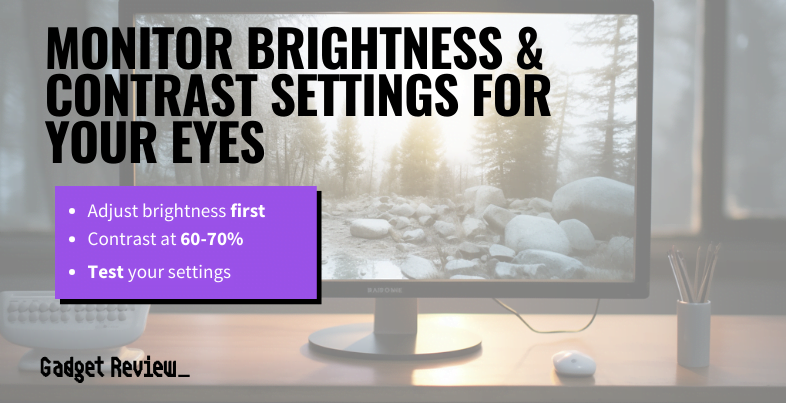
STEP 5 Calibrate Contrast, Brightness, and Color Settings
- Go to the Control Panel
- Click on the Color Management icon
- Select the Advanced tab
- Select “Display Calibration,”
- Choose “Calibrate display.“
Windows will then ask you to start the ClearType Tuner to ensure that your text is clear. This process is optional, but it lasts for only 30 seconds.
For those using secondary monitors, it’s important to ensure that their display settings are synchronized with the primary monitor for a consistent visual experience.
Ensure that your dual monitor arm or dual monitor stands are set at the right height and angle, with monitors at eye level, to reduce strain during long gaming or content creation sessions.