If you’re reading this, chances are you’ve experienced a sudden drop in your favorite office chair. It’s not just annoying; it’s a sign of a failing pneumatic cylinder.
It’s a common issue in many office chairs. Before attempting any of the fixes, you can also check your chair’s warranty to see if it covers pneumatic cylinders.
Let’s dive into how you can fix this without resorting to buying a new chair.
Repairing Chair Hydraulics
There’s one simple way to resolve chair hydraulics issues quickly: get a new pneumatic cylinder.
Many of these cylinders are easy to find online and generally have the same fit for most chairs.
Just make sure you find the right one that fits your chair, preferably by checking your chair’s dimensions.
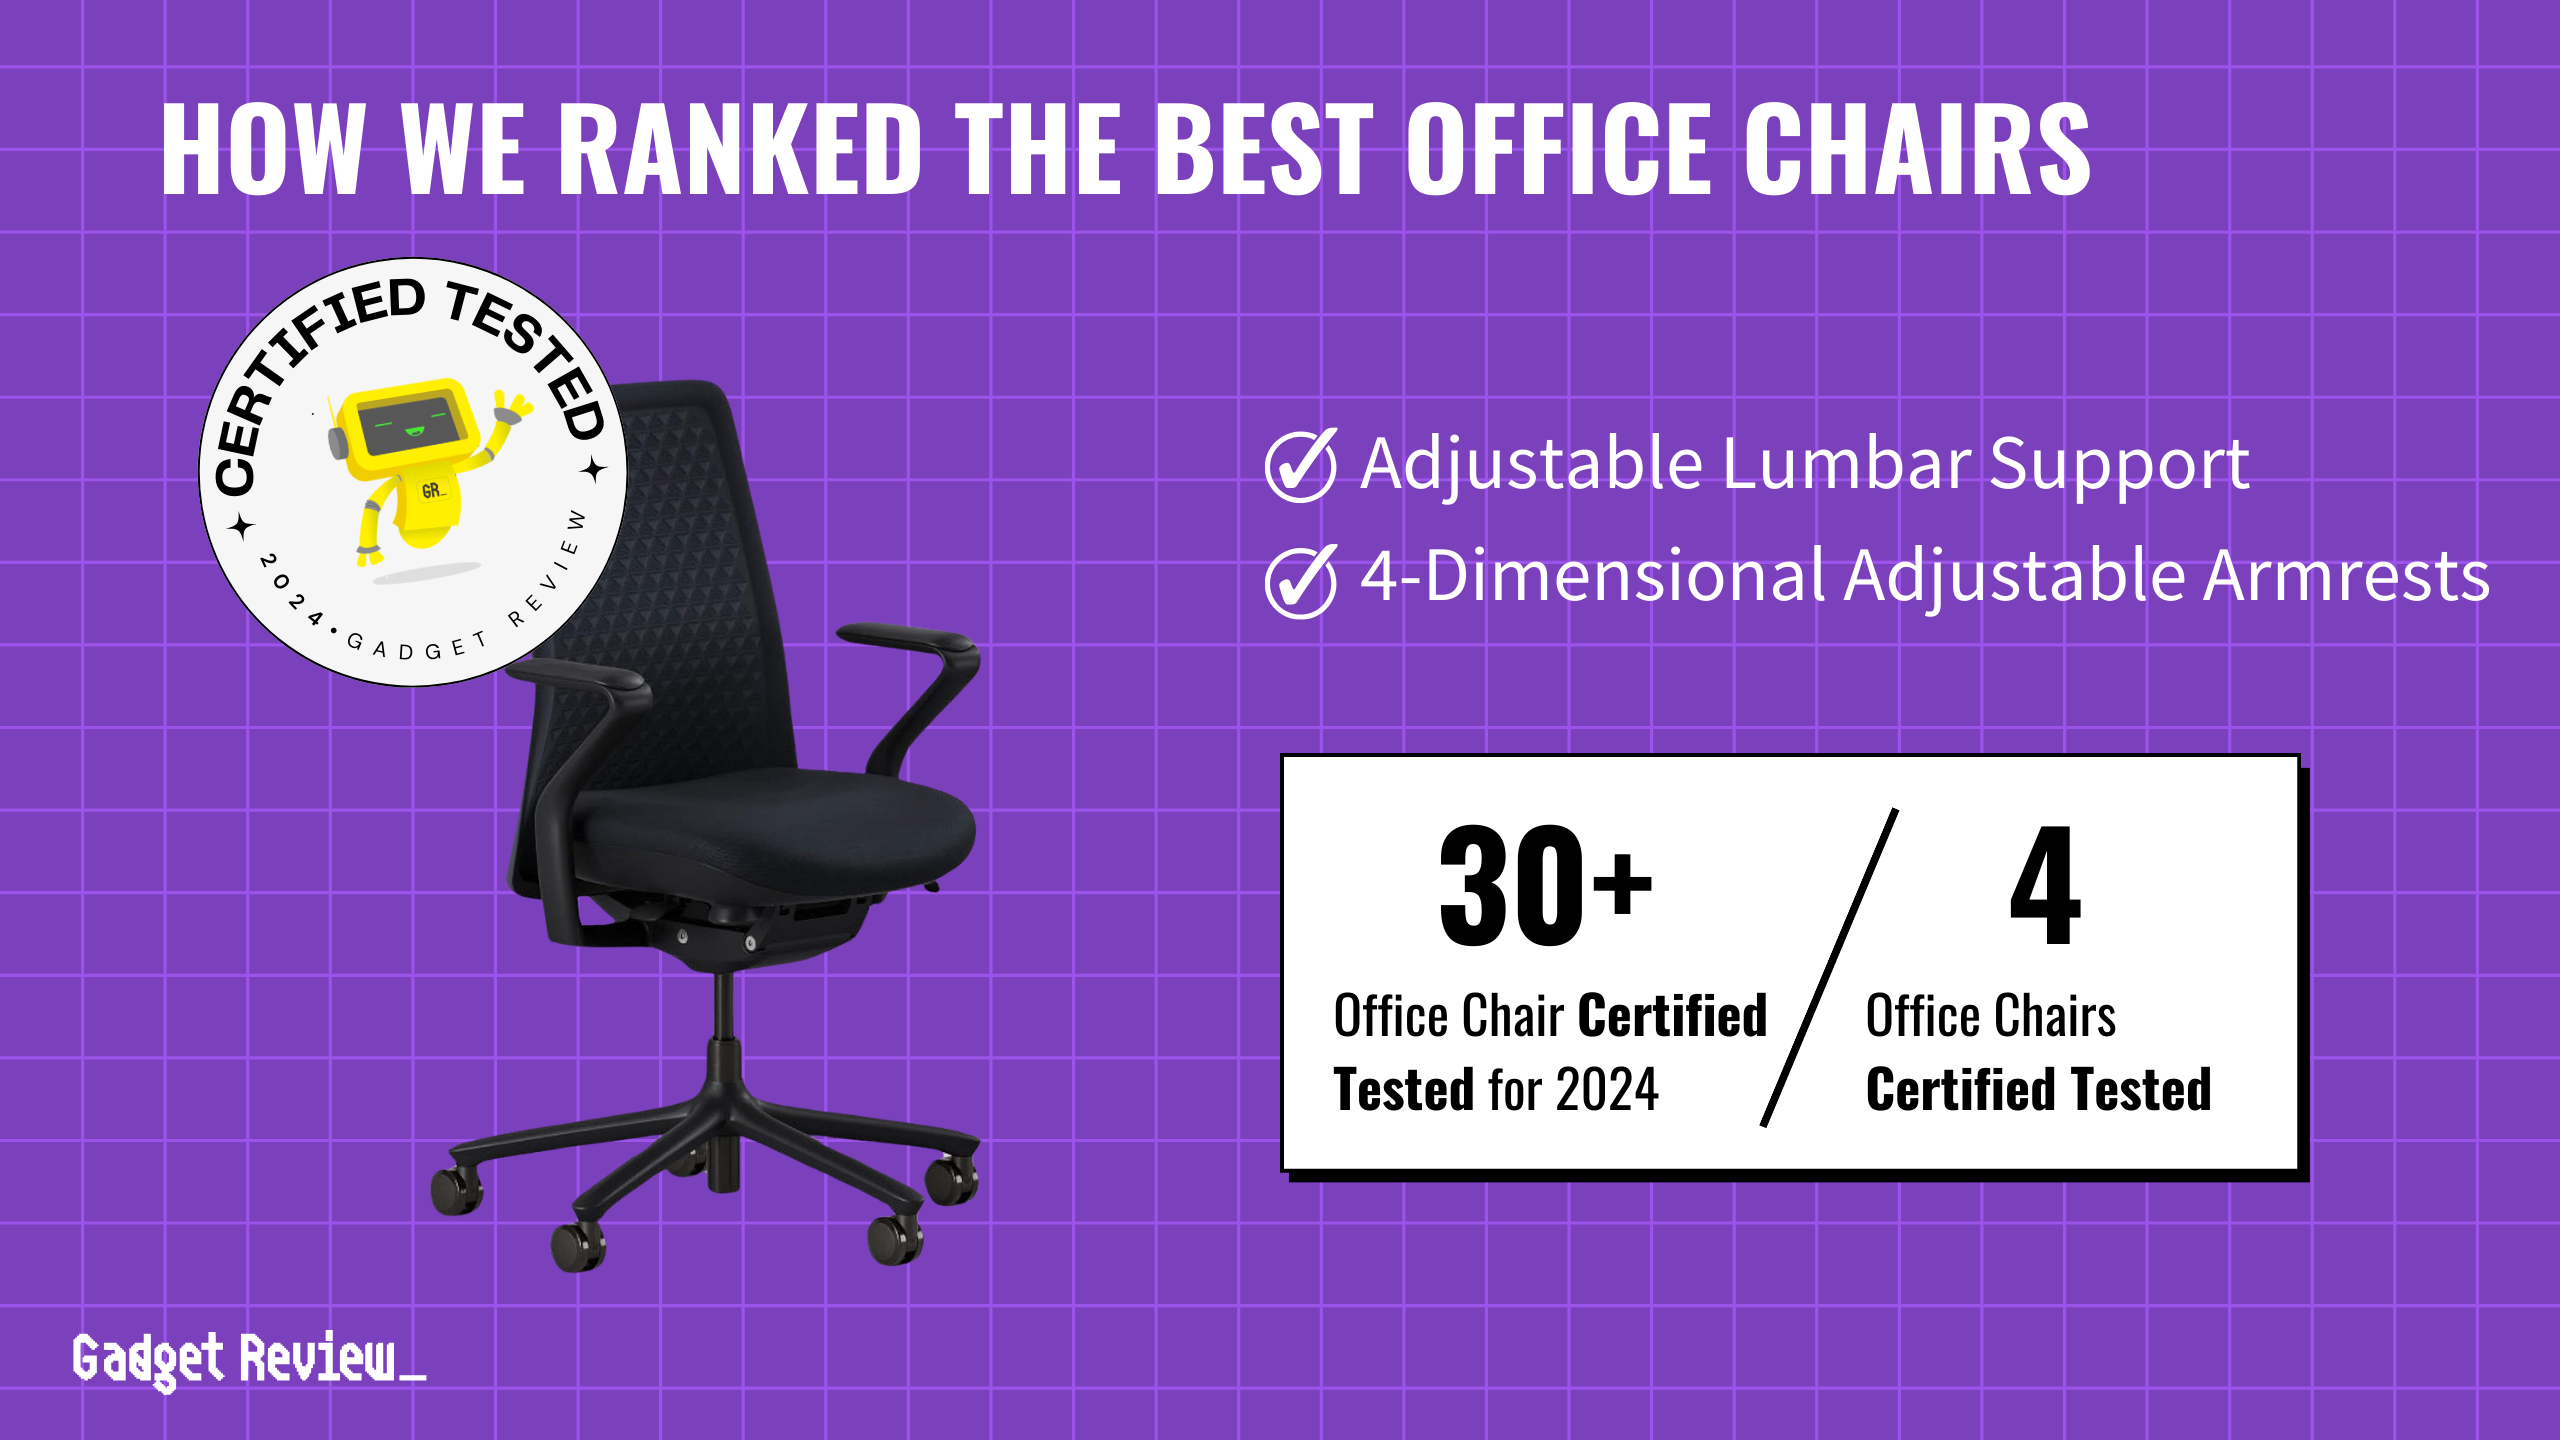
CHAIR MAINTENANCE tipS
Dealing with stains and maintenance can extend the life of your office chair. For instance, dealing with stains promptly can keep your chair looking new. Find out how to get blood stains out of an office chair and remove hair from office chair wheels to ensure smooth rolling and cleanliness.
If you have a pet, learn how to get cat pee out of your office chair to prevent lingering odors and stains. For chair repairs, follow our guide on how to replace a wheel on an office chair.
Understanding the Problem
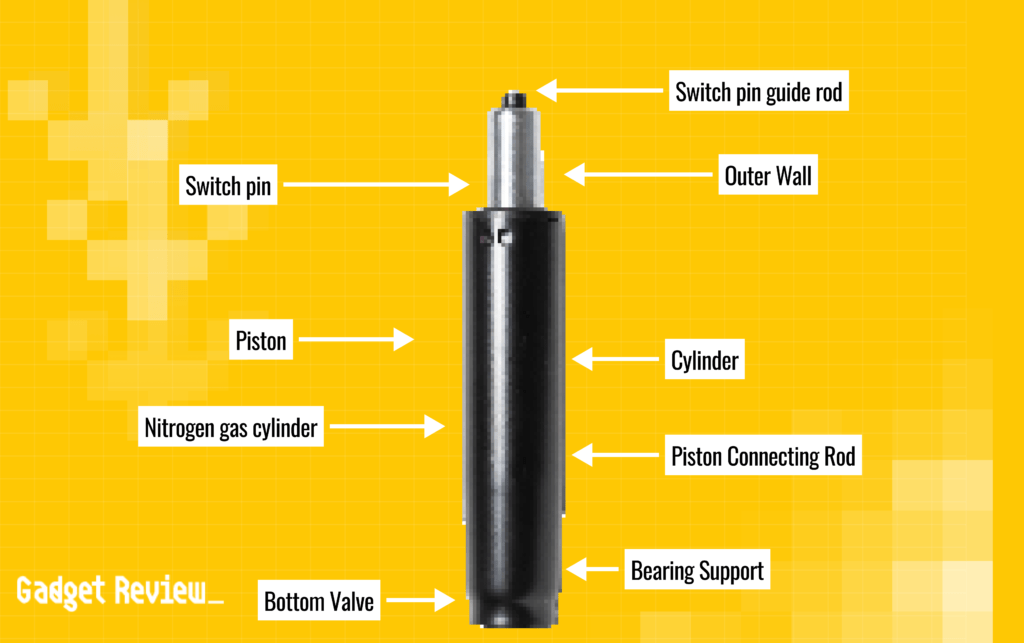
Chair hydraulics issues typically stem from problems with the pneumatic cylinder, the component that adjusts the chair’s height using compressed air:
- Over time, the cylinder’s seal can deteriorate, leading to a gradual loss of air pressure and causing the chair to sink. Regular use, especially under heavier loads than the chair’s design limits, speeds up this wear and tear.
- Additionally, abrupt movements or dropping into the chair can further damage the cylinder.
- Malfunctions in the height adjustment mechanism, such as a loose or broken lever connected to the gas lift cylinder, can also contribute to hydraulic issues.
- While less common, external factors like temperature fluctuations can affect the air pressure within the cylinder, contributing to the problem.
Recognizing these signs and understanding the mechanics behind your office chair’s height adjustment can help you determine whether a simple fix is sufficient or if it’s time to replace the chair or its components.
Preparation for the Fix
Before you start, slide off the plastic covering on your chair to expose the metal cylinder. This is where the magic happens.
Make sure to adjust your chair to your preferred height before you begin the repair.
DIY Repair Methods
First Method: Using a Hose Clamp:
Fixing a sinking chair with a hose clamp is a simple and cost-effective method. By securing the chair’s cylinder with a hose clamp, you can prevent it from sliding down and maintain your desired height.
STEP 1 Gather the Necessary Materials
You will need:
- A hose clamp (¾” size is ideal)
- Some rubber or duct tape
STEP 2 Get a Grip on the Cylinder
Wrap the tape evenly around the cylinder for a better grip. This layer improves the grip for the hose clamp, ensuring it stays in place and holds the chair’s height effectively.
STEP 3 Clamp the Taped Area
Place the hose clamp around the taped area and tighten it with a screwdriver. Ensure it’s snug but not excessively tight to avoid damaging the cylinder.
This should prevent the chair from sliding down.
STEP 4 Test the Chair
Once you’ve applied this fix, give your chair a test. Sit on it and ensure it holds your weight without sinking. If the chair still sinks, adjust the clamp’s position and tighten it further until the desired height is maintained.
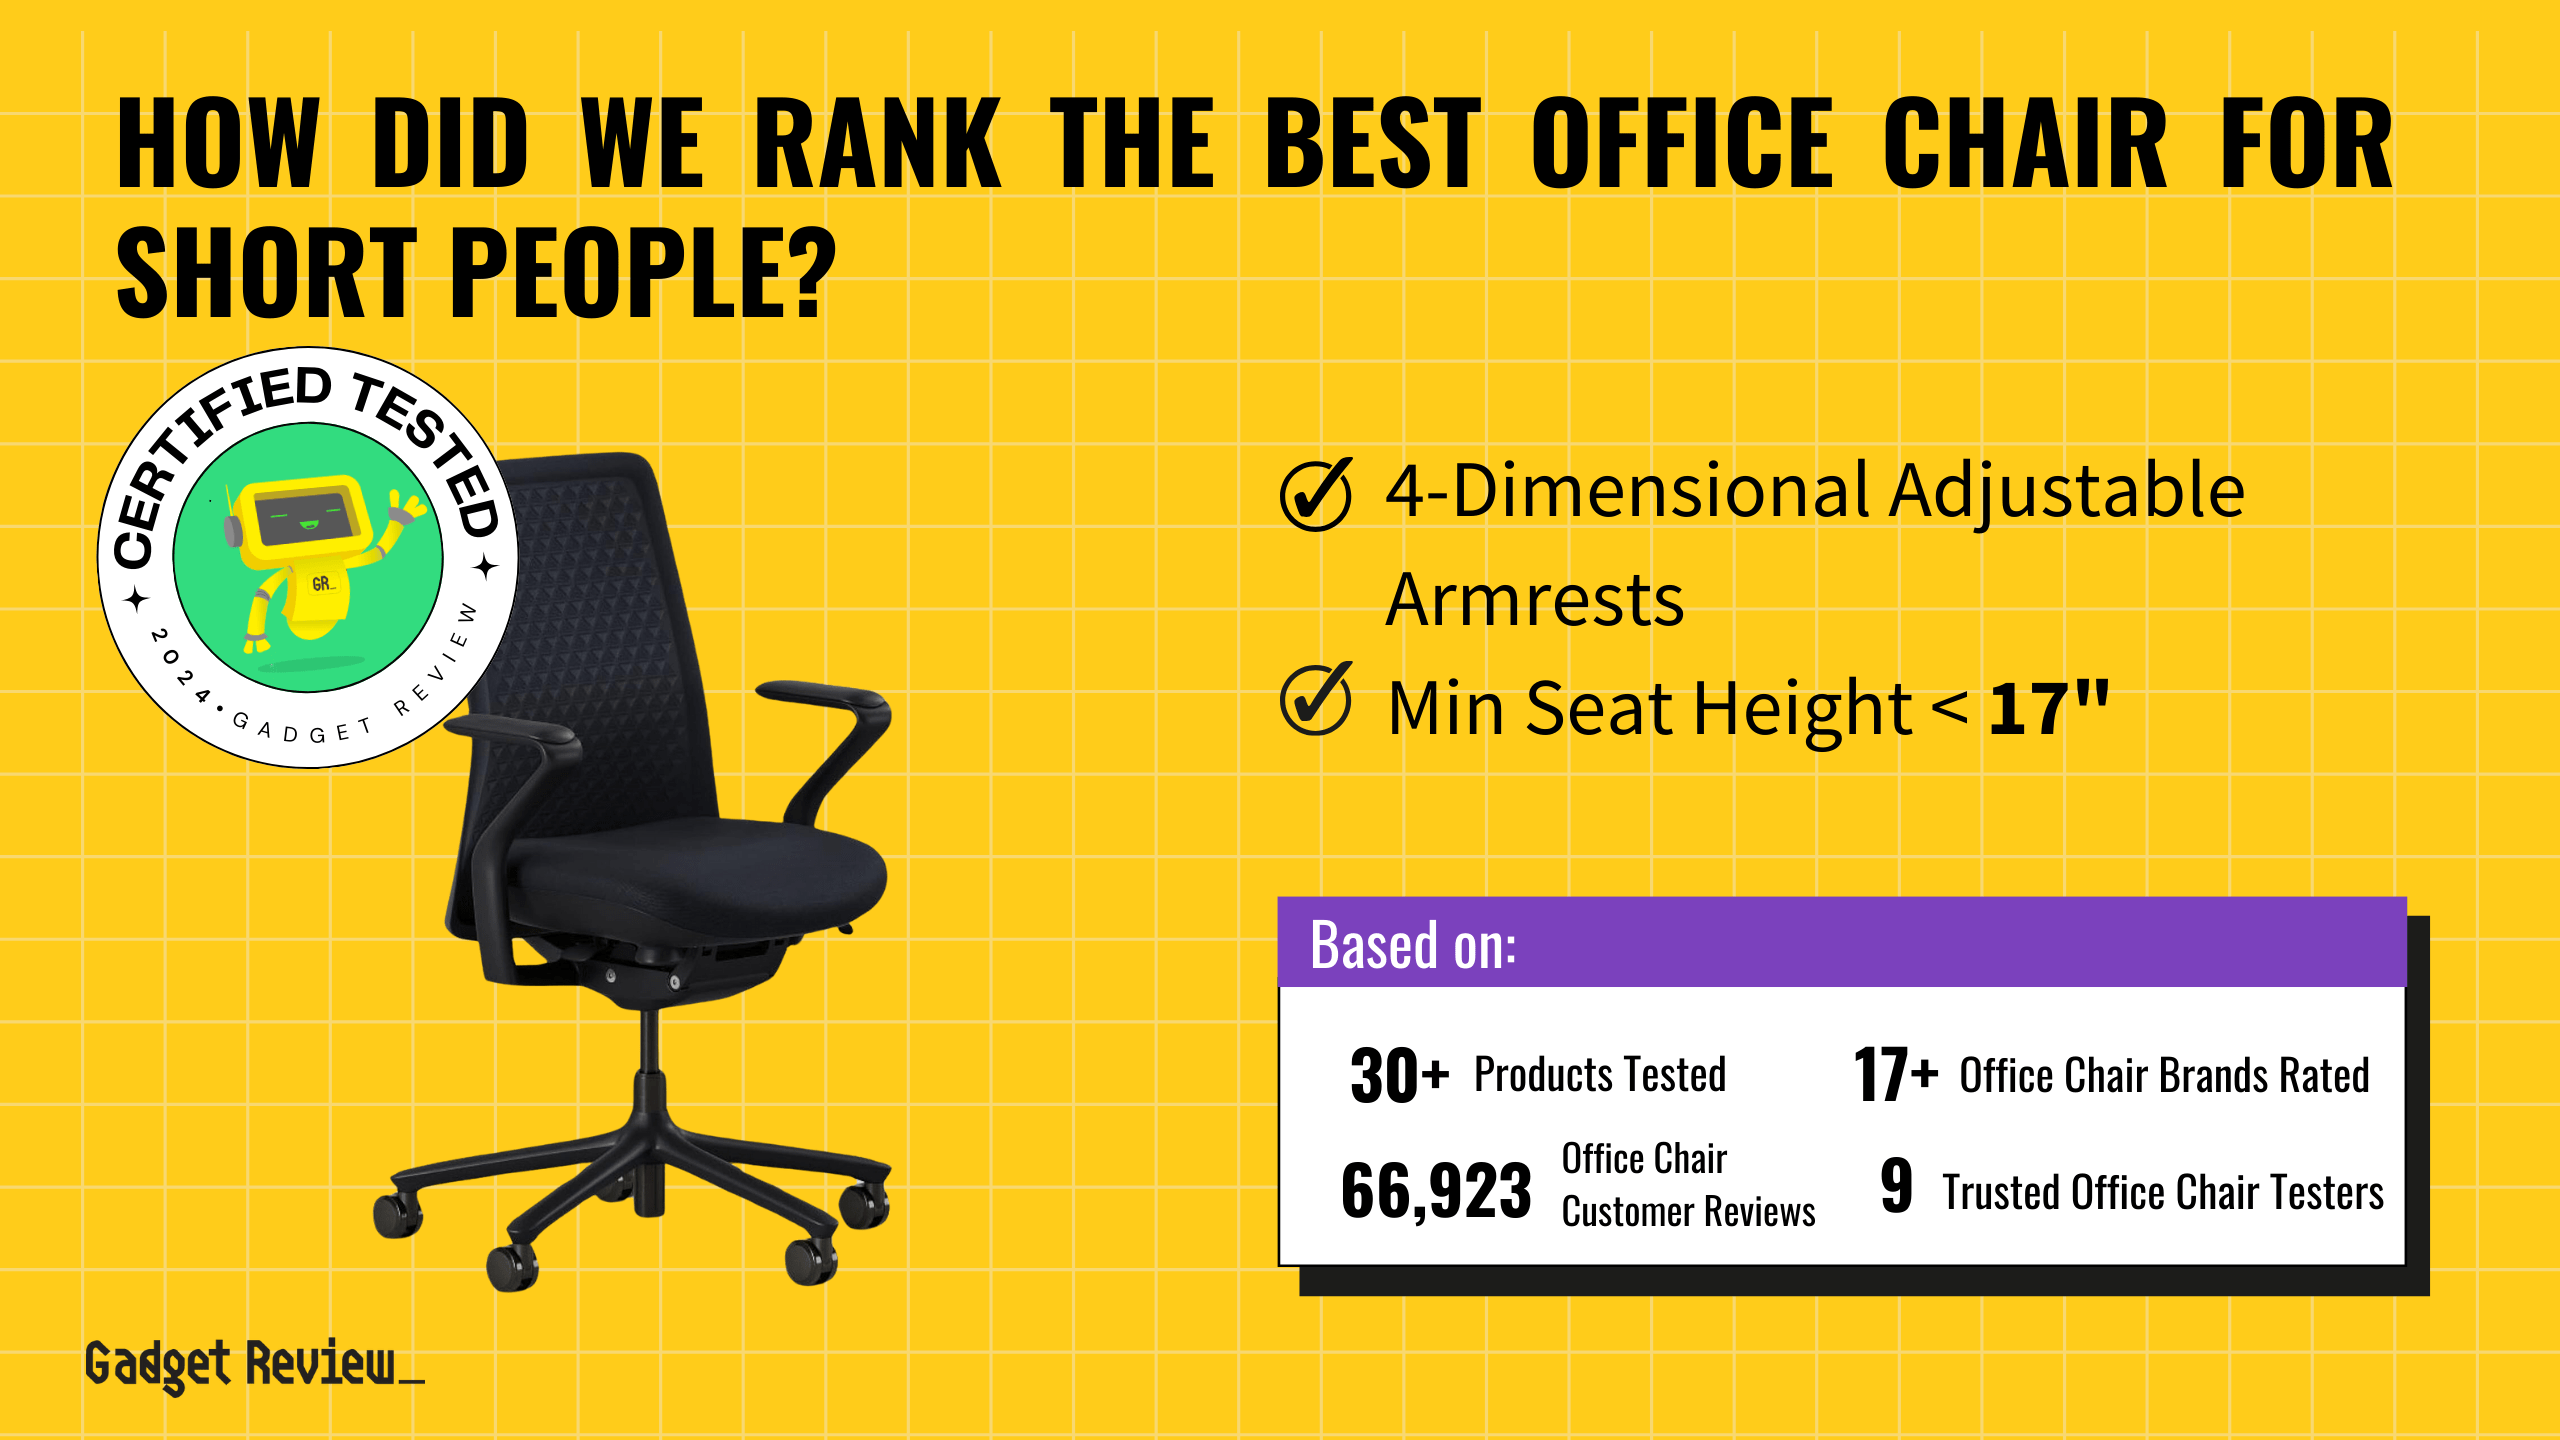
OFFICE CHAIR SEATING tipS
To improve your overall seating experience and ensure your office chair functions properly, consider additional practices and accessories. If you find yourself sliding out of your office chair, check out our tips on how to stop sliding out of your office chair.
Using the right cushion can also make a big difference, so learn how to choose the best office chair cushion with back support. For those looking to enhance their posture and core strength, consider sitting on exercise balls at work.
Second Method: Using PVC Pipe
For a more permanent solution, using PVC pipe can effectively fix a sinking chair. This method involves cutting and fitting PVC pipe segments around the cylinder to support the chair at the desired height.
STEP 1 Gather the Necessary Materials
You will need:
- A PVC pipe that matches your cylinder’s diameter
- A PVC pipe cutter
These will be used to create segments that support the chair’s height.
STEP 2 Cut Lengthwise
Cut the PVC pipe lengthwise so it can fit over the cylinder. This allows you to snap it onto the cylinder easily. Cut the pipe into segments as needed.
STEP 3 Fit PVC Onto the Cylinder
Slide the PVC pipe segments over the cylinder. Ensure they fit securely and provide adequate support to prevent the chair from sinking.
You can add more pipe segments if you need to adjust the height.
STEP 4 Test and Adjust the Chair
Test the chair by sitting on it. If the height isn’t right, adjust the clamp’s position, or add or remove pipe segments to adjust it until you hit the sweet spot. Make sure the chair remains stable and comfortable.

warning
If your headset is experiencing connectivity issues or static, it’s crucial to understand why your gaming headset disconnects while gaming and take necessary precautions to avoid interruptions. Be cautious of potential problems where gaming headset speakers and microphones both don’t work at the same time, which can indicate underlying hardware issues.
In case you encounter such problems, knowing how to repair a short in a wired gaming headset can prevent further damage and ensure your equipment remains functional. Taking these steps can help you maintain a smooth and uninterrupted gaming experience.
When to Opt for a Replacement
Sometimes, a fix is just a temporary solution. If your chair continues to fail or becomes uncomfortable, it might be time to invest in a new one.
Remember, your comfort and posture are crucial, especially if you’re spending hours at your desk.
Dealing with a sinking chair is more than a minor inconvenience; it’s a call to action for your comfort and health.
OFFICE CHAIR SELECTION tipS
Understanding different types of chairs and their features can help you make informed decisions for your workspace, especially when addressing hydraulic issues. For example, if you’re considering a new chair, learn about the differences in our comparison of drafting chair vs office chair.
For those considering alternatives, we also compare folding chairs vs office chairs and vinyl vs leather office chairs. If you need a chair without wheels, check out our guide on the best office chair without wheels or even explore all our comprehensive office chair guides and reviews.
While these DIY fixes can save the day, don’t hesitate to opt for a replacement if the problem persists.
A functional and comfortable chair is not a luxury; it’s a necessity for anyone spending significant time at a desk.