Understanding how to repair a short in a wired gaming headset can seem intimidating, especially since electrical signals are nothing to play with and can lead to serious injury if you disregard their danger. However, if you have the best gaming headset you can afford, it’d be a shame not to fix it. Additionally, you can read more about a gaming headset for kids is worth it.

Key Takeaways_
- A shorted wire is among the many common issues wireless and wired headphones have that you can quickly fix yourself.
- First, you’ll find the disconnected wire. Then, use a wire cutter to strip the rubber covering on the striped wire location.
- Use solder to combine the wires by color, including the white wire and the green wire. Now, plug into an audio jack to test your audio.
Should You Try to Fix Internal Wires in Over-Ear Headphones?
In many ways, whether attempting a gaming headset DIY repair or not depends on whether your wired headphones are worth fixing. Sometimes it’s better just to purchase a new pair of headphones instead.

insider tip
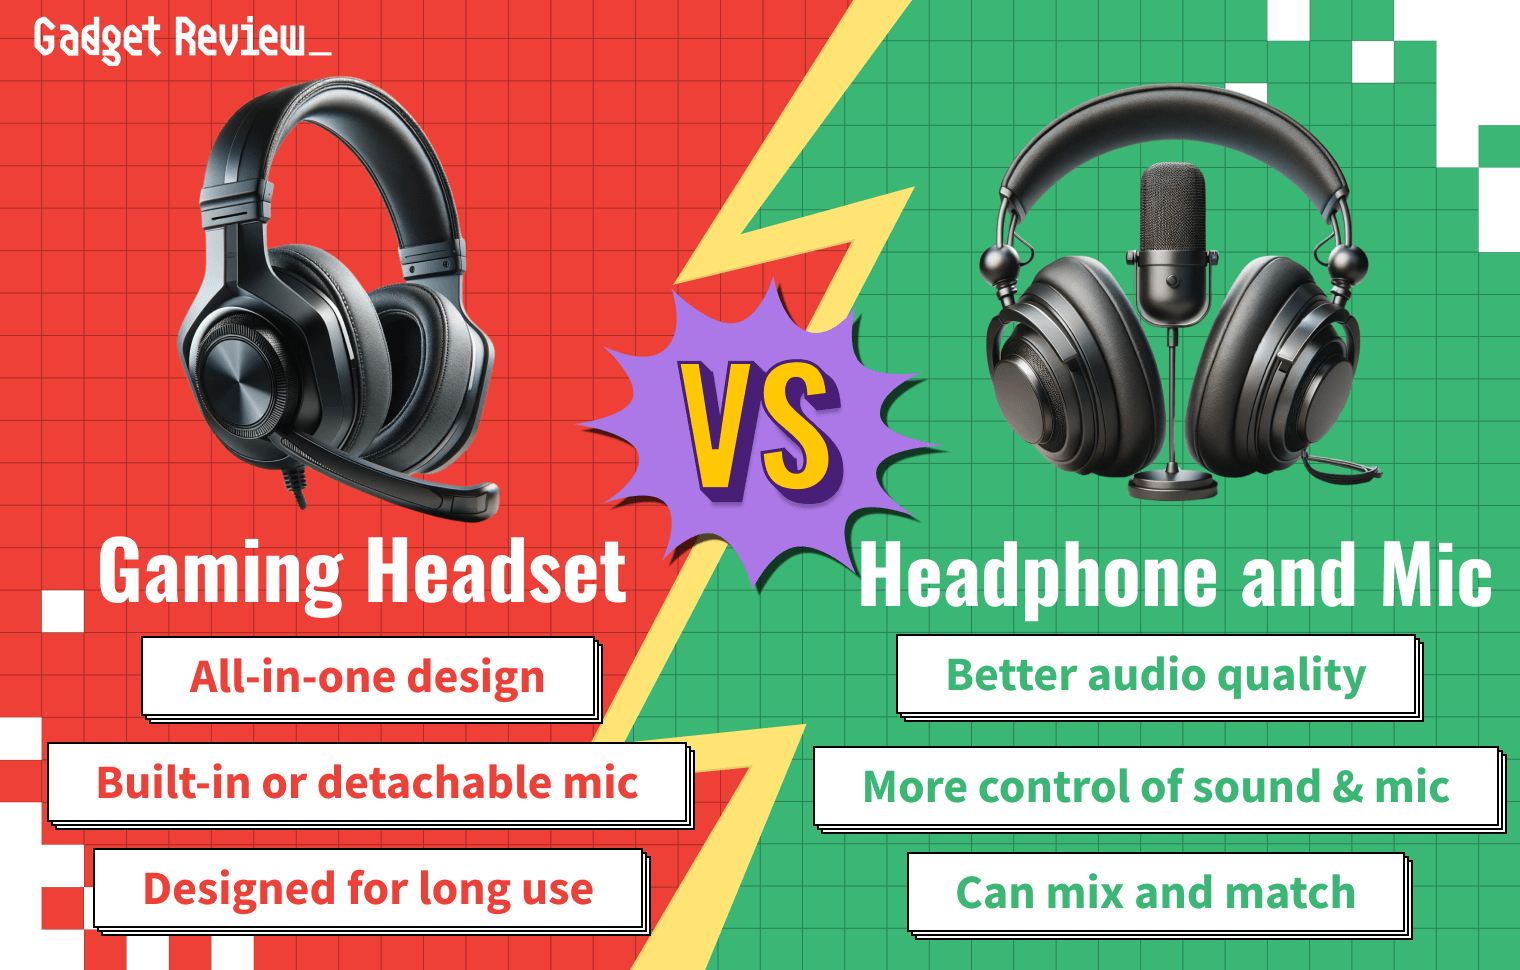
Wireless headphones are fabulous for those with gaming accessories lacking an audio jack plug.
Learning how to repair a gaming headset isn’t difficult, especially if you have a background in fixing device issues. Even if you don’t, the step-by-step guides below will help significantly. Knowing how to wear a gaming headset and where to store a gaming headset when not in use can go a long way in keeping it in working order.
Fixing the Internal Wires of Broken Headphones
Before jumping into fixing a headphone wire, there are a few things to know. First, you’ll need to ask, “What are gaming headset controls?” to grasp what you’re messing with.
Beyond that, understand that fixing wireless headphones is a vastly different process. With wireless headphones, the problem is typically a faulty Bluetooth audio connection.

warning
Use caution when using a solder gun repair kit since even a dab of solder can cause severe burns.
If you’re fixing a broken wire in over-ear headphones with a loose connection, it’s a different ballgame. We’ll explain more below.
STEP 1 Locate the faulty wire
- First, find the issue. The best way to diagnose audio issues is by using the audio device itself. Bend the headphone wire until you hear a change in intermittent sound quality.
- Once you locate the faulty wire, use your wire strippers to remove the rubber covering. Be mindful not to damage the headphone jack if you’re cutting close to it.
STEP 2 Fix the faulty wire
- Take account of the colored wires. There should be a few strands, including a green wire. Solder together the like-colored wires. Make sure you combine all frayed wires, including the copper wires.
- Once the ground wires connect, allow the drop of solder to dry. Then, use your electrical tape or heat-shrink tubing. Cut a small piece of tape and wrap it tightly around it to make up for the loss of the insulating rubber seal.
STEP 3 Test the headset
- Plug in your headphone jack plug and see if the sound quality is back to normal. If not, you may have broken the insulated wires beyond repair and will need to purchase a new pair.