Mounting your display or computer monitor is an excellent way to clear workspace, fit more into a smaller office space, and give your workstation a cleaner, more attractive look. Moreover, swivel arms used on wall mounts provide extra viewing flexibility and range, allowing you to adjust your display angle to your personal preference and needs, potentially limiting neck and/or eye strain common to users working long hours in front of a computer. Below we walk you through the process of setting up and adjusting your mount.
Key Takeaways_
- Most modern computer displays are fully VESA-compliant
- Wall mounts are a great way to save space and organize your office space
- Even older non-VESA displays are mountable using desk mounts attached to cable management grommets
Can My Monitor Be Mounted?
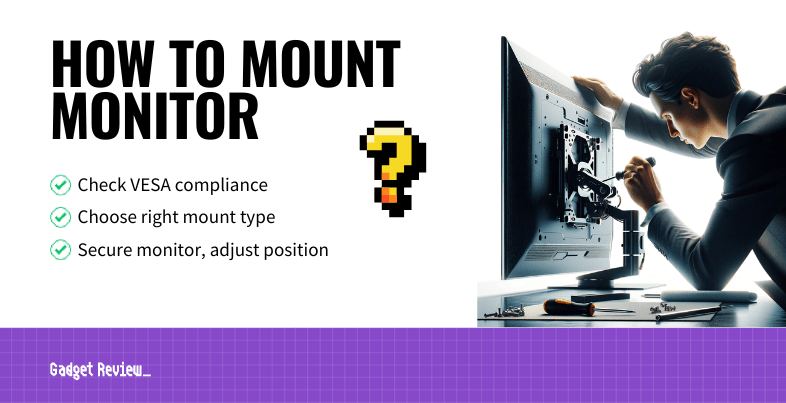
The first thing you need to do is determine whether or not your display can be mounted. The Video Electronics Standards Association (VESA) is an organization that oversees standardization for computer display mounts, so any compliant monitor with built-in mounting brackets approved by VESA should be easily mountable on most surfaces using standard tools. VESA brackets are generally found in the middle or lower portion of the monitor’s backside.
STAT: The overwhelming majority of modern computer monitors are VESA compliant. (source)
Choosing and Installing Your Mount Type
There are a number of factors to consider when choosing and installing your preferred type of mount. This is important because if your display mount setup blocks the airflow, there’s a good chance your monitor will burn out quicker.
Clamp Mount
Clamp mounts are the most common VESA mount adapter option and they provide a good amount of angle, height, and general adjustability, among other benefits. They work by securing to your desk or via a clamp and more often than not have an adaptable bracket for drilling into your desk. One issue with clamp mounts is that while most desk types and sizes are compatible, not all are- this is especially true of older desks with bulkier builds that like thin edges to attach clamps to.
Installation:
All you’ll need in addition to the tools included in your mount kit is a standard-size Phillips head screwdriver.
- Securely attach the bracket to the mounting arm, being careful to correctly align and tighten all screws correctly.
- Screw the clamp to the bracket using the provided screws.
- Loosen the clamp by turning it counter-clockwise and attach it to the desk. Retighten the clamp, but be careful not to tighten excessively or you could damage your desk.
- Make sure that the arrow on the VESA mount is pointing up, use the included washers and screws to attach the display to the rear mounting plate.
- Slip the monitor plate onto the mounting arm carefully.
- Adjust the tension of the mounting arm at the joint using your screwdriver and set the angle and height of your display to preference. Re-tighten the mounting arm, making sure not to over-tighten, which makes strip the screw threads.
Desk Mounts
Desk mounts are semi-permanent and provide the best stability for even larger monitors, but they generally require drilling a hole into your desk or using one that’s already there such as the cable management grommet built-in to many office desks. As such, their adjustability and placement tend to be more limited than other mount types, but it’s a good choice for heavier units due to its increased stability and strength.
Installation
Follow the installation instructions for the clamp mount, adjusting for the cable management grommet if present.
Wall Mount
Wall mounts are the most attractive and versatile option, saving precious desk space and offering a range of motion and adjustability options that others do not, however they generally require locating a secure wall stud to attach to safely, and even still, they may not always provide maximum stability for especially heavy monitor types, and care must be taken that your display doesn’t exceed the weight limit of the wall mount you’ve selected.
Sometimes, the weight limit of a mount will be expressed via monitor sizes- a 27-inch display should not be attached to a wall mount rated for 24-inch models.
That’s why it’s important to have the right monitor for the chosen mount, otherwise, you’re likely to damage or destroy your monitor.
Still, for most users, wall mounts are a great way to go and aren’t too much more labor-intensive or difficult than the other major mount types.
Installation:
- Locate the wall studs where you want to place your mount and mark your screw points with a pencil. After drilling your pilot screw holes, insert the wall component of your mount and attach the wall plate.
- Find the VESA mount holes in the back of your display and use the correct space and included M8 screws to connect the vertical monitor brackets to the back of your display.
- Hang your monitor carefully on the wall mount and screw the brackets in tightly.
- Adjust the tilt and swivel of the mount and monitor arms to your preference and you’re done.
Height, Viewing Angle, and Seating Position Tips
It’s important to remember that eye and neck strain can be serious issues for people working long hours in front of computer screens. One of the benefits of a specialized wall mount is that its range of motion and flexibility can provide the least impactful, most ergonomic user experience possible.
STAT: The optimal recommended viewing distance for reducing eye strain during long work periods is between 20 and 28 inches. (source)
To reduce eye strain over long work periods, your screen should be placed 20 to 28 inches away from your face, with the top of the display at or just below eye level for a viewing angle of approximately 15 degrees, and with the screen tilted up at about 20 degrees for the least neck strain possible. Finally, in terms of seating position, your feet should be resting flat, with your thighs approximately parallel to the ground, and your keyboard just below elbow height, ideally not touching the desk. Following these guidelines will ensure the most comfortable and physically healthy user experience possible.
Related Post:


