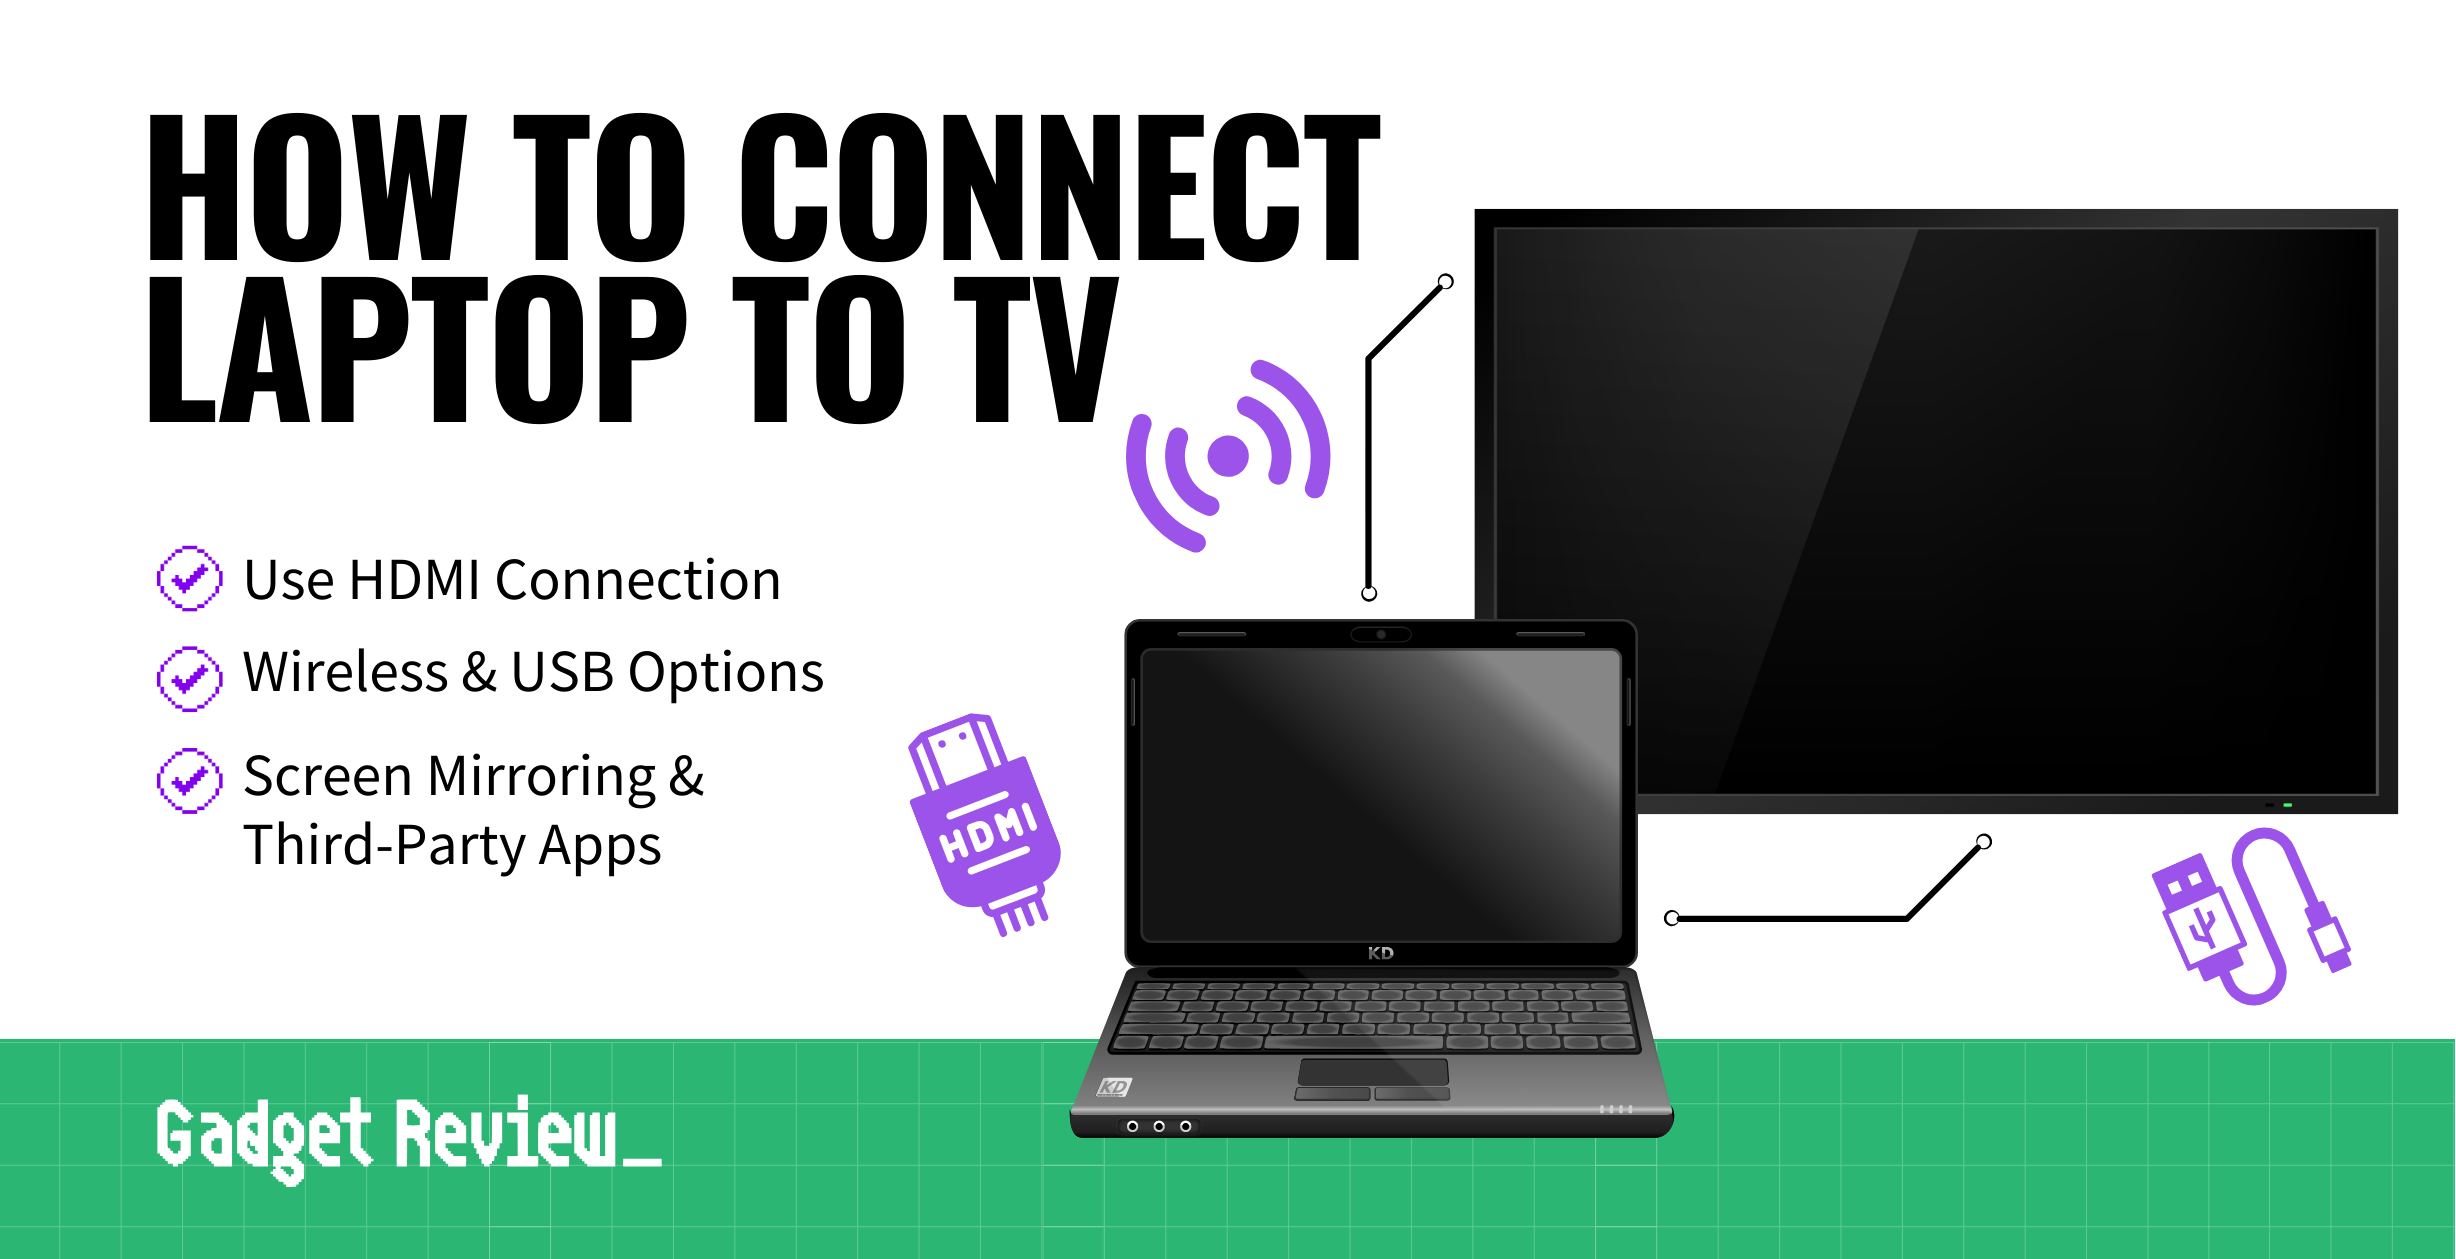
Connecting a laptop to your great TV enhances movie watching, gaming, presentations, and streaming. Our guide will help you with this setup for the best experience.
This is one of the easier methods to connect a laptop to your TV.
Connecting a laptop to a TV with HDMI cable

STEP 1 Ensure TV and Laptop Have HDMI Ports
To do this, check to ensure that both your TV and computer come with an HDMI port.
STEP 2 Connect Laptop to TV via HDMI Cable
If so, plug either end of the cord into the computer and TV port.
STEP 3 Use Remote To Toggle TV Settings
Then, with the remote control, enter the display settings to choose the HDMI channel that you plugged into your TV.
STEP 4 Use An HDMI Adapter Kit
If you have an older TV that doesn’t have an HDMI port, you can purchase an adapter kit that converts an HDMI connection into one for an analog TV.
Watch How To Connect a Laptop To a TV Using HDMI
For visual steps on how to do this, check out the video below:
If you don’t have an HDMI port on your laptop (rare) or don’t want to use it, there are other ways to connect a laptop to a TV.
Connect To a TV Without HDMI Wirelessly

If you want to connect a laptop to a TV without casting or mirroring, we have some simple steps below.
For Windows 10:
STEP 1 Find the Action Center
Click on the Action Center at the bottom right of your screen. Or press Win+A.
STEP 2 Select the Project Option
Project is in the third row of options on the far right of the Action Center screen.
STEP 3 Click Connect
Click on the “Connect to a wireless display” option
STEP 4 Supported Devices Will Appear
If your TV is supported, it’ll appear in the list.
STEP 5 Select Your TV
Click on your TV’s name to establish a wireless connection.
For Windows 11:
STEP 1 Bring Up Right-Click Menu
Right-click a blank area on your desktop.
STEP 2 Find Display Settings
Choose Display settings.
STEP 3 Click Multiple Displays
In the window that appears, select Multiple Displays.
STEP 4 Click Connect
Click on Connect a wireless display from the drop-down menu.
STEP 5 Supported Devices Will Appear
If your TV is supported, it’ll be listed.
STEP 6 Select Your TV
Select your TV to connect.
Connecting a laptop to a TV with USB cable

STEP 1 Find the Right Port
Check both your laptop and TV for USB ports.
STEP 2 Get Your USB Cable
Ensure it’s the right type for your laptop’s port (e.g., USB-A, USB-C).
STEP 3 Plug It In
Connect one end of the USB cable to your laptop and the other to your TV.
STEP 4 Switch to USB Mode
On your TV, navigate to the source/input menu and select the USB option.
STEP 5 Access Content
Some TVs might automatically display your laptop’s content, while others might require navigating through a media viewer.
Using Screen Mirroring to Connect A Laptop To a TV

Screen mirroring is another way to connect a phone or laptop to your TV, as long as all devices are on the same Wi-Fi network.
It’s easy to do, although you need to make sure that the streaming casting to (like Roku) will ensure the screen mirroring will work.
STEP 1 Check Compatibility
Ensure your TV supports wireless connections like Miracast or Wi-Fi Direct.
STEP 2 Wi-Fi Connection
Connect both your laptop and TV to the same Wi-Fi network.
STEP 3 Enable Screen Mirroring
On your TV, navigate to the screen mirroring or casting option.
STEP 4 Connect from Laptop
On your laptop, go to ‘Display Settings’ and select ‘Connect to a wireless display’.
STEP 5 Pair Devices
Choose your TV from the list of available devices. Once they pair, your laptop will show up on the TV.

insider tip
If you’re looking for superior picture quality and reduced lag time, go with an HDMI cable instead of a wireless connection. A direct connection is always more reliable.
Hook Up a Laptop To Smart TV Without Cable
Make sure your Smart TV and laptop are on the same network for seamless casting.
For Windows 10 Users:
STEP 1 Open Windows Menu
Click the Windows icon to access the menu.
STEP 2 Go to Wireless Display
Navigate to “Settings” then “Devices”. Then click “Add Device” and then “Wireless Display.”
STEP 3 Select Your Smart TV
Choose your Smart TV to cast your laptop screen.
STEP 4 Resolve Any Connection Issues
If you’ve connected before and face issues, head to Settings and then Devices, select your TV, remove it, and then re-add.
For MacBook Users:
First, verify if your TV supports Airplay 2 (Apple’s wireless streaming software).
If Your TV Supports Airplay 2:
STEP 1 Locate Airplay Icon

Look for the Airplay icon (a monitor with an upward arrow) at the top of your MacBook screen.
STEP 2 Connect to Your TV
Click it, choose your TV, and input the TV’s passcode.
STEP 3 Find Airplay in System Preferences
If you don’t see the Airplay icon, look for it in the Displays section within System Preferences. Airplay will be at the page’s bottom.
STEP 4 Troubleshoot Any Connection Issues
If you’ve previously connected and are now facing issues, remove the device, toggle Airplay off, then on, and then reconnect.
If Your TV Doesn’t Support Airplay 2:
No worries! Download third-party mirroring apps from the App Store to cast your MacBook to the TV.
With the evolution of technology, even if traditional methods like HDMI aren’t available or preferred, wireless solutions like screen mirroring and third-party apps ensure uninterrupted connectivity.
But, always ensure that all devices are on the same network to be successful, no matter which wireless connection you use.