



RV ownership often feels like a constant game of whack-a-mole with maintenance issues. One minute cruising down the highway, the next the fresh water tank overflows or the furnace quits. These aren’t minor annoyances; they’re trip-killers that drain bank accounts and test patience. This guide features 15 proven DIY hacks that pull back the curtain on common RV problems, delivering smart, actionable solutions to tackle issues without relying on guesswork or dealer quotes that make your wallet cry. Swap panic for precision and keep the rig purring like a well-tuned engine, ready for any adventure.
15. Tank Sensor Reset
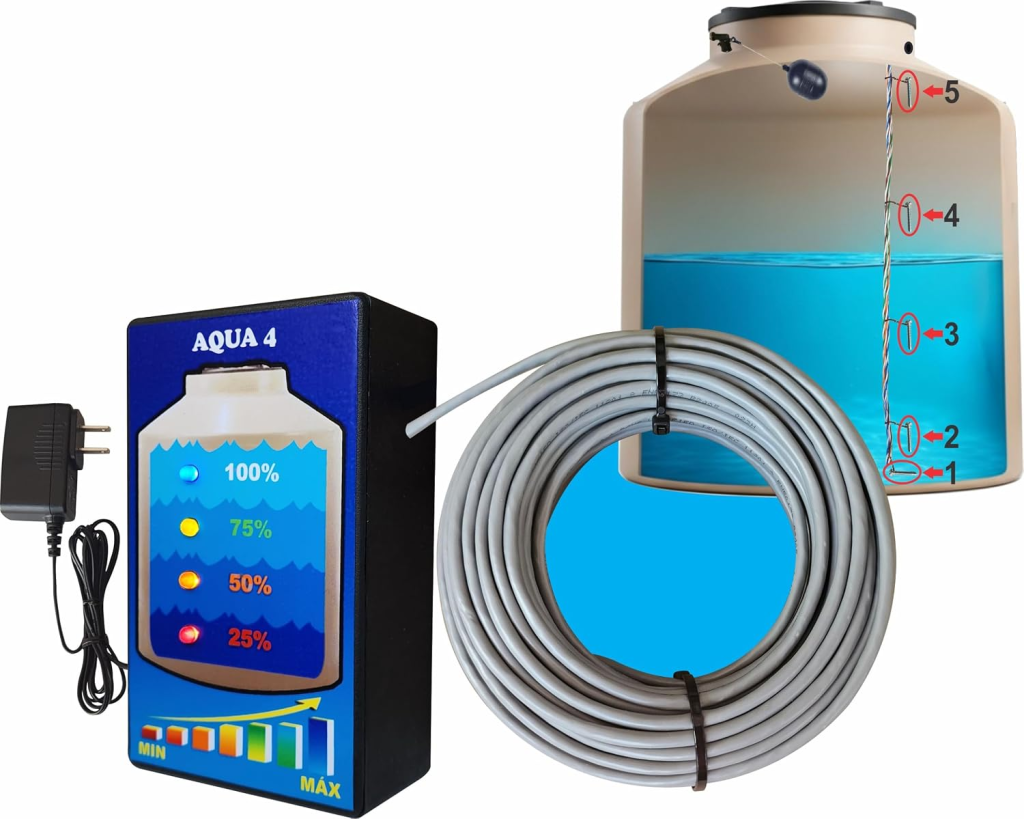
Clean mineral deposits off sensor probes to restore accurate tank readings.
RV black and gray tank sensors commonly read “2/3 full” or “full” when the tank is actually empty because waste, toilet paper, and mineral deposits coat the probes, creating an electrical bridge that simulates a full tank. This deceptive reading leads many owners to believe their sensors are faulty. Dealers often quote $150 to $300 for sensor board replacement that isn’t necessary.
The fix involves dumping and rinsing the tank thoroughly, then mixing warm water with a cleaning agent such as dish detergent or water softener. One widely used recipe dissolves water softener in a gallon of hot water, adds laundry or dish detergent, and pours the solution into the empty tank. Drive to slosh the mixture or let it sit overnight; the solution scrubs residue off the walls and probes. Repeated cycles often restore sensor accuracy without hardware replacement. This approach costs around $10 to $15 and typically takes one overnight treatment, saving hundreds on unnecessary parts.
14. Check Valve Swap
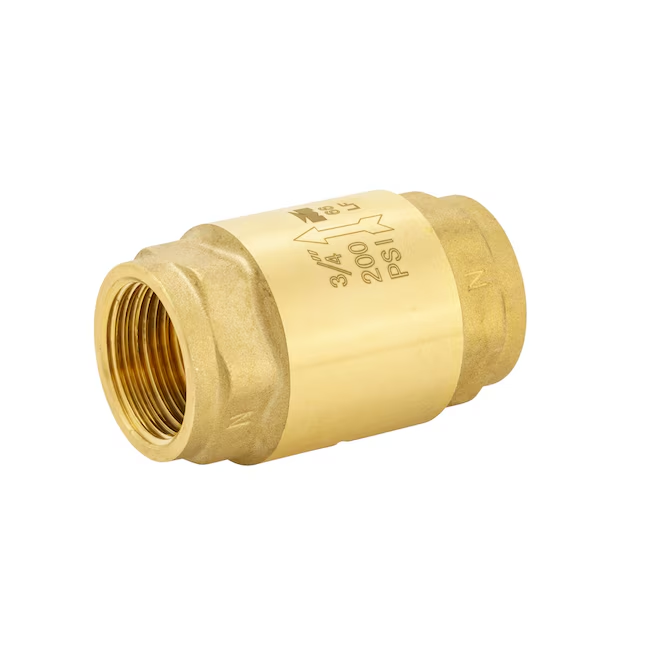
Replace the city water inlet check valve to stop phantom pump cycling and tank overflow.
The water pump kicking on in the dead of night signals trouble. Phantom pump cycling or mysterious pressure drops on city water often lead to dealer quotes of $200 to $350 for a new pump. The actual culprit is typically a hardening or cracking internal check valve (backflow preventer) inside the city water inlet. When this valve fails or doesn’t seat properly, city water can backflow through the pump into the fresh water tank, causing the tank to slowly fill and overflow while on city water. The leaking valve also allows system pressure to bleed off, triggering the pump to cycle.
Diagnosing this issue involves inspecting the city water inlet for moisture or drips and checking for backflow into the fresh tank. Many RV city water entries are serviced by either replacing the entire inlet assembly or installing an additional inline backflow preventer just downstream of the inlet. Replacement valves are inexpensive brass or plastic fittings designed for RV potable plumbing. This 10 to 15 minute repair silences midnight serenades and mitigates water hammer, proving a small piece can cause big drama and a tiny fix can save sanity.
13. Furnace Igniter Clean
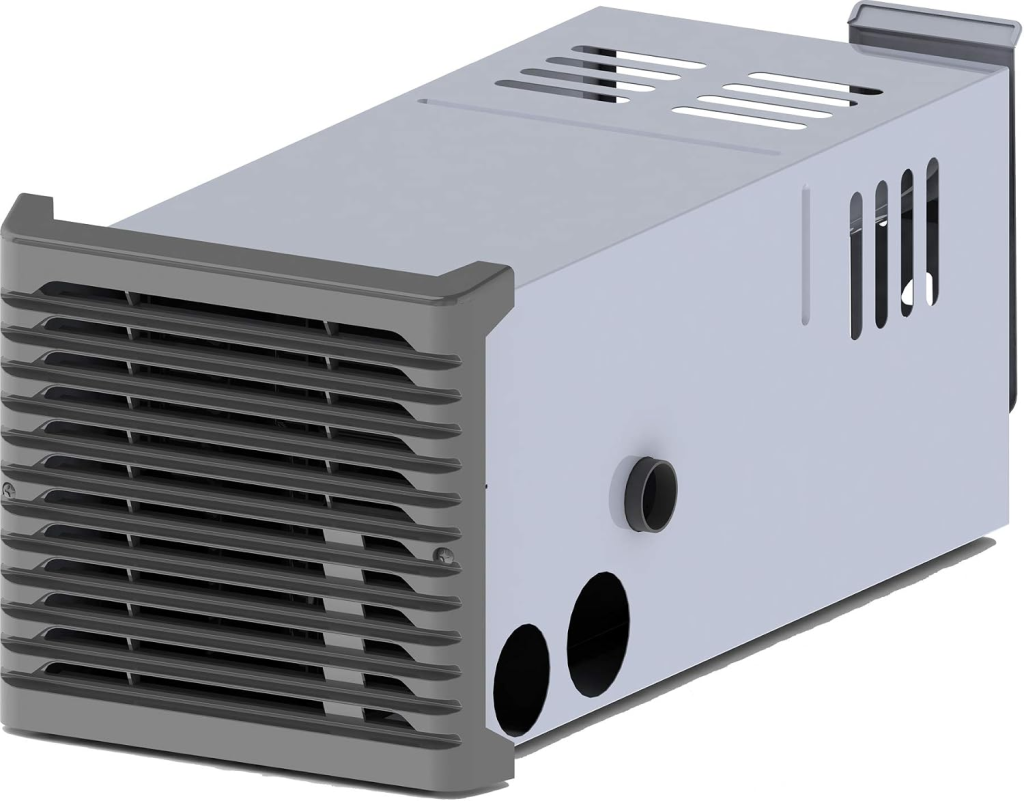
Remove carbon buildup from the hot surface igniter to restore reliable ignition.
RV furnace control boards get blamed for ignition failures, leading to dealer quotes of $250 to $400 for a new circuit board. The furnace clicks repeatedly but won’t light, or lights briefly then shuts down. Before handing over hundreds, check the hot surface igniter (HSI), a small ceramic element located near the burner that glows red hot to light propane when the control board opens the gas valve. Dust and carbon buildup can coat it, preventing sufficient glow or interfering with flame detection.
Manufacturer and HVAC guides warn not to touch the element with bare hands. Clean using compressed air or very gentle abrasion with fine steel wool or emery cloth while the furnace is powered off and gas is shut off. Carbon buildup on the igniter and flame sensor can prevent reliable operation; careful cleaning and resetting the proper position often restores function. If cracked, replacement igniters are far cheaper at $25 to $40. This annual cleaning keeps the furnace running reliably and prevents mid-trip cold sweats.
12. Propane Scale Trick
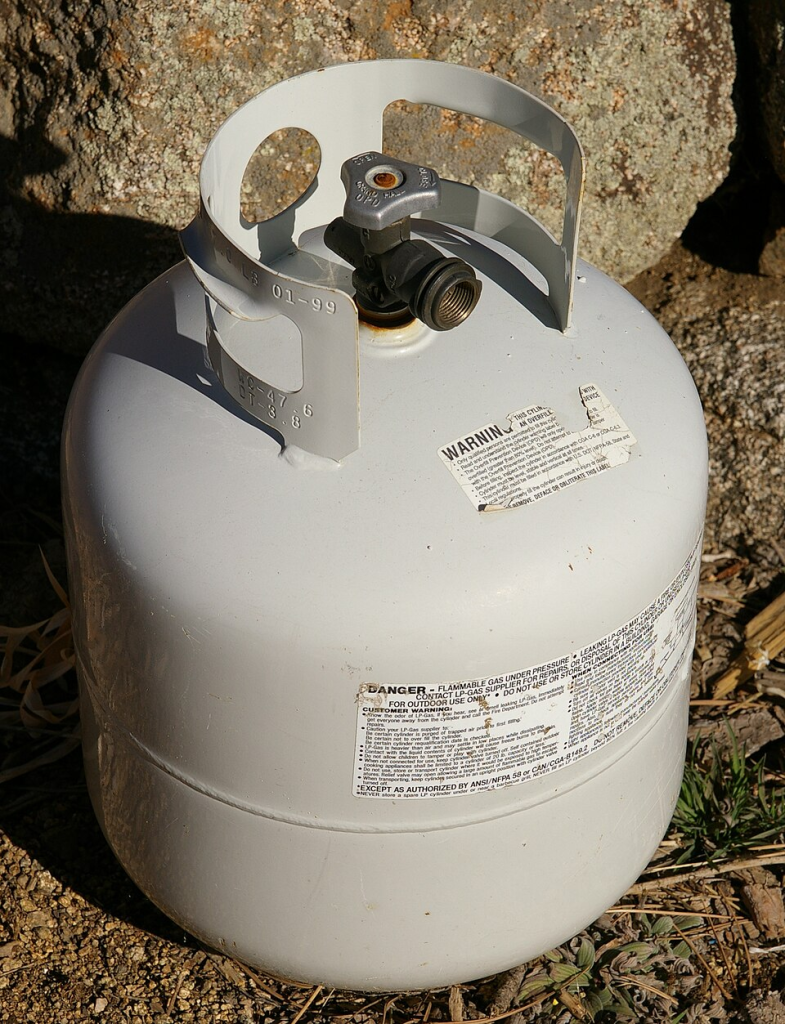
Weigh the tank on a luggage scale to accurately check remaining propane level.
Propane gauges on portable cylinders are unreliable, particularly across the middle 50 percent of the tank, often leading to running on fumes mid-trip despite the gauge insisting on a quarter-tank. This notorious unreliability can culminate in chilly nights or unexpected repair bills.
The most accurate way to determine remaining propane is to weigh the tank on a bathroom or luggage scale and subtract the stamped tare weight. Portable DOT propane cylinders (such as 20-lb grill tanks commonly used with RVs) have tare weight (TW) stamped on the metal collar near the valve. TW is the certified empty weight of the tank including valve, with no propane inside. Typical tare weights for standard 20-lb cylinders range about 16.5 to 18.5 lb. A full 20-lb tank weighs around 37 to 38 lb (tare plus roughly 20 lb of propane, or about 4.7 gallons). Grab a $15 luggage scale, weigh the tank, subtract the tare weight; the difference equals the pounds of propane remaining, which converts to gallons using roughly 4.2 lb per gallon. This simple check prevents unexpected cold snaps.
11. Torsion Spring Adjustment
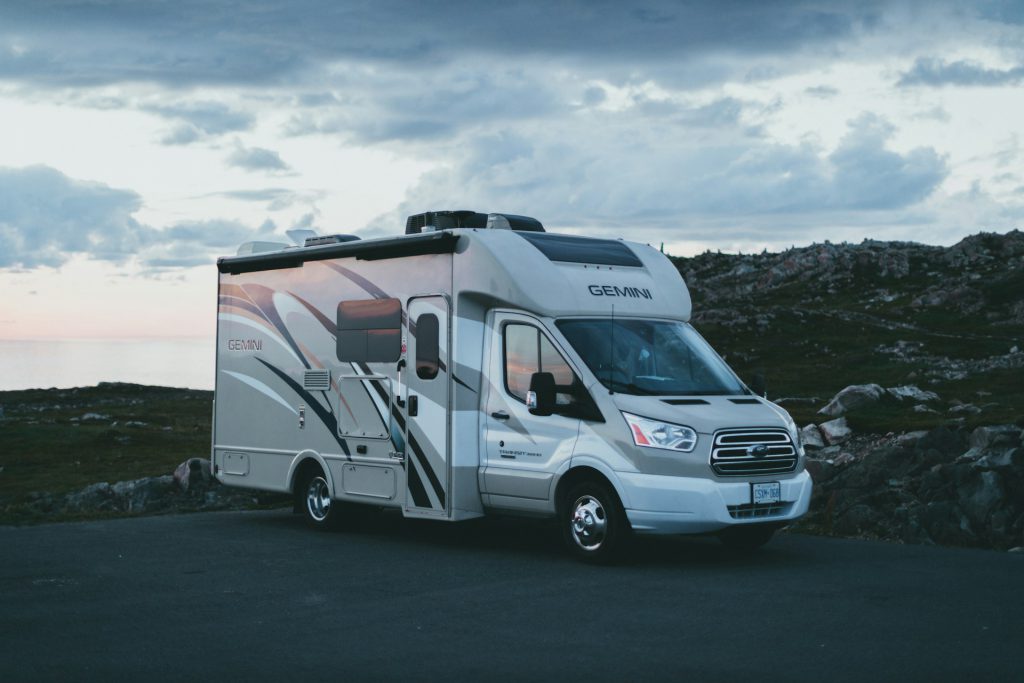
Re-tension internal awning springs to eliminate sagging and restore proper roll-up.
Awnings that sag in the middle, flutter in light wind, or refuse to roll up tight are a constant RV frustration. When the awning hangs like a wet noodle, dealers often quote $600 to $1,200 for full arm replacement. The real culprit is usually the internal torsion springs in the roller tube or arms losing preload over time, leading to sagging, flutter, and poor retraction.
Re-tensioning typically requires safely supporting the roller tube, freeing each support arm from the tension arm or channel, then rotating the arms or torsion assemblies a specified number of turns (often in opposite directions front and rear or drive and idle) before re-securing them. Manufacturer and repair guides stress following awning-specific charts for the correct number of turns based on awning length; typical ranges are roughly 6 to 12 turns per side depending on length (such as 6 turns for 8 to 12 ft, 12 turns for 22 to 25 ft awnings). Over-tightening can cause spring or component failure. Adjust in small increments (one or two turns per side) and test roll-up tension after each change. This lower-cost maintenance task typically gets repeated every 2 to 3 seasons to keep the awning taut and functional.
10. Step Motor Save
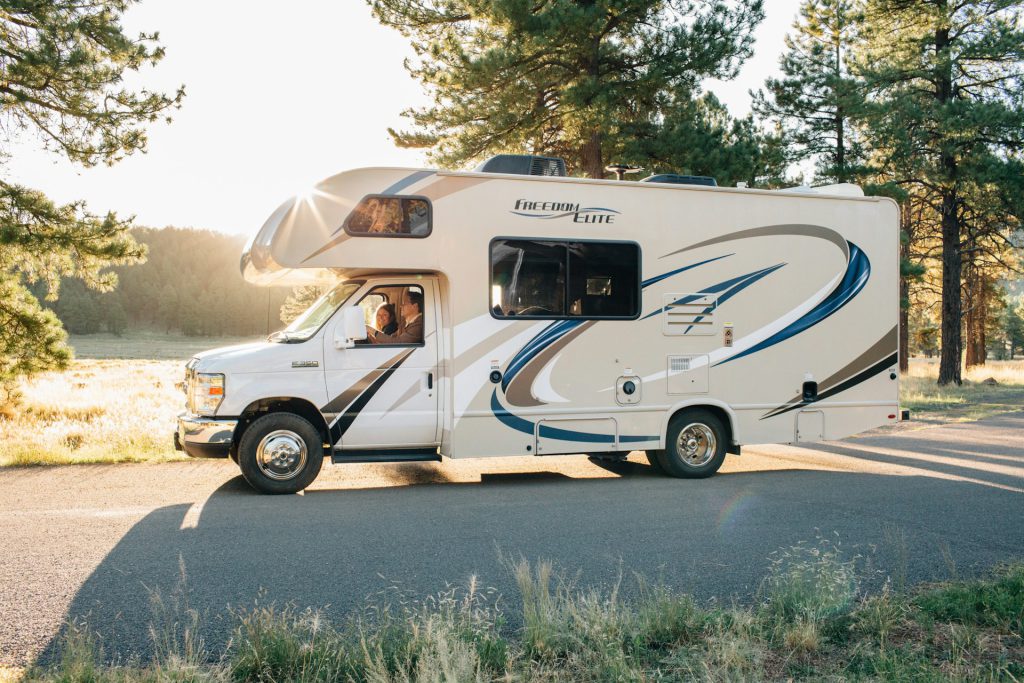
Check the inline fuse and lubricate pivot points before replacing the entire step assembly.
Dealer quotes for full RV step assemblies often run between $300 to $600, a price tag that feels excessive when electric steps are merely acting fussy. Steps moving slowly, grinding, or stopping mid-retract make every arrival and departure a small drama. Before handing over cash for full replacement, check the inline fuse.
Electric RV entry steps (such as common Kwikee units) are powered by 12-volt DC and protected by either a dedicated inline fuse or circuit breaker on the step’s power feed, often 20 to 25 amps, located near the step assembly or in the chassis wiring. Many motorhome owners report that non-operational steps are frequently traced to blown step fuses or breakers rather than failed motors. After verifying 12-volt power and checking the step fuse, grab white lithium grease (around $5) and apply it to all pivot points, linkages, and gear tracks. Operate the step a few times to work the grease in. Kwikee and other step maintenance guides recommend lubricating all pivot points and gear tracks while operating the steps in and out to reduce binding and gear wear. Cleaning and lubrication combined with ensuring proper voltage and fuse condition often restores smooth operation without replacing the step assembly.
9. Wiring Gremlin Check
Rewire battery banks with diagonal main connections to balance current draw and prevent premature wear.
Battery banks draining fast and inverters shutting off under heavy loads lead many owners to believe their batteries are failing or undersized, prompting consideration of lithium upgrades with dealer quotes ranging from $1,500 to $2,500. A simple wiring oversight often cripples usable capacity. If both main positive and negative cables connect to the same battery, that battery experiences disproportionate cycling and faster wear, effectively reducing usable bank capacity.
For multi-battery 12-volt banks wired in parallel, best practice is to connect all positives together and all negatives together, then take the main positive feed from one end of the bank and the main negative from the opposite end (diagonal or cross-corner method) to balance current. Diagonal take-off wiring equalizes path resistance so each battery shares charge and discharge currents more evenly, preventing one battery from being overworked while others remain underutilized. This 15-minute fix costs nothing. Several technical guides from battery manufacturers and solar specialists highlight diagonal wiring or busbar-based balanced layouts as key to achieving long battery life and true rated capacity in RV and off-grid systems. When busbars aren’t used, ensuring equal-length, equal-gauge interconnect cables and diagonal main connections is a simple DIY upgrade to correct uneven draw without replacing batteries.
8. Condensate Drain Clear
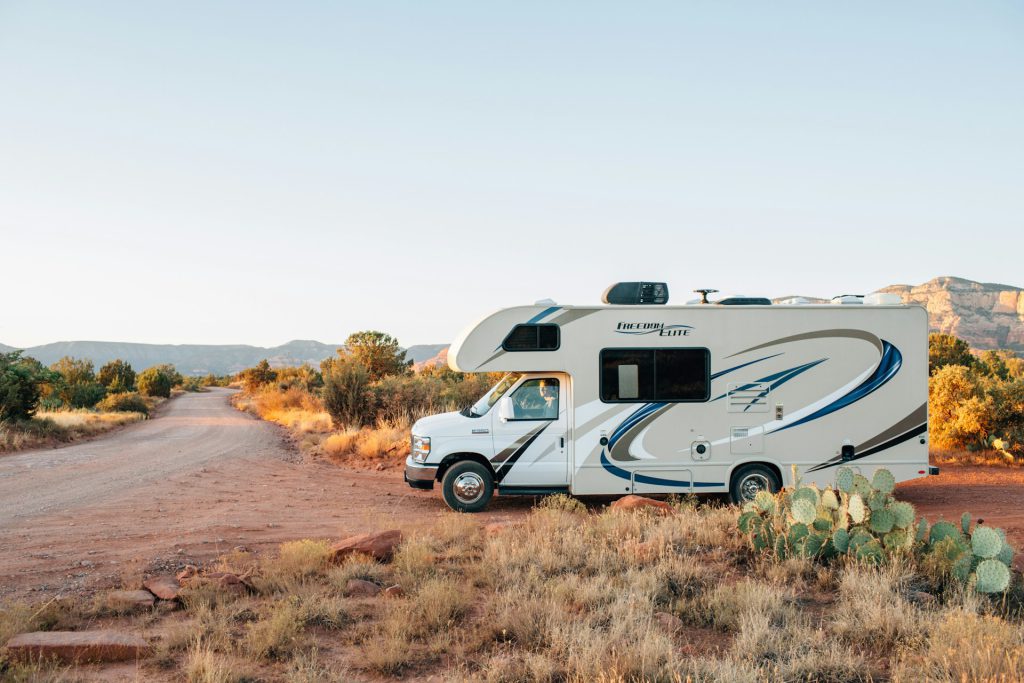
Clear clogged drain holes in the AC pan to stop interior dripping and water damage.
Many interior RV leaks blamed on a failed AC are simply clogged drain holes. Brown ceiling stains or musty smell from the roof air conditioner dripping inside lead to service center quotes of $600 to $1,000 for AC replacement. RV rooftop air conditioners collect condensate in a drain pan under the evaporator coil; water exits through small drain or weep holes or channels designed to discharge onto the roof or via drain tubes.
When the drain pan or weep holes become clogged with dust, sludge, algae, or debris, condensate can back up and drip into the RV interior, creating ceiling stains and moisture damage around vents. Cleaning generally involves disconnecting power, removing the exterior shroud and evaporator cover, locating the drain pan, clearing the corner drain holes or channels with a pipe cleaner, soft wire, or brush, and then flushing with water to verify free flow. Good Sam and Camping World guidance emphasize that many apparent failed AC leaks are simply clogged drain holes; clearing them and wiping the pan clean resolves indoor dripping without replacing the unit. This 20-minute task also reduces mold and musty odors, as standing water and biofilm in drain pans and lines are a common source of smell.
7. Slide Seal Conditioner

Apply 303 Aerospace Protectant every 60 to 90 days to keep EPDM seals supple and prevent cracking.
Many RV slide-out wiper and bulb seals are made from EPDM rubber, chosen for its resistance to UV, ozone, and temperature extremes. EPDM seals can still dry, stiffen, or crack superficially over time from sun exposure and environmental contaminants. When seals dry and crack, the rig becomes a sieve for dust and rain. Dealers quote $400 per slide for replacements. EPDM rubber does not require petroleum-based protectants, which can actually damage it; regular cleaning and avoiding products containing petroleum distillates or harsh solvents are key to longevity.
303 Aerospace Protectant is a water-based UV protectant formulated for plastics and rubber. Manufacturer and detailing sources promote it for dashboards, door seals, EPDM rubber roofs, and slide-out seals, noting that it helps keep seals supple and reduces drying and brittleness. Rubber seal-specific products from 303 (such as 303 Rubber Seal Protectant) are designed to condition and restore elasticity in door and window seals, protecting against drying, cracking, and freezing shut. Apply the protectant along the full length of each seal every 60 to 90 days. At roughly $12 to $18 per bottle, it’s far cheaper than unexpected interior flooding or a $400 dealer bill for replacement seals.
6. Chain Tension Fix
Adjust weight distribution hitch chain links to restore proper tension and eliminate trailer sway.
That white-knuckle feeling when the trailer sways behind the tow vehicle is often a symptom of slack or uneven chain tension, which prevents proper engagement of the spring bars. Many hitch shops push new weight distribution hitches for $400 to $800.
Traditional chain-style weight distribution hitches use spring bars and chains to transfer tongue weight from the trailer to both axles of the tow vehicle, improving stability and reducing sway. Proper function depends on correct chain tension on both sides: the spring bars should be nearly parallel to the trailer frame with a specified number of links under tension (often at least 4 to 5) and the same link count on both sides to avoid uneven loading. Loose chains (too many free links or little tension) reduce or eliminate effective weight transfer and built-in sway control, allowing the trailer to sway more in crosswinds or when passed by large vehicles. Check that the spring bar chains sit on the same link on both sides and pull snug. Hitch setup guides stress starting with a baseline chain link count and then adjusting symmetrically based on front and rear axle height measurements of the tow vehicle, aiming to restore near-level stance and balanced weight distribution. This straightforward, no-cost adjustment properly engages the spring bars and restores stability.
5. Charge Controller Swap

Upgrade from PWM to MPPT solar charge controller to harvest 15 to 30 percent more power from the same panels.
Old batteries never hitting full capacity can mean 20 to 30 percent of solar energy is lost to inefficient charge controllers. Installers often suggest adding another panel, a fix that costs $800 or more. PWM (Pulse Width Modulation) charge controllers are simple and inexpensive; they effectively pull panel voltage down toward battery voltage, which wastes the difference as heat and limits harvest, especially when panel Vmp exceeds battery voltage.
MPPT (Maximum Power Point Tracking) controllers continuously track the panel’s optimal voltage and current point and convert excess panel voltage into additional charging current, typically delivering about 15 to 30 percent more usable energy than PWM from the same array in many real-world conditions. Field tests and technical analyses report MPPT advantages of roughly 20 to 30 percent in cold weather or with high-voltage arrays, and still significant gains in low-light or partial shade. MPPT controllers also allow use of higher-voltage panels or series strings, enabling thinner cabling and reduced line losses, and generally support larger or expandable solar systems. Numerous off-grid and RV solar guides recommend upgrading from PWM to MPPT once total panel power exceeds roughly 200 to 400 W, as the improved harvest and faster charging can equal adding an extra panel, often at similar cost to increasing array size. For a unit that typically costs $80 to $150, it’s a straightforward upgrade that delivers pure efficiency.
4. Tank Sanitizing Ratio
Mix 1/4 cup bleach per 15 gallons of fresh tank capacity to eliminate bacteria and off-tastes.
Fresh water tasting like forgotten Tupperware or smelling faintly of plastic and sulfur signals it’s time for sanitization. Service centers charge between $150 to $250 for this task. The moment morning coffee tastes off is a total vibe killer.
A widely accepted sanitizing ratio for RV fresh water systems is 1/4 cup of plain, unscented household bleach per 15 gallons of fresh tank capacity, diluted in at least 1 gallon of water before being introduced into the tank. The typical procedure: drain the fresh tank, mix the bleach solution, add it through the fill or vent, then fill the tank completely with potable water. Run the pump to draw the solution through all hot and cold faucets (including shower and exterior taps) until bleach odor is detectable. Recommended contact times range from at least 4 hours to overnight (12 to 24 hours) to allow thorough disinfection of tank surfaces and plumbing. After contact, drain the system completely and flush with fresh water, often repeating fills and flushes until chlorine odor is eliminated. Some manufacturer manuals explicitly specify the 1/4 cup per 15-gallon ratio and emphasize diluting bleach before adding it. This process costs about $2 in bleach and is commonly advised at least annually or before storage.
3. Toilet Seal Replacement

Replace worn rubber ball or blade seals to stop leaks and eliminate persistent odors.
An RV toilet leaking water onto the floor or emitting persistent odor signals trouble. Dealers might suggest full toilet replacement costing $300 to $500. The actual culprit is often a worn-out rubber ball or blade seal at the bowl opening, degraded by age and mineral buildup.
Many RV toilets (such as Dometic and Thetford) use a flush ball or blade seal at the bowl opening and a separate closet flange or base seal between the toilet base and floor flange; these rubber gaskets are wear items that commonly cause leaks and odor when they age or accumulate mineral buildup. Ball and blade seal kits for Dometic and SeaLand toilets typically include both the bowl seal and flush ball seal and are designed for user replacement.
For many Dometic 300, 310, and 320 series toilets, specific part numbers are used to address leaks at the base or bowl; replacement generally involves shutting off water, removing two mounting bolts, lifting the toilet, swapping seals, and re-installing. Thetford waste ball or blade seals are similarly sold as inexpensive kits and can be replaced by removing the bowl from the pedestal, cleaning the seal recess, applying light silicone lubricant or plumber’s grease, and fitting the new seal. Kits typically cost $15 to $30. This 30 to 45 minute DIY fix resolves the issue without replacing the entire unit. While working, inspect the mounting bolts for water damage to prevent future problems.
2. Detector Expiration Check

Replace propane and CO detectors every 5 to 7 years to ensure reliable hazard detection.
RV propane or CO detectors chirping constantly or displaying fault lights often signal the sensor’s finite lifespan. Combination RV propane (LP) and carbon monoxide detectors have finite sensor lifespans, typically around 5 to 7 years from date of manufacture or first power-on; after that, sensor chemistry degrades and units may alarm falsely or fail to detect hazards. End-of-life behavior often includes distinctive chirping or fault patterns different from gas or CO alarms; pushing reset will only temporarily silence end-of-life warnings, and the detector must be replaced.
Many owners mistakenly assume an electrical system issue, leading to shop quotes of $200-plus for diagnosis alone. Many LP and CO detector models print either an explicit Replace By date or manufacture date on the back, side, or front label; owners are advised to check this regularly and replace detectors on schedule even if they appear to function normally. RV safety organizations and manufacturers recommend replacing LP and CO detectors about every 5 years regardless of apparent condition, and never installing detectors that have sat in inventory long enough to be near the end of their service life. Expired detectors may produce frequent false alarms or, more critically, may no longer respond reliably to real gas leaks or CO buildup. Direct replacements usually cost just $30 to $60. Replacing an expired detector is a basic safety measure, ensuring the rig remains protected without drama.
1. Cold Weather Insulation Retrofit
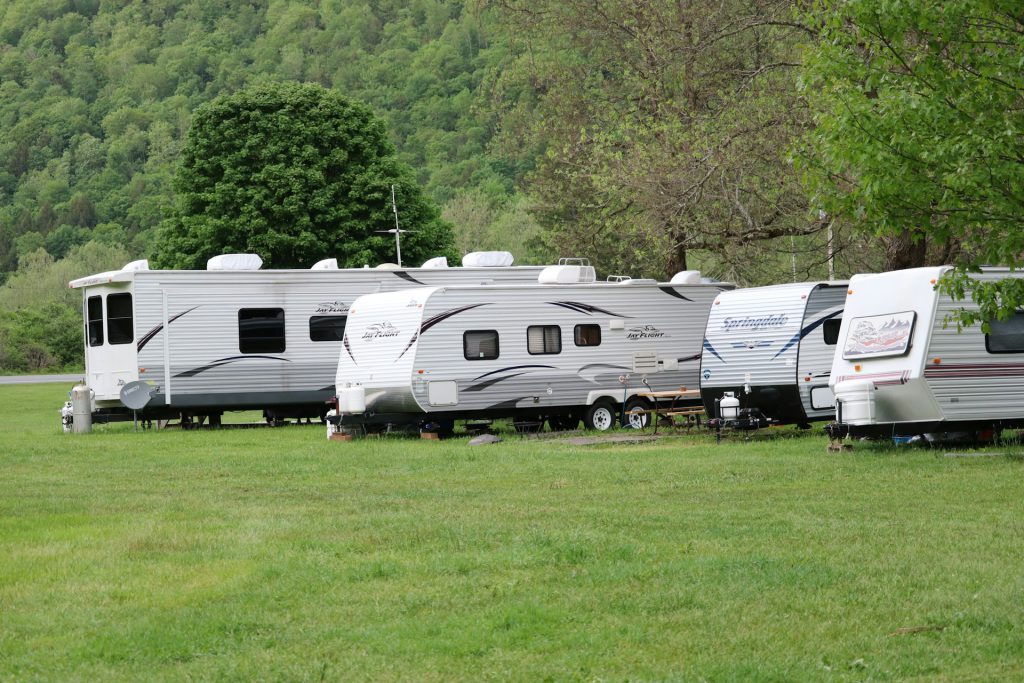
Install skirting, heat tape, and tank heating pads to protect plumbing from freezing temperatures.
A sudden cold snap can threaten disaster for RV plumbing. Pipes bursting, fittings failing, and water pumps cracking under ice can lead to $1,500 to $5,000-plus in repair bills. Dealers quote thousands for a four-season package, but avoiding catastrophe is far more affordable.
RV skirting (vinyl, foam board, or insulated panels installed around the RV’s lower perimeter) primarily blocks wind and helps retain heat from the RV and any supplemental sources under the rig. Owners report under-skirt temperatures several degrees above outside ambient when skirting is combined with internal heating or localized heat sources; the main benefit is reduced heat loss and protection from wind chill. Heat tape (heat cable or heat trace) is an electrical cable attached along water pipes or hoses to provide gentle, controlled heat that prevents freezing; installation requires securing the cable (often with electrical tape or clips), avoiding overlaps, and sometimes adding pipe insulation over the tape per manufacturer instructions.
RV tank heating pads (holding tank heaters) are peel-and-stick resistive elements bonded to the underside of fresh, gray, or black tanks; most are thermostatically controlled, switching on around 37 to 45°F and off around 65 to 68°F to maintain tank contents above freezing when powered by 12V or 120V. Manufacturers warn not to operate tank heating pads on empty tanks and to turn them on only when ambient temperatures approach freezing and liquid is present. Combining skirting (costing $150 to $300), heat tape on vulnerable water lines and hoses, and tank heating pads provides comprehensive freeze protection for under $400, significantly reducing the risk of burst pipes, damaged pumps, and costly water-damage repairs.