Understanding how to repair a gaming headset doesn’t take vast technical knowledge. You can easily perform your headphone repairs with a few supplies, like a sharp knife or a drop of solder. Below we will explain how to troubleshoot issues such as loss of sound and headband not fitting properly.

Key Takeaways_
- First, figure out if you have a limited lifetime warranty. Unauthorized product modification will void even the most expansive limited lifetime warranty.
- Wire exposure or fraying is a huge issue. A solid solution to wire exposure uses soldering techniques and an actual wire stripper.
- A band cushion issue is fixable through a band DIY-style solution. There are multiple options for a wired or Bluetooth headband repair.
Even the best gaming headphones will eventually need headphone repairs. Sometimes headphones get broken from throwing them in your gaming backpack, or through improper storage.
So you should learn how to take good care of a gaming headset to ensure it lasts a long time.
Either way, keep reading to learn about major deployment issues with all types of headphones.
What Warranty Period Should I Expect from Over-Ear Headphones?
The warranty period for a pair of headphones depends on whether they’re broken due to faulty workmanship or yourself.

insider tip
A replacement service may be available for those having problems with basic power settings, such as their handheld device not turning on.
Some companies provide a 90-day workmanship guarantee, while others offer a one-year warranty. The costs of warranty work mean that not every brand can offer the coveted limited lifetime warranty.
Always check the information manual for further details. Unauthorized product modification is the bane of product failure and will void even the most extensive limited lifetime warranty.
Ideas for Repairing Your Beloved Headphones
You can fix everything from a broken headphone jack to a headphone cable.
Common issues will pop up from time to time, and you should know how to fix them if the limited warranty is up.
Another simple fix you can do yourself is to replace the ear pads on a gaming headset.

warning
Take caution when using express services for repair not affiliated with the original brand. It might seem like a solid solution, but they can cause more trouble than they’re worth.
Some audio issues aren’t due to major deployment issues. For example, knowing how to reduce gaming headset sensitivity can fix the bulk of plug issues.
Fixes with a Lifetime Limited Warranty
Before you try to fix anything, check to see the warranty work costs, including any shipping costs you may have to cover. If the 90-day warranty is worth it, send the types of headphones you have to the manufacturer.
Sometimes, a limited lifetime warranty is an option. If yours is, reach out to see if the manufacturer can help you. If there isn’t a viable lifetime guarantee or quality guarantee, there’s still hope.
Headphones are fixable products if you have a selection of precision tools and a step-by-step guide. Keep reading to find out how you can fix them.
Loss of Audio
One of the most common issues is a loss of audio from your headset. This is usually a connection issue.
If you are using a wired headset, ensure that the cable is plugged securely into the device. If the cord can be removed from the headset for storage, ensure that the cable is plugged into the headset securely as well.
Additionally, check the cable for any issues like fraying or cuts. If everything looks fine with the cable, you may need to re-install your audio drivers.

With a wireless headset, the connection is usually with a USB dongle. Check to make sure the dongle is secure in the device.
Also, ensure that the headset itself is turned on. Some models have switches that may be easily flipped as you move around.
Headphone Repairs for a Broken Wire
STEP 1 Check the wires
- If audio quality issues arise, it’s likely due to faulty ground wires or a stiff wire. This is true of wired and wireless connections alike. It might be a headphone jack, as well. Additionally, you may need to know how to repair a short in a wired gaming headset or a gaming headset plug.
- Diagnose your problem, whether it’s a stiff wire in your headphones or broken signal wires in your wireless devices.
STEP 2 Prepare the broken wire
- While your soldering iron is heating, strip the outer jacket for your headphone wires. Look for frays or tears in the like-colored wires.
STEP 3 Repair the broken wire
- Use a couple of drops of solder to repair them.
- Once you patch the internal wires, repair the cable jacket using the proper tools.
- If using electrical tape, make sure it’s tightly wound.
- If using heat shrink tubing, be careful while heating to avoid damaging the outer jacket.
STEP 4 Check the headset
- Once you fix the problem, it’s time to test run.
You may also be interested in learning how to set up your gaming headset on Discord and see if the audio connection works.
Starting a Headphone Band Fix
A headphone band fix can happen in multiple ways. While you can rely on a new pair, an alternative DIY solution works just as well.
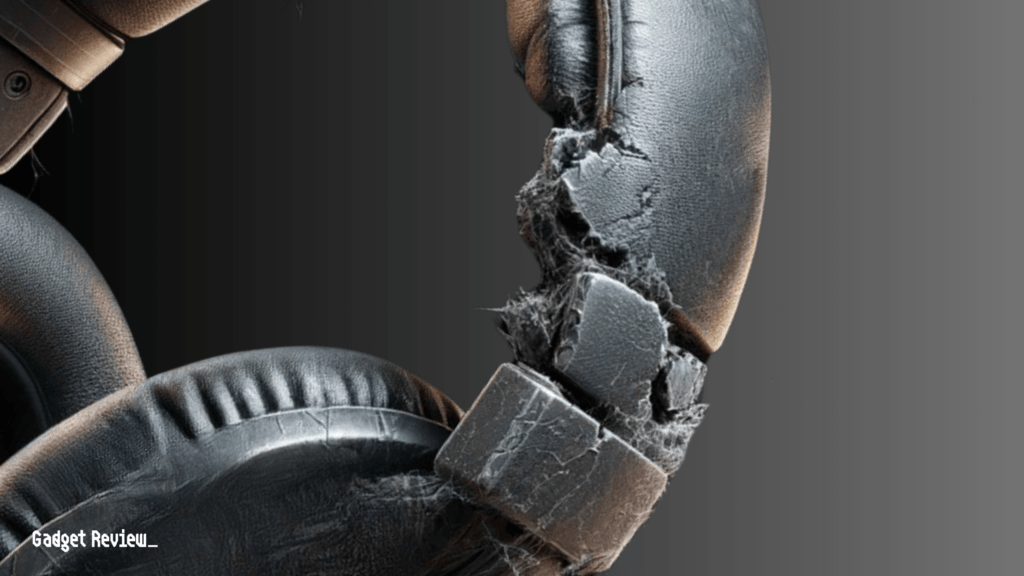
STEP 1 Check the headband damage
- The first step for a headset band fix is figuring out if it’s just warped or if you have a truly broken headphone band.
STEP 3 Repair the headband
- If the plastic is warped, use a hair dryer to gently warm the plastic. Bend it back and hold it until the plastic cools off. This isn’t a perfect solution, but it’ll work well enough.
- Broken headphone bands are a different story but just as easy to fix. Use a little super glue between the parts that are coming apart.
- After the glue dries, use scotch tape to keep them from separating again. This should hold at least until you’re able to get a new pair.
STEP 4 Check the fit
- After the repair, put the headphones on and check how they fit. If the fit feels fine, this should hold at least until you’re able to get a new pair.