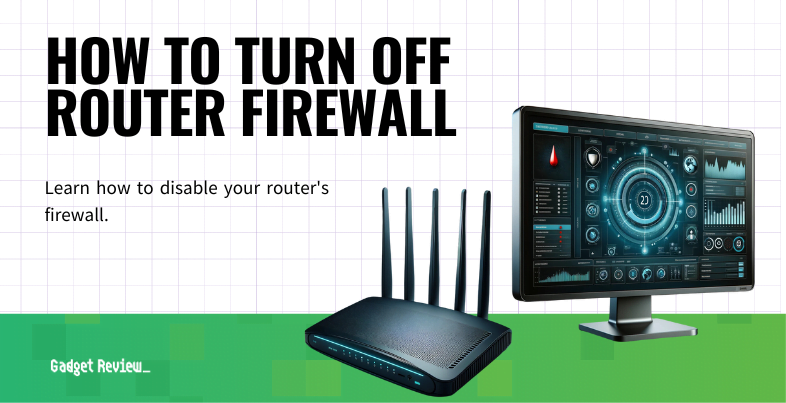
If you are experimenting with the various features of your wireless network, you may wonder how to turn off a router’s firewall. The best routers, after all, allow for all manner of settings adjustments. Why would you turn off the firewall and how to do it? Keep reading to find out exactly that.
Key Takeaways_

- A router’s built-in firewall or default firewall is an important measure of wireless network connection security, so exercise caution when turning off software firewalls of any kind.
- Some may want to temporarily disable the firewall feature for a speed and efficiency boost within their network connection.
- You can disable a router’s firewall via a web browser admin page or by accessing the router’s firmware software.
Why Turn Off a Router’s Firewall?
Understanding Different Router Functions and Types
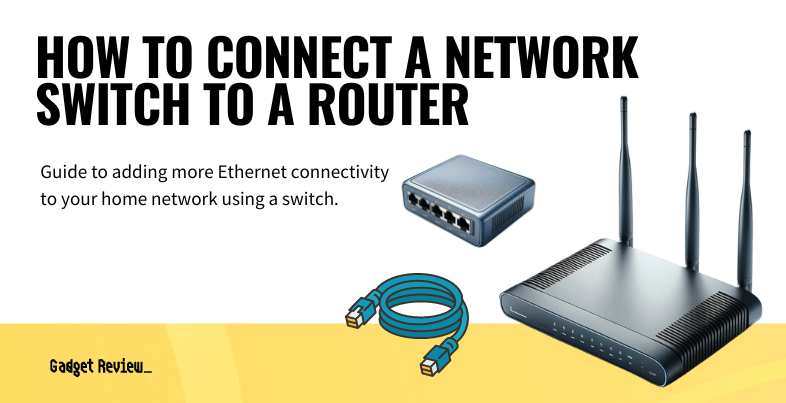
Understanding what 5G means for your wireless router can help you make the most of your router’s capabilities. It’s also beneficial to know the differences between a WiFi repeater and a router to choose the right device for your needs. If you are comparing business and home routers, this guide can help you decide which is best for your situation. Additionally, consider whether a dongle or a WiFi router is more suitable for your internet requirements.
Though a network firewall is extremely important for security, some users turn it off for advanced Internet speed and more efficient connections. Plus, when it’s on, it tends to limit a router’s data usage. This is highly risky, however, as you open yourself up to hackers, viruses, and all kinds of other Internet-based nasties. Perform this procedure at your own risk, such as when learning how to disable access to a router from the Internet.

insider tip
Be sure always to turn the firewall back on as soon as you are done using whatever feature that required it to be disabled in the first place.
How to Turn Off a Router’s Firewall
Enhance Your Router’s Security and Performance
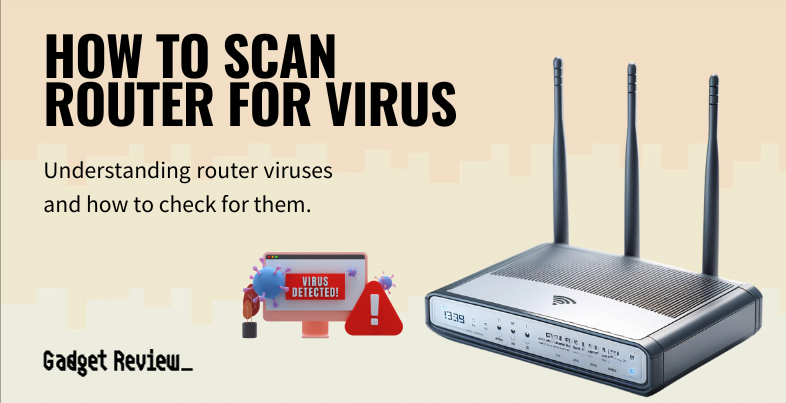
Regularly scan your router for viruses to ensure there are no malicious threats affecting your network. It’s also important to close unnecessary router ports to prevent unauthorized access. Additionally, learning how to prevent DDoS attacks on your router can safeguard your network from potential threats. For secure remote access, understanding how to SSH into your router can provide an extra layer of protection.
This is a relatively difficult process, especially when compared to learning how a WiFi range extender works. Follow along, however, and you’ll be fine.
STAT: A firewall is a barrier that controls what kind of data comes into and out of your network. A firewall can prevent spam sites from installing unwanted programs on your computer, protect your personal information from theft, and much more. (source)
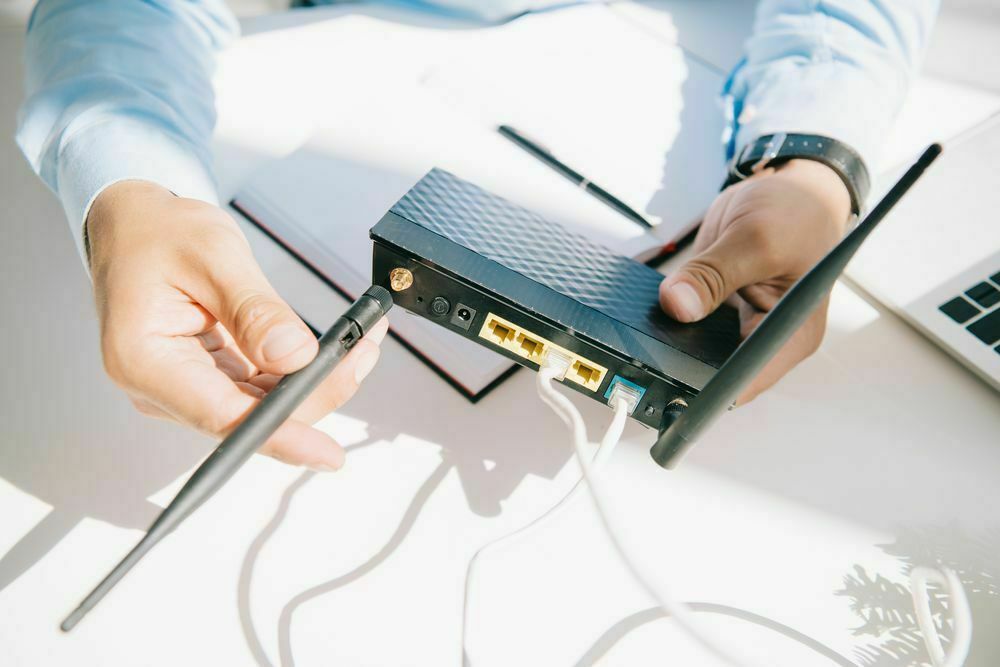
STEP 1 Ensure the Router is Connected
- Make sure your Internet connection is running smoothly, with the cable modem plugged into the router via Ethernet cable and the router emitting a clean signal.
- Also, jot down your router’s IP address, network name, and password.
STEP 2 Access Admin Panel

warning
Make sure to clear your router cache regularly to maintain smooth performance and prevent slowdowns. If your WiFi extender frequently disconnects, it’s crucial to understand the reasons behind it and how to fix it; find out more in this guide on why your WiFi extender keeps disconnecting. Always be aware of the risks and benefits of UPnP on your router to manage your network securely. Lastly, knowing how to find your router’s MAC address is essential for better network management and troubleshooting.
- Access the admin panel by entering the IP address into a standard web browser on a computer.
- This can also be done by opening up the firmware software, so it depends on your router.
- Enter the network name and password if needed.
STEP 3 Adjust Firewall Settings
- Click on the advanced settings option, though this may just be called “Settings,” depending on your router.
- Find the firewall settings page. Click on “Disable firewall” or “Enable firewall” if the latter is activated. This option should be clearly demarcated and easy to find.
STEP 4 Save Settings
warning
If you plan to turn off your WiFi router remotely, understand the implications and the correct methods to avoid disrupting your network. Ensure that your router is compatible with your modem by checking if any router will work with any modem to maintain a seamless connection. Learn about the features and benefits of a fiber router to determine if it suits your internet needs. For families, exploring routers with parental control features can help manage and monitor internet usage effectively.
- Once you have clicked to disable the firewall, be sure to click “OK” to accept the settings change.
- After that, you may need to reset the router to fully integrate the change.
- Also, you can always perform this procedure to turn the firewall back on again when needed. After all, a router’s firewall is integral to wireless network security.