If you are experimenting with your wireless network, you may wonder how to close a router port. The best routers, after all, offer plenty of options when it comes to settings, including the ability to close and open router ports. Why would you close a router port and how would you do it? Keep reading to find out.

Key Takeaways_
- If you have unnecessary router ports open, it could become a security or privacy risk, as hackers could be provided remote access. The best solution is to close unused ports via the router itself.
- Make sure your network is operating properly and that you set aside your router’s IP address, password, and network name.
- Head into the settings page or admin panel and turn off your desired router ports, making sure to save your changes.
Why Close a Router Port?
The main reason to close a router port is to address security and privacy vulnerabilities. If you just leave every port open at all times, even the unnecessary and unused ports, you are essentially putting yourself at risk for reason. Closing these ports will stop would-be hackers, so you won’t have to go online to learn what is a DNS address or how to change the DNS settings on a router and stop identity thieves.

insider tip
In some cases, you may have to restart the router for these changes to be accepted.
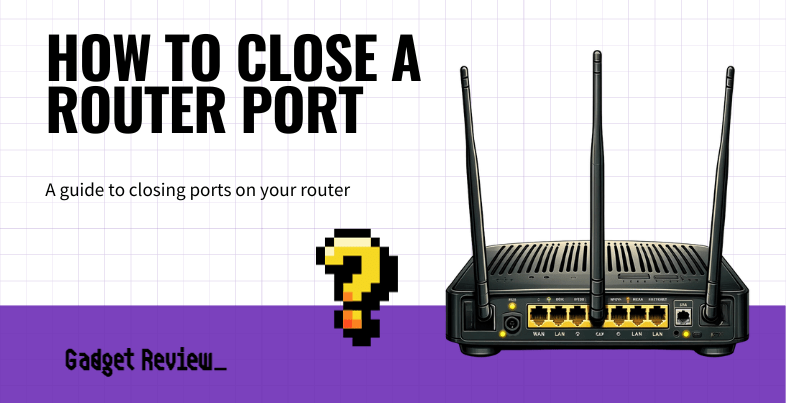
How to Close a Port on a Router
This is a fairly straightforward process, akin to learning how to turn off 5GHz on a router. However, each router is different, so it varies according to make and model. With that in mind, we have tried to keep this guideline as universal as possible.
STAT: UPnP and NAT-PMP are two different protocols that do the same thing – they let devices on your network poke holes in the router firewall. (source)
STEP 1 Ensure the Network is Working Properly
- Your first step is to make sure your network is functioning properly and that you have a valid and strong Internet connection available to all wireless devices within range. Check to see that the router is plugged into the modem via an Ethernet cable and that you use the network to connect to the Internet.
STEP 2 Access the Routers Settings
- Now, it is time to access a dedicated settings page or the admin panel. This process varies depending on the router, so check your instruction manual or hit up a quick web search for specific details on how to do this with your router. Be sure to set aside your network name, public IP address, default password, and any other relevant information for later.
- In most cases, you can access the router’s settings page by inputting your router’s IP address in the address bar of a web browser. Otherwise, use the dedicated firmware of a mobile app provided by the router’s manufacturer.
STEP 3 Adjust the Open Ports
- Once on the settings page, look for port options, otherwise called port forwarding options. Turn off whichever ports you desire, and be sure to save your changes.