Photography’s core equation boils down to three interconnected elements: aperture, shutter speed, and ISO. Think of them as a cosmic DJ trio, each spinning a knob that controls how much light hits your camera’s sensor. The total amount of light hitting your camera’s sensor is called exposure, and it’s not just about making a picture bright enough. While your camera’s built-in meter makes a decent guess at what’s “correct,” true photographic magic happens when you understand exposure as both a technical dial and a creative lever.
This control over light is the fundamental building block for everything else you’ll do with your camera. Anyone who’s tried to shoot in low light knows the struggle of getting a usable image. Mastering exposure is like learning the basic chords before you try to write a symphony; it unlocks the ability to shape the mood and impact of every shot you take.
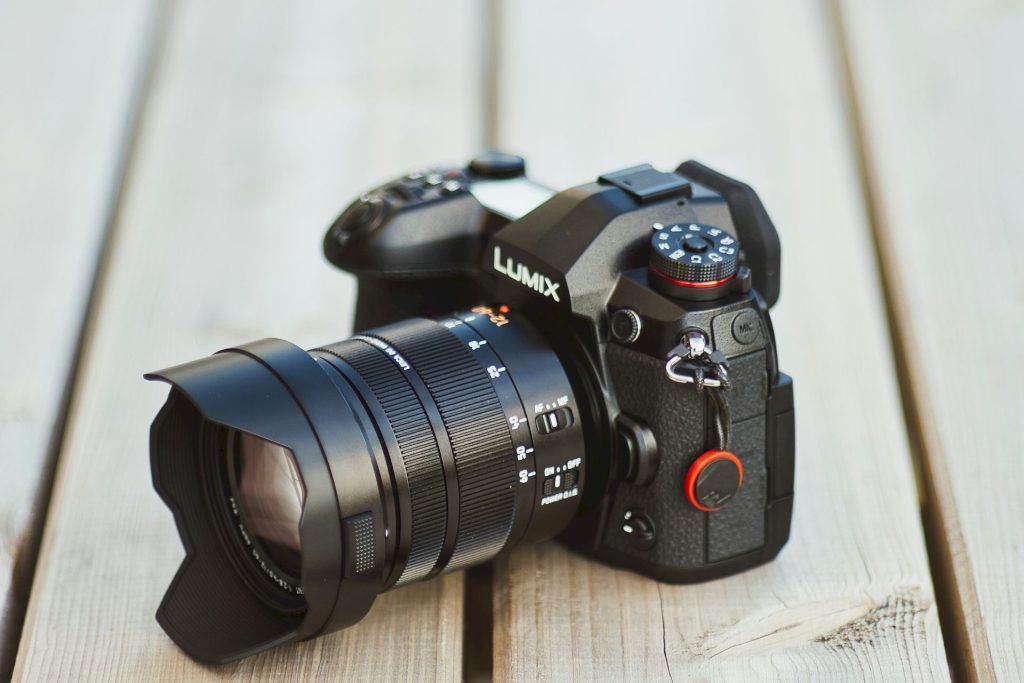
9. Aperture: Controlling Depth and Light
Think of aperture like the pupil of your camera’s eye.
Adjusting aperture, the opening in your lens, is like choosing how wide you open your blinds. A wider opening (lower f-number, like f/2.8) lets in more light and creates that dreamy, blurred background that makes your subject pop. This effect, known as shallow depth of field, happens at lower f-numbers.
A smaller opening, like f/11 or f/22, restricts light but keeps nearly everything in sharp focus, which is your go-to for sprawling landscapes. Photographers often aim for f/8 to f/11 for landscape shots, ensuring that both the gnats buzzing around and the majestic Mount Jefferson in the distance are equally crisp.
8. Shutter Speed: Freezing or Blurring Motion
Fast shutter speeds are your secret weapon for snatching fleeting moments.
Think of your camera’s shutter as a hyper-fast bouncer for light; at 1/1000th of a second, it slams the door shut before much light can even get a peek. This instantly freezes action, like a hummingbird’s wings beating dozens of times per second or a perfectly timed dive into a pool.
Slowing the shutter down to, say, 1/30th of a second or longer leaves that door ajar, letting in more light but also letting motion streak across your shot. Car headlights become neon ribbons, and waterfalls transform into silky smooth rivers. Just remember, holding your camera steady gets tricky around 1/60th of a second; anything slower often needs a tripod.
7. ISO: Sensitivity and the Noise Trade-off
ISO is how sensitive your camera is to light.
Think of your camera’s base ISO as its “chill” setting, delivering the cleanest images with minimal digital noise—that’s that grainy look you get in dark shots. When the lights go down and you’ve already messed with aperture and shutter speed, cranking up the ISO is your best bet to brighten things up.
The trade-off? Boosting the signal also boosts random electronic interference. So you get the shot, but it might look like it was filmed on a potato. It’s a delicate dance between getting a usable image in low light and keeping your photos looking sharp, not speckled.
6. Understanding ‘Stops’ of Exposure

A “stop” is that fundamental unit of light adjustment.
In photography, each step doubles or halves the amount of light hitting your camera’s sensor. Shifting your shutter speed from 1/60th to 1/125th of a second cuts the light in half, a one-stop decrease. Conversely, slowing that shutter speed from 1/60th to 1/30th of a second effectively doubles the light, a one-stop increase.
This same principle applies directly to ISO, where going from ISO 100 to ISO 200 is a single stop. Even aperture follows suit: moving from f/5.6 to f/4 lets in twice the light, another one-stop difference. Mastering these stops means making light adjustments predictable.
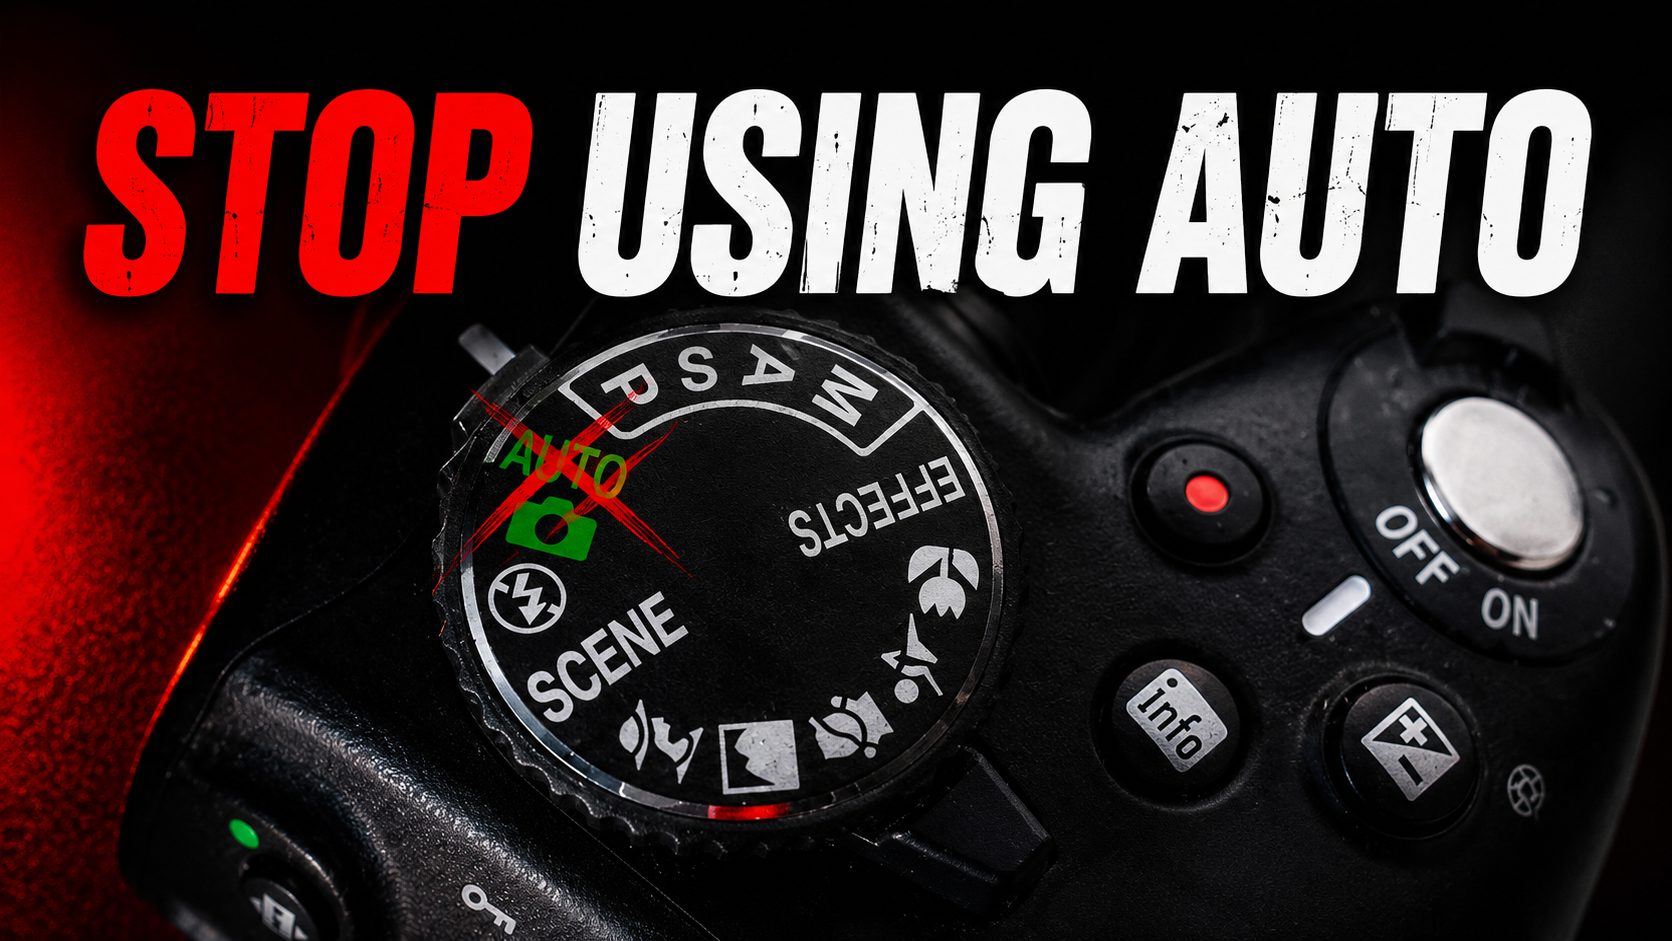
5. Mastering Exposure Priority Modes
Priority modes offer a helping hand when wrestling with the exposure triangle feels overwhelming.
Aperture priority mode lets you dial in your desired aperture for depth of field control, while the camera smartly picks a suitable shutter speed. It’s perfect for landscapes or portraits where depth is key. Shutter priority mode is your go-to when motion is the star; you set the shutter speed to freeze action or create blur, and the camera adjusts the aperture.
These modes are fantastic learning tools, allowing you to focus on one aspect while the camera handles the exposure compensation, gradually building your intuition for full manual control.
4. Full Control with Manual Mode
Manual mode is your photography sandbox.
Here, you’ve got complete command over aperture, shutter speed, and ISO, making the exposure triangle your personal playground. The camera’s meter still offers guidance, like a slightly-too-cautious co-pilot, but the final call is yours. Mastering this mode unlocks the deepest understanding of how each setting shapes your final image.
3. Using the Histogram for Exposure Accuracy
The histogram is a visual breakdown of your image’s brightness.
That little graph shows you the distribution of darks, mid-tones, and lights. Think of it as the X-ray of your exposure—it tells the real story, no screen glare or subjective judgment involved. While your camera’s built-in meter offers a real-time nudge, the histogram is your definitive post-shot truth serum.
If the graph is crammed against the left edge, you’ve likely underexposed, losing detail in the shadows. Push it too far right, and those bright highlights are blown out, also losing detail. Learning to read this graph makes those “oops” moments a thing of the past.
2. The Camera Meter: Your Exposure Compass
The camera’s internal exposure meter is your trusty navigator through the lightscape of a scene.
Think of it like a tiny, digital compass, pointing you toward what the camera thinks is the perfect brightness. In manual or priority modes, it becomes your secret weapon. Seeing that little indicator nudging you left or right is your cue to start tweaking aperture, shutter speed, or ISO.
The meter measures light and suggests settings, but you’re the one with the vision. Mastering this little gauge is like learning a new language for capturing light, allowing you to move beyond the camera’s default suggestions and inject your own creative flair into every shot.
1. Neutral Density Filters: Controlling Light in Bright Conditions
ND filters act like sunglasses for your camera.
Photographers achieve silky water or dramatic light trails by cutting down the sun’s glare with Neutral Density (ND) filters. These screw onto your lens, reducing light without altering color. A variable ND filter uses rotating polarized elements for precise light reduction, letting you dial in exactly how much light to block.
This allows for shutter speeds of several seconds, even at noon, while keeping your aperture and ISO steady. It’s like giving your camera a built-in dimmer switch, perfect for those moments when bright conditions demand longer exposures.