There is hardly anything more frustrating than recognizing that one of the best speakers in your system has developed sound issues. Knowing how to test your speaker wire with a multimeter is a crucial skill for music lovers and audio enthusiasts alike. Ensuring your speakers are correctly connected and functioning can significantly enhance your sound system’s performance. This article will guide you through simple steps to test your speaker wires, ensuring your music and audio signals are crystal clear. Whether you’re setting up a new system or troubleshooting an existing one, these steps will help you maintain optimal sound quality.

Key Takeaways_
- You can test a speaker wire by setting the digital multimeter to ‘resistance (Ω)’ mode and connecting the leads to either end of the wire.
- If you run this test and get anything above 0 Ohms, your speaker wire is good.
- If your speaker wire reads 0 Ohms, it is bad or damaged and has to be replaced.
How to Check Speakers With a Multimeter
A digital multimeter is an essential tool for anyone dealing with electronic devices. It measures electrical properties such as voltage, current, and resistance.
Before testing speaker wires, familiarize yourself with your multimeter’s functions.

Resistance is a measure that calculates current and voltage and is calculated by Ohms. Testing for resistance is an easy way to check if you have a damaged or broken speaker positive or negative wire.
Ensure the multimeter is set to the correct mode, usually represented by an ohm symbol (Ω).
Understanding how to use this versatile tool will make the testing process smoother and more efficient.
Preparing Your Equipment
Safety first: ensure all devices connected to the speaker wires are turned off. Strip the ends of the wires using wire strippers, exposing the bare metal. This prepares the wires for testing.
Enhance Speaker Connectivity
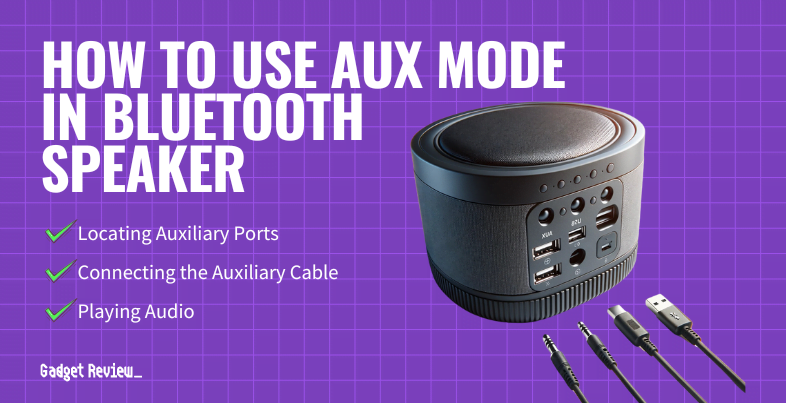
Explore ways to enhance your speaker setup by ensuring seamless connectivity. Learn how to connect Bluetooth speakers to PC for versatile audio options. Discover effective methods to connect Bluetooth speaker to TV to amplify your home entertainment experience. Additionally, explore how to play music from multiple Bluetooth speakers for synchronized audio across different devices.
Checking for Resistance and Impedance
STEP 1 Set the Multimeter
- Turn off the multimeter.
- Adjust the dial to the resistance setting, indicated by the ohm symbol (Ω).
STEP 2 Access Speaker Terminals
- Ensure the speakers are disconnected from any power source.
- Locate the speaker terminals, usually marked with “+” (positive) and “-” (negative) signs.
STEP 3 Connect the Probes
- Place the black probe on the multimeter’s COM port.
- Place the red probe on the Ω port.
- Touch the black probe to the negative speaker terminal and the red probe to the positive terminal.
STEP 4 Read the Resistance
- Observe the reading on the multimeter’s display.
- Compare the reading to the speaker’s nominal impedance rating (often found in the speaker’s manual or on the manufacturer’s website).
STEP 5 Evaluate the Results
- A reading close to the speaker’s ohm rating indicates the speaker and wire are functioning correctly.
- A significantly higher or lower reading suggests potential issues with the speaker or the wire.
STAT: When testing speakers (not speaker wire) with a multimeter, resistance should be about 15-20% less than the labelled impedance. For example, if you have an 8 Ohm speaker and get a 6-7 Ohm reading, the speaker is good. (source)
Testing for Continuity
STEP 1 Prepare Your Multimeter
- Ensure your multimeter is turned off.
- Set the dial to the continuity setting, often represented by a sound wave symbol or the word “continuity.”
STEP 2 Prepare the Speaker Wire
- Disconnect the speaker wire from any devices to ensure safety.
- Strip the ends of the wire if not already exposed, using wire strippers to reveal the bare metal.
STEP 3 Connect the Multimeter Probes
- Attach the black probe to the multimeter’s COM (common) port.
- Attach the red probe to the port labelled with the ohm symbol or “VΩ.”
STEP 4 Test for Continuity
- Touch the black probe to one end of the speaker wire (typically the end that would connect to the negative terminal).
- Touch the red probe to the other end of the wire (the positive end).
- Ensure a firm contact with the metal part of the wire.
STEP 5 Interpret the Results
- Listen for a continuous beep or look for a reading close to zero ohms on the multimeter display.
- A beep or low reading indicates good continuity, meaning the wire is capable of carrying an electrical signal without interruption.
- No beep or a display showing “OL” (open loop) indicates a break in the wire requiring repair or replacement.
Voltage Testing (Optional)
STEP 1 Prepare the Multimeter for Voltage Testing
- Turn off the multimeter.
- Set the dial to the DC voltage setting, often marked as “V” with a straight line and dashed line above it.
STEP 2 Connect the Multimeter to the Speaker Wire
- Ensure the speaker system is connected to a power source but turned off.
- Connect the black probe to the COM port and the red probe to the VΩ port on the multimeter.
- Attach the black probe to the wire connected to the negative terminal of the speaker or amplifier.
- Attach the red probe to the wire connected to the positive terminal.
STEP 3 Test Voltage While Playing Music
- Turn on the music at a moderate volume.
- Observe the multimeter display while the music plays.
STEP 4 Interpret the Results
- The multimeter should show fluctuating voltage readings in sync with the audio signal.
- Stable readings or no fluctuation may indicate an issue with the speaker’s power supply or the wire’s ability to carry the audio signal.
Troubleshooting Common Issues
Encountering infinite resistance or no continuity can indicate bad connections or damaged wires. Inspect the speaker wires for any visible signs of wear or breakage.
If you are wondering, why do my speakers buzz. This could be due to a grounding issue, interference from other electronic devices, or a problem with the speaker wire itself.
Ensure the speaker terminals are clean and the wires are securely connected, maintaining correct polarity. If issues persist, replacing the damaged sections or the entire wire may be necessary.
If you encounter a reading that suggests a blown speaker, understanding how to repair blown speakers can be invaluable. This might involve replacing the speaker cone or voice coil, depending on the damage.

warning
Be aware of potential speaker performance issues and how to address them. If you’re experiencing connectivity problems, learn how to make all speakers work on surround sound for a complete audio setup. Understand the differences between Bluetooth vs. WiFi speakers to choose the right technology for your needs.
Remember, maintaining the correct polarity is crucial; reversing the positive and negative wires can lead to poor sound quality and speaker performance.
Enhancing Your Speaker System
Regular maintenance of your speaker wires can prevent common issues and ensure your sound system delivers the best audio quality.
Consider upgrading to higher-quality wires if you experience persistent problems or desire an improvement in sound.
Additionally, keeping your setup free from electrical interference from other devices can further enhance your listening experience.
Speaker Maintenance and Troubleshooting
Maintain and troubleshoot your speakers with these helpful guides. Learn how to clean speakers to ensure longevity and optimal performance. Troubleshoot issues with why does my Bluetooth speaker keep cutting out for uninterrupted listening.
Simple steps like using cable organizers and maintaining a clean setup can make a significant difference.
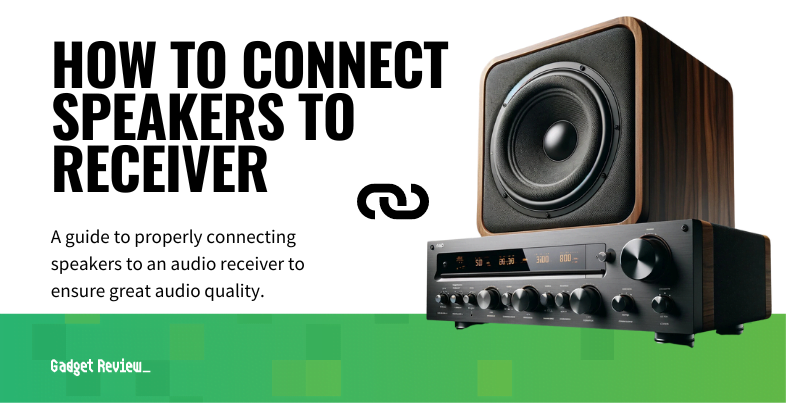
Knowing how to wire a speaker to an amp is crucial for setting up your audio system correctly. Ensure the positive terminal on the speaker connects to the positive terminal on the amp and the same for the negative terminals to maintain proper polarity and optimal sound quality.
Ultimately, testing speaker wire with a multimeter is a straightforward process that can significantly impact your sound system’s quality and performance.
Following these steps and understanding how to use your multimeter effectively ensures your speakers deliver the best possible sound. Regular testing and maintenance can prevent common issues and extend the life of your audio equipment, letting you enjoy your music and sound to the fullest.