Keeping your speakers clean isn’t just about maintaining their appearance; it’s crucial for preserving their sound quality and longevity. Over time, dust and debris can accumulate, affecting performance. Fortunately, with the right approach, cleaning your speakers can be simple and effective. This guide will walk you through the process, ensuring your great speakers remain in top condition.

Key Takeaways_
- Start with a basic surface cleaning of the speaker unit before removing the grill.
- Use a damp cloth to remove any stubborn dirt or dust from the speaker unit.
- After you dry the speaker, use a lint roller to get dust particles free from the speaker grill.
Tips for Cleaning Your Speakers
Before diving into cleaning, safety comes first. Ensure your speakers are turned off and disconnected from any power sources.
Gather your cleaning tools: a soft, clean microfiber cloth for wiping surfaces, a dry microfiber cloth for drying, a soft-bristled brush or makeup brush for loose dust, and a vacuum with a clean brush attachment for heavier dust.
For basic cleaning, a duster can be effective for light dust on the surface and around the speaker grille. For tougher stains, have a mild detergent and warm water ready, but use it sparingly to avoid damage.

insider tip
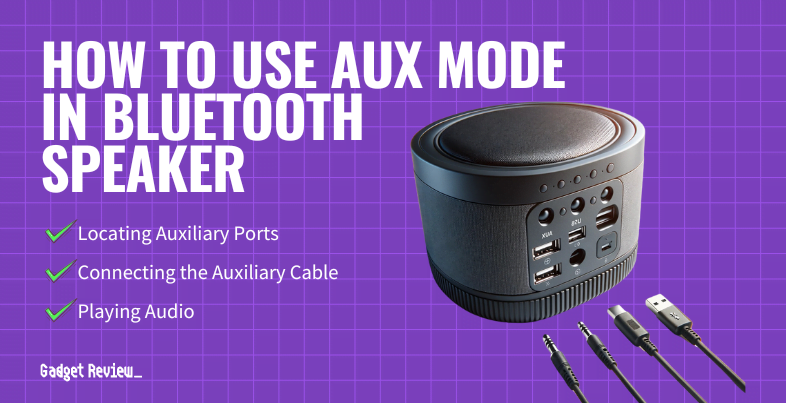
To avoid connection issues, use a soft, dry, lint-free cloth while cleaning the headphone port.
Types of speakers vary widely, whether it’s the wood cabinets of your stereo system or the rubber seals of a portable speaker, using the right tools and techniques will ensure a thorough cleaning without risking harm to your equipment.
Each speaker type, from stereo speakers to smart speakers, requires a tailored approach to cleaning. Understanding the material and design of your speaker is key to choosing the right cleaning method.
Be mindful of the speaker finish, as some materials may require special care to avoid scratches or damage.
When considering outdoor audio setups, selecting the best outdoor speakers is crucial for durability and sound quality in various weather conditions.
Home Stereo Speakers
When comparing bookshelf vs monitor speakers, it’s important to consider their intended use and space, as monitor speakers often provide a more accurate sound for critical listening, while bookshelf speakers are versatile for general use.
Additionally, in-wall vs bookshelf speakers are another consideration for home audio enthusiasts, with in-wall options offering a clean look and space-saving benefits, though they may require a different approach to cleaning and maintenance.
Each of these stereo speakers will require a different cleaning method as they have various configurations. Below is a generalized guide to cleaning these types of speakers.
STEP 1 Turn Off and Unplug the Device
- Turn off your speaker system and disconnect it from the wall outlet. If your speakers use red and black wires for power, unplug them from the speaker hardware.
STEP 2 Prepare Your Cleaning Area
- Lay out a clean, flat surface to work on.
STEP 3 Clean the Speaker Cabinets
- Gently wipe the cabinets with a damp microfiber cloth, moving in the direction of the wood grain if applicable.
- Use a dry microfiber cloth to remove any moisture.
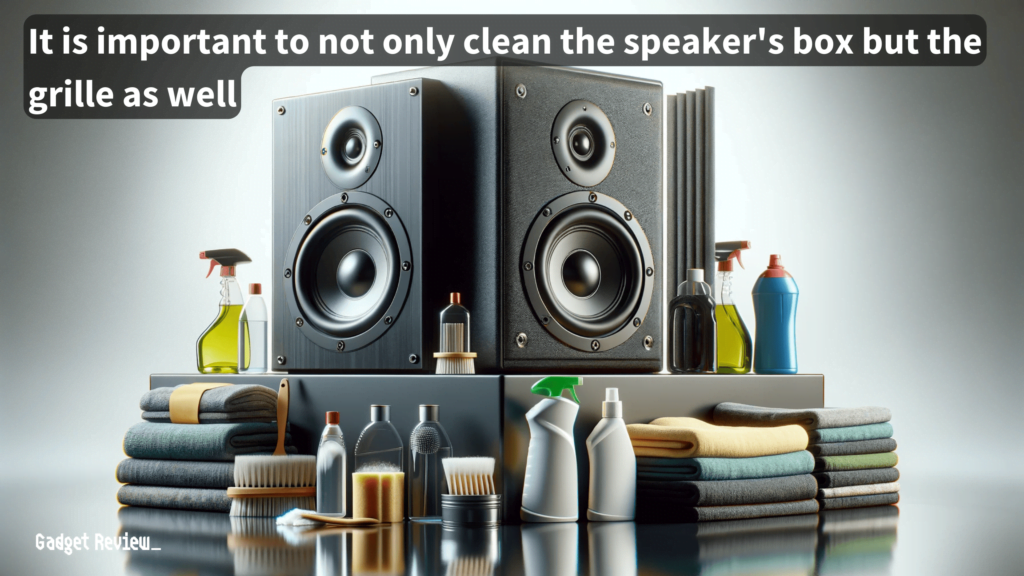
STEP 4 Clean the Speaker Grills
- If removable, gently take off the speaker grills. A cloth grill can be cleaned separately with a gentle vacuum or a feather duster to remove any unwanted fibers.
- Use a vacuum cleaner with a dust brush attachment to carefully remove dust.
- For non-removable grills, gently vacuum over the surface without applying pressure.
STEP 5 Clean the Speaker Cones
- Very delicately use a soft brush or compressed air to remove dust from the speaker cones.
- Ensure minimal contact to avoid damaging the cones.
- Regular cleaning helps in preventing the accumulation of dust which can degrade sound quality over time.
STEP 6 Clean the Terminals and Connections
- With the speakers turned off and disconnected, gently wipe the terminals with a dry cloth.
- Use swabs dipped in isopropyl alcohol to clean more stubborn grime, ensuring they’re not too wet.
STEP 7 Reconnect the Speakers
- Reinstall the speaker grill and reconnect the speaker wires and power.
- For those with marine audio systems, choosing the best boat speakers is essential for ensuring great sound quality and durability against harsh marine environments.
Laptop and Small Device Speakers
STEP 1 Turn Off and Unplug the Device
- Ensure the device is powered down and unplugged from any power sources.
- For iPhone users, knowing where the speaker on the iPhone is located can help in effectively cleaning without causing any damage to the device.
STEP 2 Remove Loose Dust
- Use a soft-bristled brush to gently brush away any loose dust from the speaker area.
- A feather duster can be used for a quick dust-off of the exterior and around the speaker area.
STEP 3 Address Stubborn Grime
- Take a damp microfiber cloth, well wrung out, and gently wipe the speaker area to remove tougher dirt.
- Immediately follow with a dry microfiber cloth to ensure no moisture remains.
- Refrain from using any harsh cleaning agents or additional products that could damage the sensitive electronics.
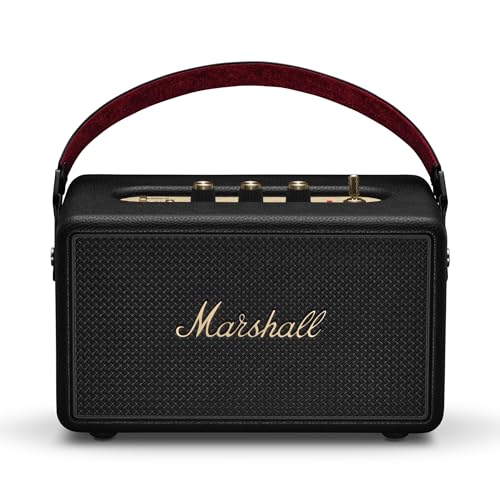
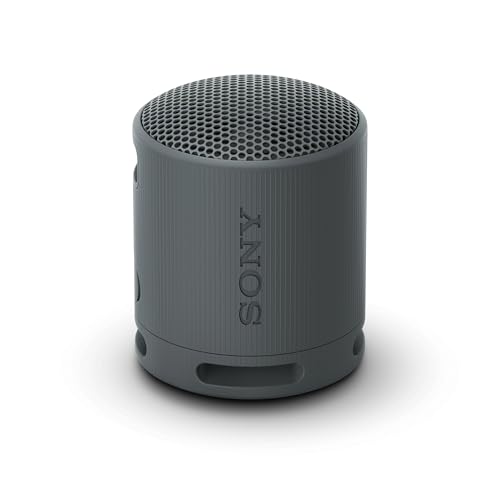
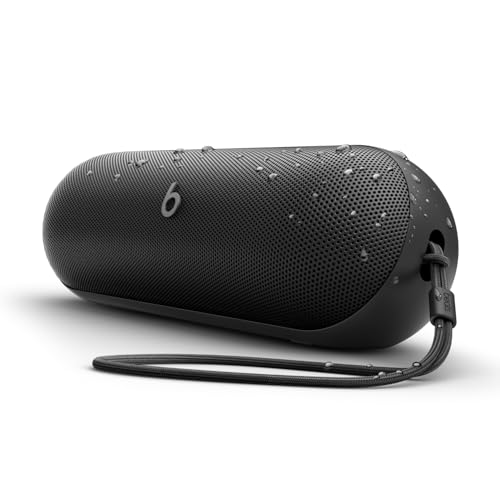
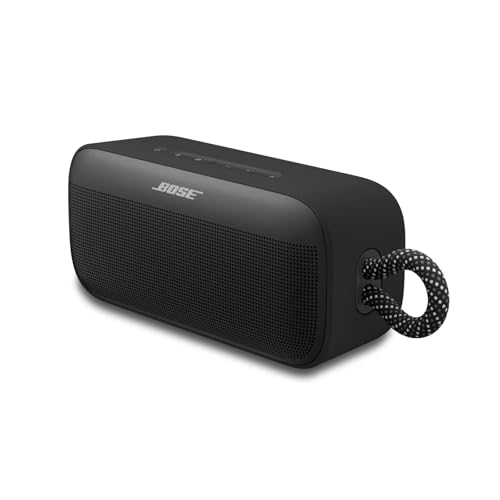
Portable Bluetooth Speakers
STEP 1 Assess the Speaker’s Water Resistance
- Check the manufacturer’s guidelines to confirm if your speaker is waterproof or water-resistant.
STEP 2 Wipe Down Waterproof Speakers
- For waterproof models, use a damp cloth to wipe down the entire speaker.
- Dry thoroughly with a clean microfiber towel.
STEP 3 Clean Non-Waterproof Speakers
- Use a dry or slightly damp cloth to carefully clean the surface of non-waterproof speakers.
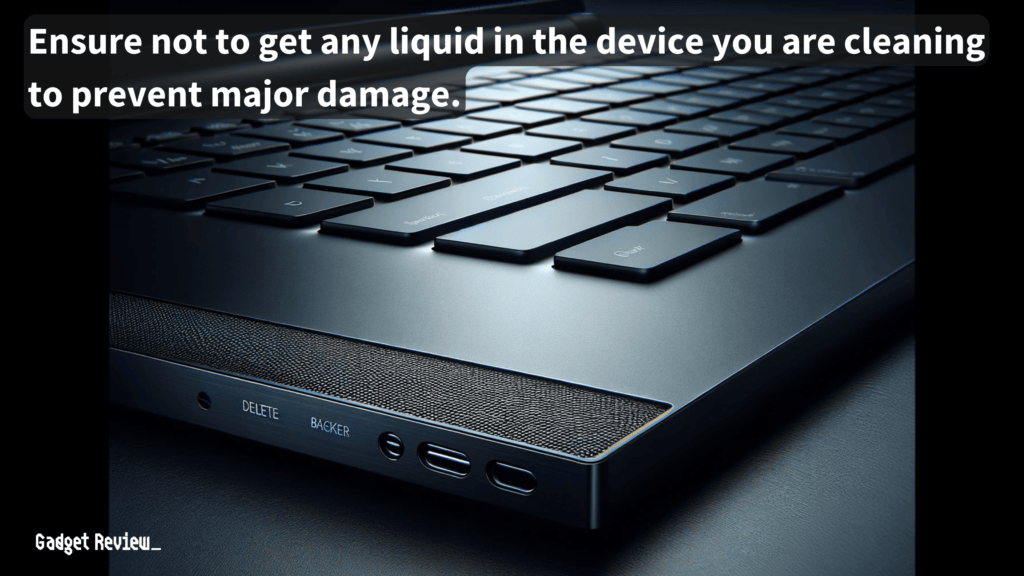
- It’s important to avoid allowing any moisture to seep into the speaker, which could damage internal components.
STEP 4 Dry and Reassemble
- Ensure all parts of the speaker are completely dry before reassembling or turning the power back on.
- For speakers with removable parts, reattach them carefully, ensuring everything is secure.
If you are in the market for a portable speaker, check out our Ultimate Ears Wonderboom 2 review.
Advanced Tips for Stubborn Issues
When faced with stubborn stains or buildup, a more intensive approach may be needed. For non-fabric parts, a mild detergent solution can be applied with a soft clean cloth in gentle, circular motions.

warning
You can cause permanent damage if you get cleaning liquid inside the speaker holes or ports.
If mold or bleach stains are present, consider specialized cleaning solutions, but test them on a small, inconspicuous area first. For persistent issues, consulting a professional may be the safest option.
Why Clean Your Speakers?
Speakers, like any household item, are prone to dust accumulation. However, for speakers, this isn’t just a cosmetic issue.
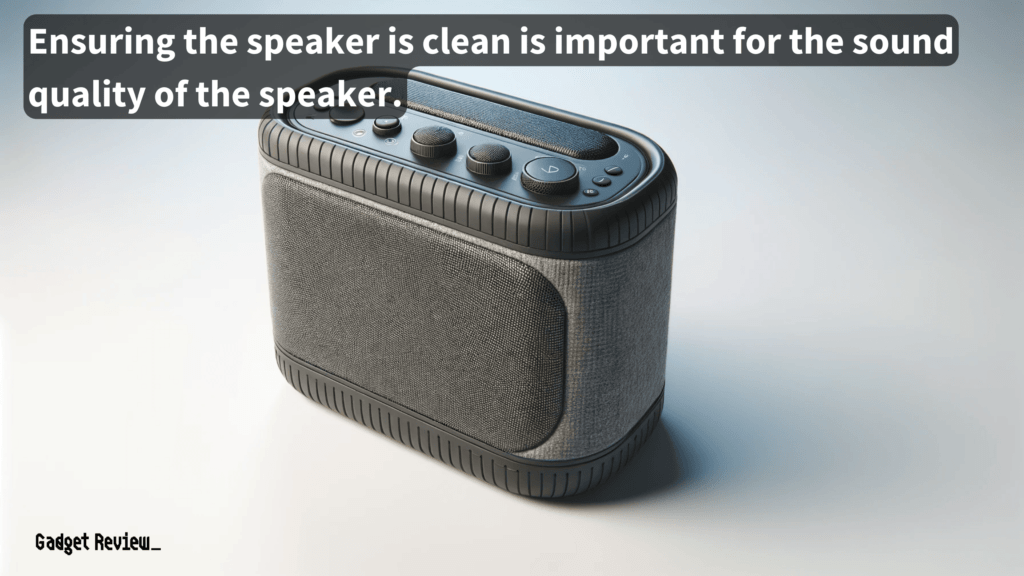
Dust can penetrate delicate parts, such as speaker cones and grills, leading to diminished sound quality and potential damage.
Regular cleaning ensures your speakers perform their best, extending their lifespan and preserving the clarity and richness of sound that makes your favorite music and movies come alive.
Maintaining Your Speakers
Regular cleaning is key to maintaining your speakers’ performance. Establish a routine to wipe down surfaces and remove dust, preventing accumulation that can lead to more significant issues.
Store your speakers in a way that minimizes dust exposure, and consider using covers for equipment not used frequently.
STAT: According to a 2021 Pew Research Center poll, 32% of 18-29-year-old Americans own a smart speaker. (source)
Ultimately, keeping your speakers clean is an essential part of audio equipment maintenance. By following these guidelines, you can ensure your speakers remain in excellent condition, providing the best possible sound experience.
Remember, the effort you put into caring for your speakers not only preserves their quality but also enhances your listening experience, making every song and soundtrack shine.