Learning how to watch a projector during the day has unique difficulties unless you already own a top-end outdoor projector. If you know what is a projector, then you’ll understand how viewing angle works, what are lumens for brightness measurement are, and more can feel overwhelming. Luckily, this article will clearly explain all common types of concerns. The best projectors are those that help you beat the summer heat, so grab a lawn chair and get ready to learn.

Key Takeaways_
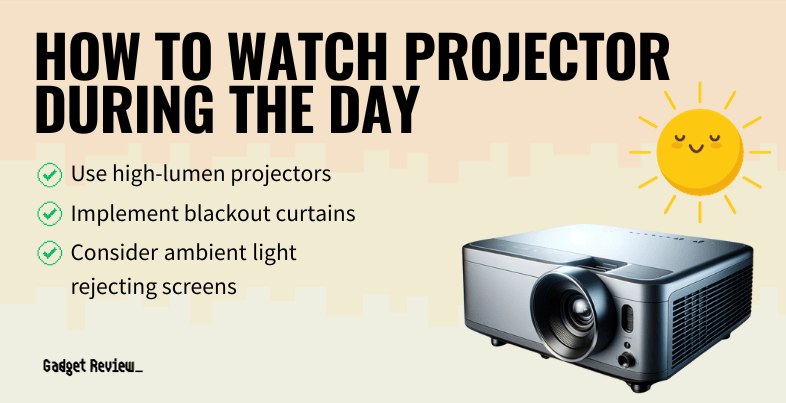
- Using a projector for daylight viewing requires high lumens that maintain maximum brightness even when strong ambient light is from the sun.
- You’ll need to choose a reflective screen for your projector to keep the bright image safe from natural light.
- Use a white or gray projector screen, depending on the time of day and what shade you can provide.
Using a Projector for Daylight Viewing
Figuring out how to watch a projector during the day can feel like a headache, especially when preparing for a party or presentation. You can do a few things to better prepare, like investing in a movie projector. High-lumen models usually are pretty expensive projectors, but the resulting picture quality makes the price well worth it.

insider tip
You can improve even the most fantastic projectors with a fancy screen that supplies better image quality.
If you find yourself asking why does my projector keep turning off, you’ll find that it may be the bulb going out.
STEP 1 Use a High-Lumen Projector
Modern projectors come in far higher lumens than their predecessors. Because of this, you can get a standard projector that can still work in an outdoor space during the day.
STEP 2 Keep Ambient Light in Mind
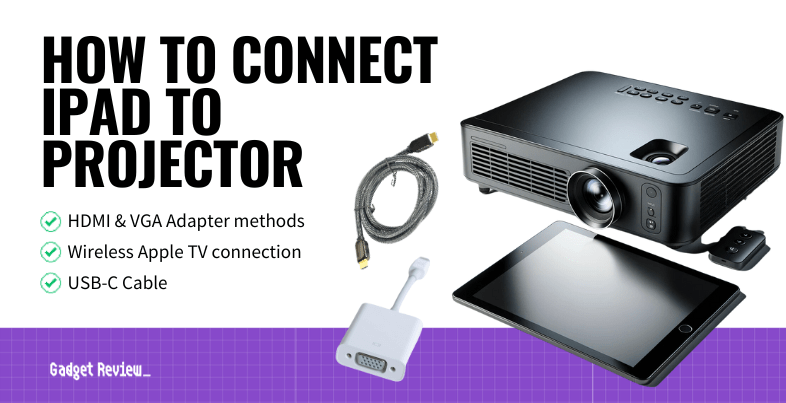
Unlike lux lighting on a projector, ambient light refers to the additive light coming from external light sources, such as the sun. Even the most fantastic projector on the market, like the best short throw projector for a home theater, can’t outperform direct sunlight. Make sure you provide shade to prevent bad image quality. If you have a lot of ambient light, you should read about the best projector for bright rooms. A crisper image is possible if you can use a canopy over the screen. This is key, especially if you’re learning how to connect an iPad to a projector; you don’t want a washed-out image.
STEP 3 Use an Inflatable Projector Screen
This is especially important if you have an outdoor viewing party. Inflatable screens are easy to set up, and they provide more screen for less money. That means the projection size is larger, and the viewing angle is improved for all attendees. Just make sure you have enough outdoor space to accommodate a larger screen size.
On the other hand, if you find damage to your screen, you might want to read our guide on how to repair a projector screen.
STEP 4 Purchase a High-Lumen Projector
Projector brightness determines lumens, which are a measure of brightness. The brightest projectors are not classified as inexpensive projectors, running up into the thousands. However, for outdoor usage, you won’t find a better match than high-end models of projectors.
STEP 5 Use a Large, White Screen
A white screen will provide the best image quality when using a projector for daylight viewing. This is because other types, like gray screens, don’t have the same reflective qualities. Outdoor projection screens do better with a white screen surface. Moreover, if you figure out how to increase the resolution on a projector, you’ll have a better picture during daylight viewing.

warning
An aspect of projector ownership is that the projector lamp will eventually run out of usable hours and require replacement.
Speaking of screens, did you know that you don’t need to use an actual physical screen for movie watching? In fact, if you compare a projector screen vs projector paint, you might find yet another option.
Moreover, the strength of your projector illumination matters, too.