Imagine buying a brand-new CPU for your custom PC and turning it into an expensive paperweight with one bent pin-every builder’s nightmare. This list isolates the wallet-draining, time-wasting mistakes beginners make: compatibility mismatches, miswired fans, and bargain PSU shortcuts that turn promising builds into headaches. Bent pins on AMD processors (and LGA socket damage on Intel boards) are the emblematic, instantly fatal example here. Still, they’re avoidable with correct orientation, a gentle touch, and a quick compatibility check. Read on for a concise, no-nonsense checklist of the exact checks, connector habits, and driver steps that protect your parts and get you to a clean first boot.
13. Handle CPUs Like They’re Made of Glass
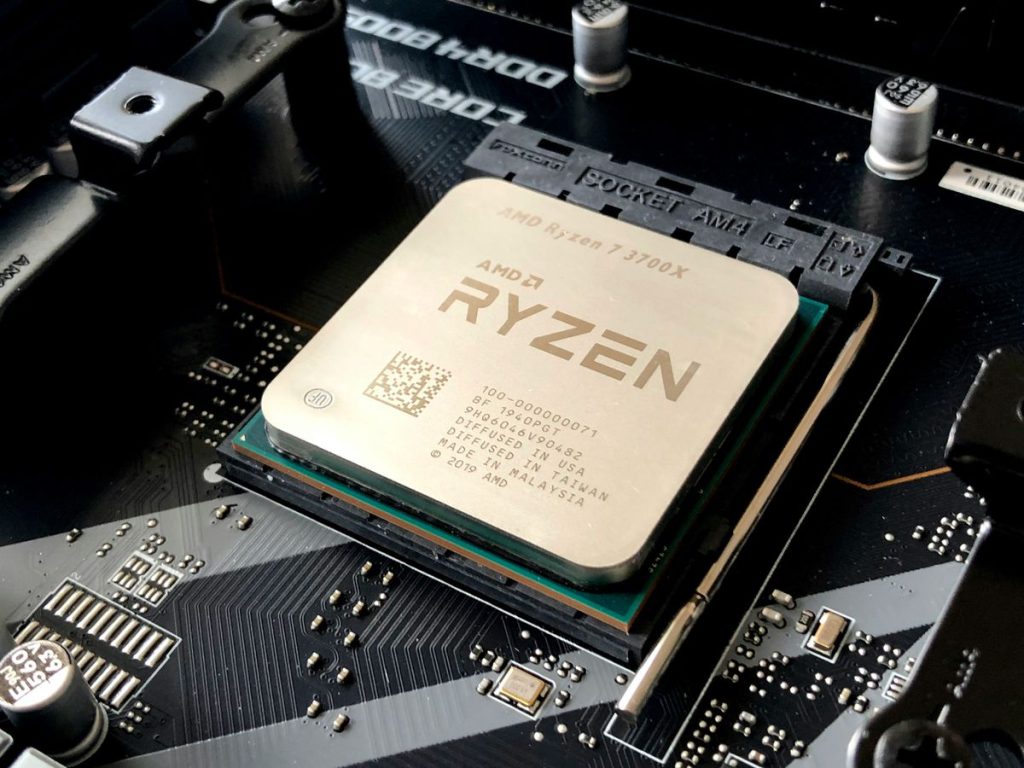
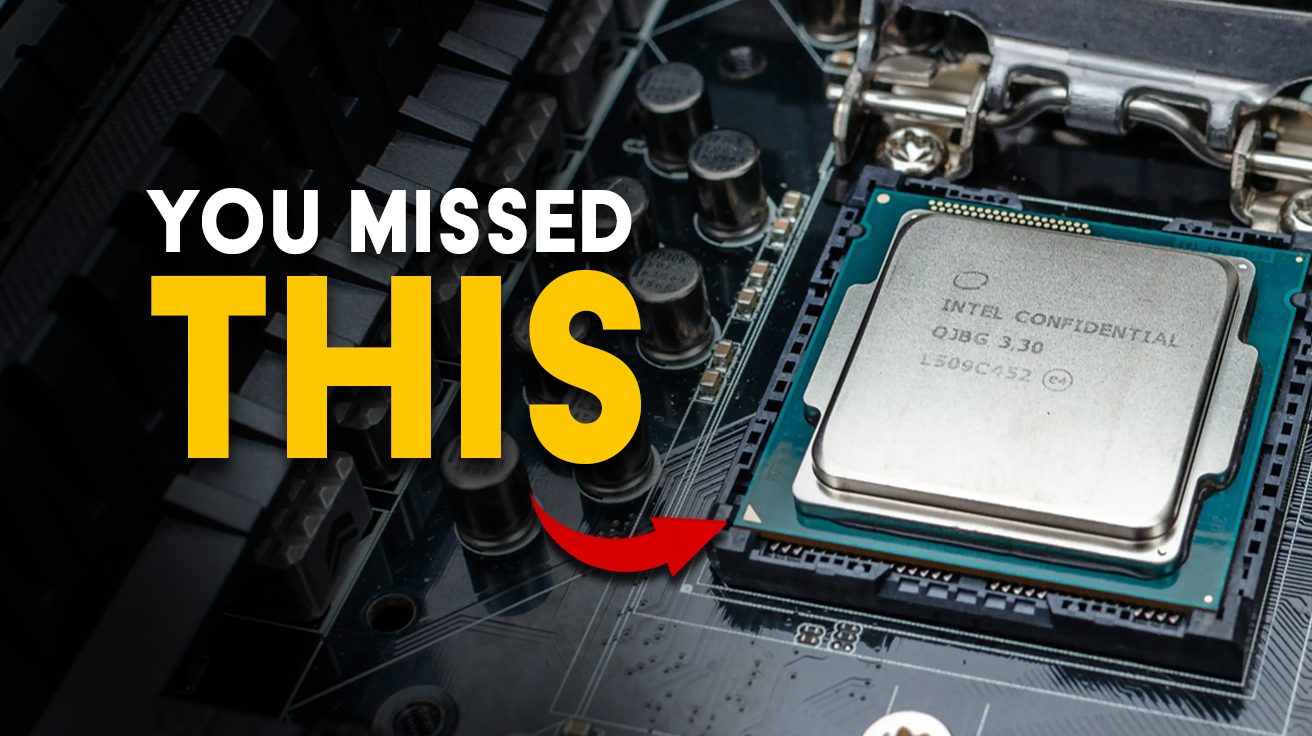
Bent pins on AMD CPUs or damaged LGA sockets on Intel motherboards often spell game over for expensive components. Modern processors might look sturdy, but their connection points are surprisingly fragile. Always align CPUs carefully with their sockets—never force anything. If it doesn’t drop in smoothly, double-check your orientation before applying any pressure.
12. Check Compatibility Before You Buy

Nothing stings quite like realizing your shiny new CPU won’t fit your motherboard after you’ve already torn open the packaging. Use PCPartPicker or similar tools to verify that your CPU, motherboard, RAM type, GPU length, and case size all play nicely together. These compatibility checkers catch socket mismatches, form factor issues, and clearance problems before they drain your wallet.
11. Don’t Cheap Out on Power Supplies
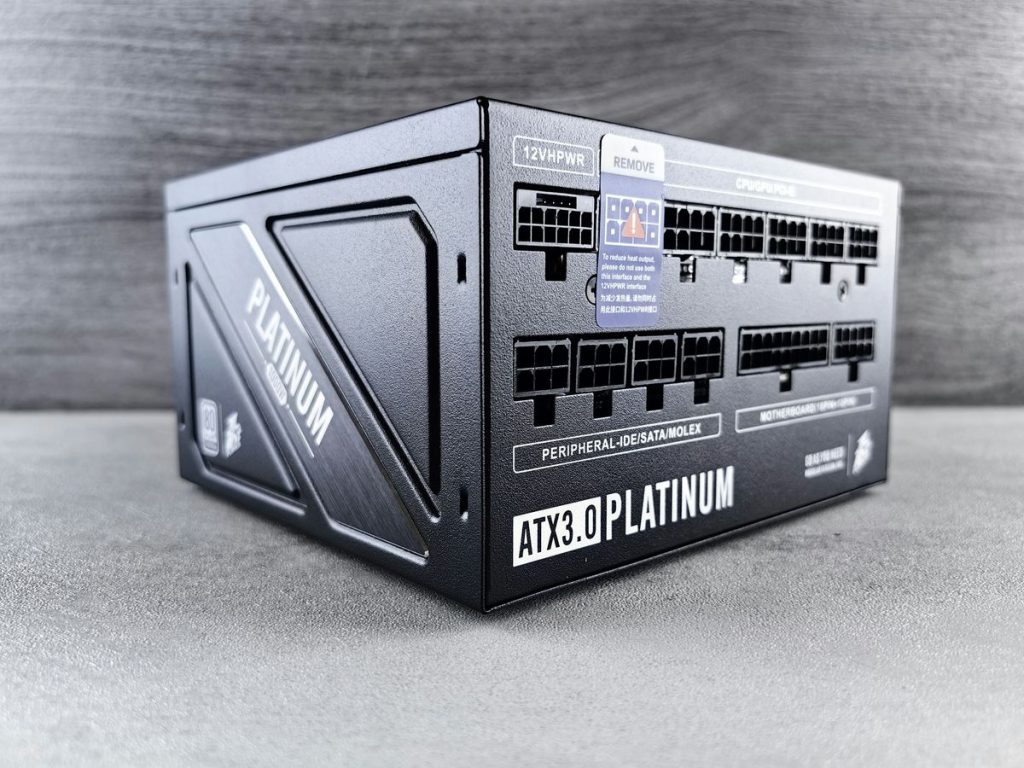
A failing power supply doesn’t just die quietly—it can take connected components down with it. Stick with reputable brands that carry 80 PLUS certification, and leave some headroom above your estimated wattage needs. Think of your PSU as the foundation of your build: everything else depends on clean, stable power.
10. Install Memory in the Right Slots
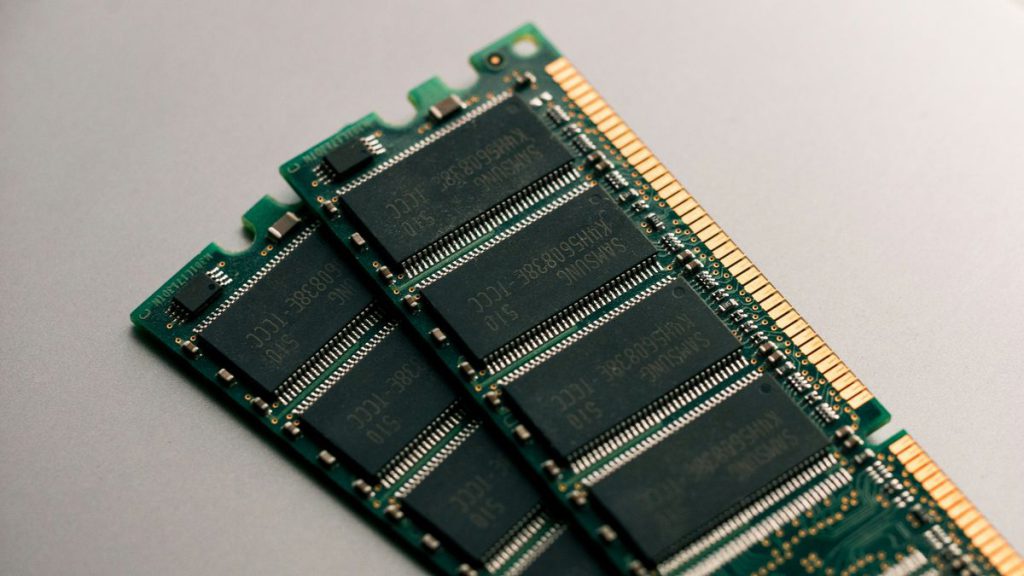
Memory modules aren’t just plug-and-play. Check your motherboard manual for the correct slots to enable dual-channel or quad-channel operation, and avoid mixing different DDR5 capacities unless you enjoy troubleshooting blue screens. If crashes persist after installation, update your motherboard BIOS and adjust memory timing settings accordingly.
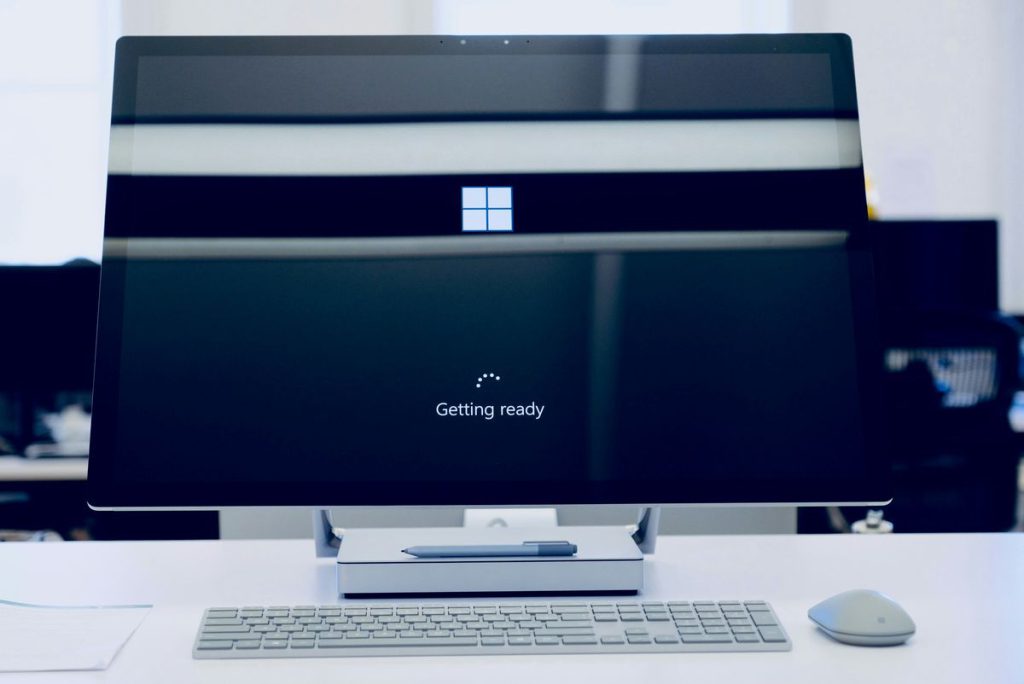
9. Start Fresh with Your Operating System

That Windows installation from your previous build might seem fine, but major hardware changes—especially switching between CPU platforms or generations—often trigger driver conflicts and stability problems. A clean OS install takes extra time upfront but saves hours of troubleshooting weird crashes and subpar performance later.
8. Prepare Network Drivers in Advance
Most motherboards arrive without Ethernet or Wi-Fi drivers preloaded, leaving you stranded without internet access on first boot. Download these drivers to a USB stick beforehand to avoid the frustration of trying to get online with a computer that can’t connect. Skip the bundled bloatware from motherboard manufacturers—you’ll get a cleaner, faster system.
7. Match Fans to the Right Headers
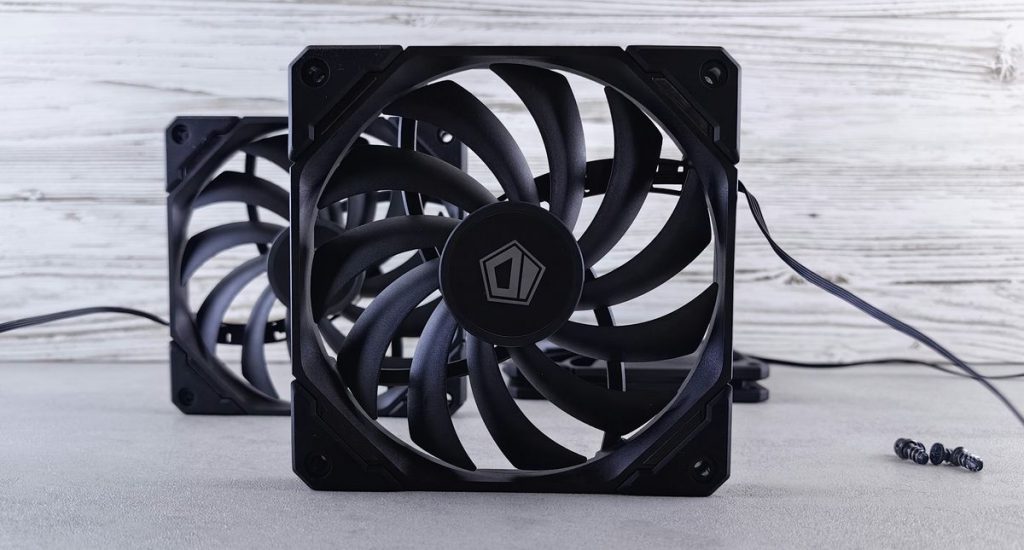
PWM fans need 4-pin headers, DC fans use 3-pin connections, and pump headers aren’t interchangeable with CPU fan headers despite looking similar. Connecting the wrong type can result in erratic speeds or fans running at maximum RPM constantly. Check your motherboard manual for header locations and configure fan curves in BIOS for optimal cooling.
6. Connect Your Monitor to the GPU
This mistake happens more often than anyone wants to admit. If you’ve installed a dedicated graphics card for gaming, connect your monitor to the GPU’s outputs, not the motherboard’s video ports. Integrated graphics—if your CPU even has them—can’t handle modern games at playable framerates.
5. Apply Thermal Paste Correctly
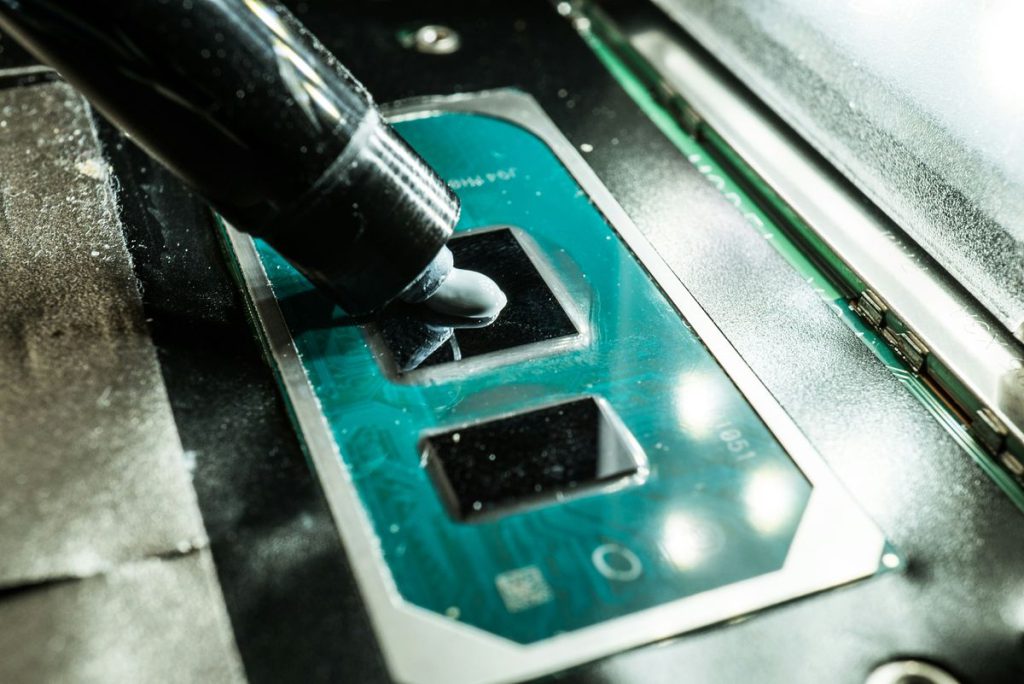
Thermal paste application shouldn’t keep you up at night. A small dot or thin spread works fine—excess paste simply squeezes out during heatsink installation. The key is even mounting pressure across the entire CPU surface to avoid hotspots. Don’t overtighten heatsink screws, as this can warp the CPU or damage the socket.
4. Never Mix Power Supply Cables

Even if the connectors physically fit, power supply cables aren’t universal. Different manufacturers use different pinouts, and mixing cables can send incorrect voltages to sensitive components. This mistake can fry motherboards, GPUs, and storage drives in seconds. Always use only the cables that came with your specific PSU model.
3. Balance Your CPU and GPU Budget
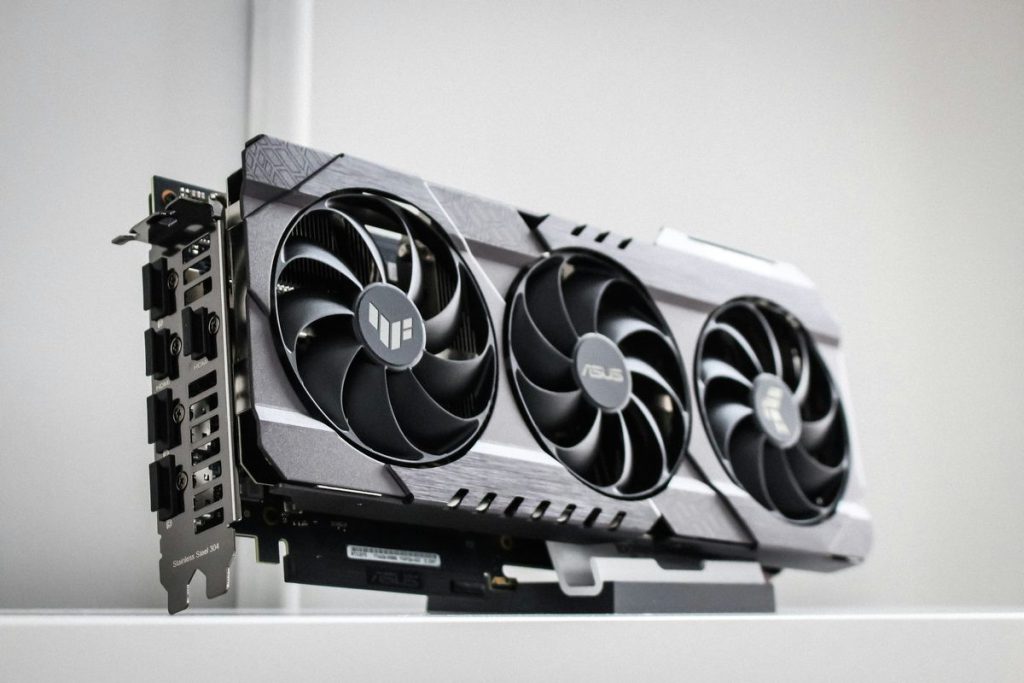
High-end CPUs like Intel i9 or AMD Ryzen 9 chips offer minimal gaming benefits compared to solid mid-tier options when paired with a capable GPU. Games depend far more on graphics processing power than CPU performance in most scenarios. Allocate more budget to your graphics card and choose a CPU that won’t bottleneck your gaming experience.
2. Seat All Connections Firmly

Half-seated power connectors and data cables cause more build failures than faulty components. Every connection should click or seat fully—motherboard power, CPU power, GPU power, and SATA cables all need firm, complete insertion. Double-check everything before hitting the power button for the first time.
1. Use Planning Tools and Resources

PCPartPicker and similar tools don’t just prevent component mismatches—they also help optimize your build for the best price-to-performance ratio. These platforms catch clearance issues, wattage requirements, and compatibility problems while helping you find the best local pricing on components.
Building your first PC doesn’t have to be a minefield of expensive mistakes. Take your time, double-check everything, and remember that every expert builder started exactly where you are now—probably with a few bent pins and definitely with some valuable lessons learned the hard way.