Any user looking to save money on their headphones may wonder how you make a gaming headset. The process of making your own best gaming headset seems relatively easy, and you probably will save some money.

Key Takeaways_
- To make a gaming headset, you need a pair of headphones, a microphone, an audio splitter, and adhesive.
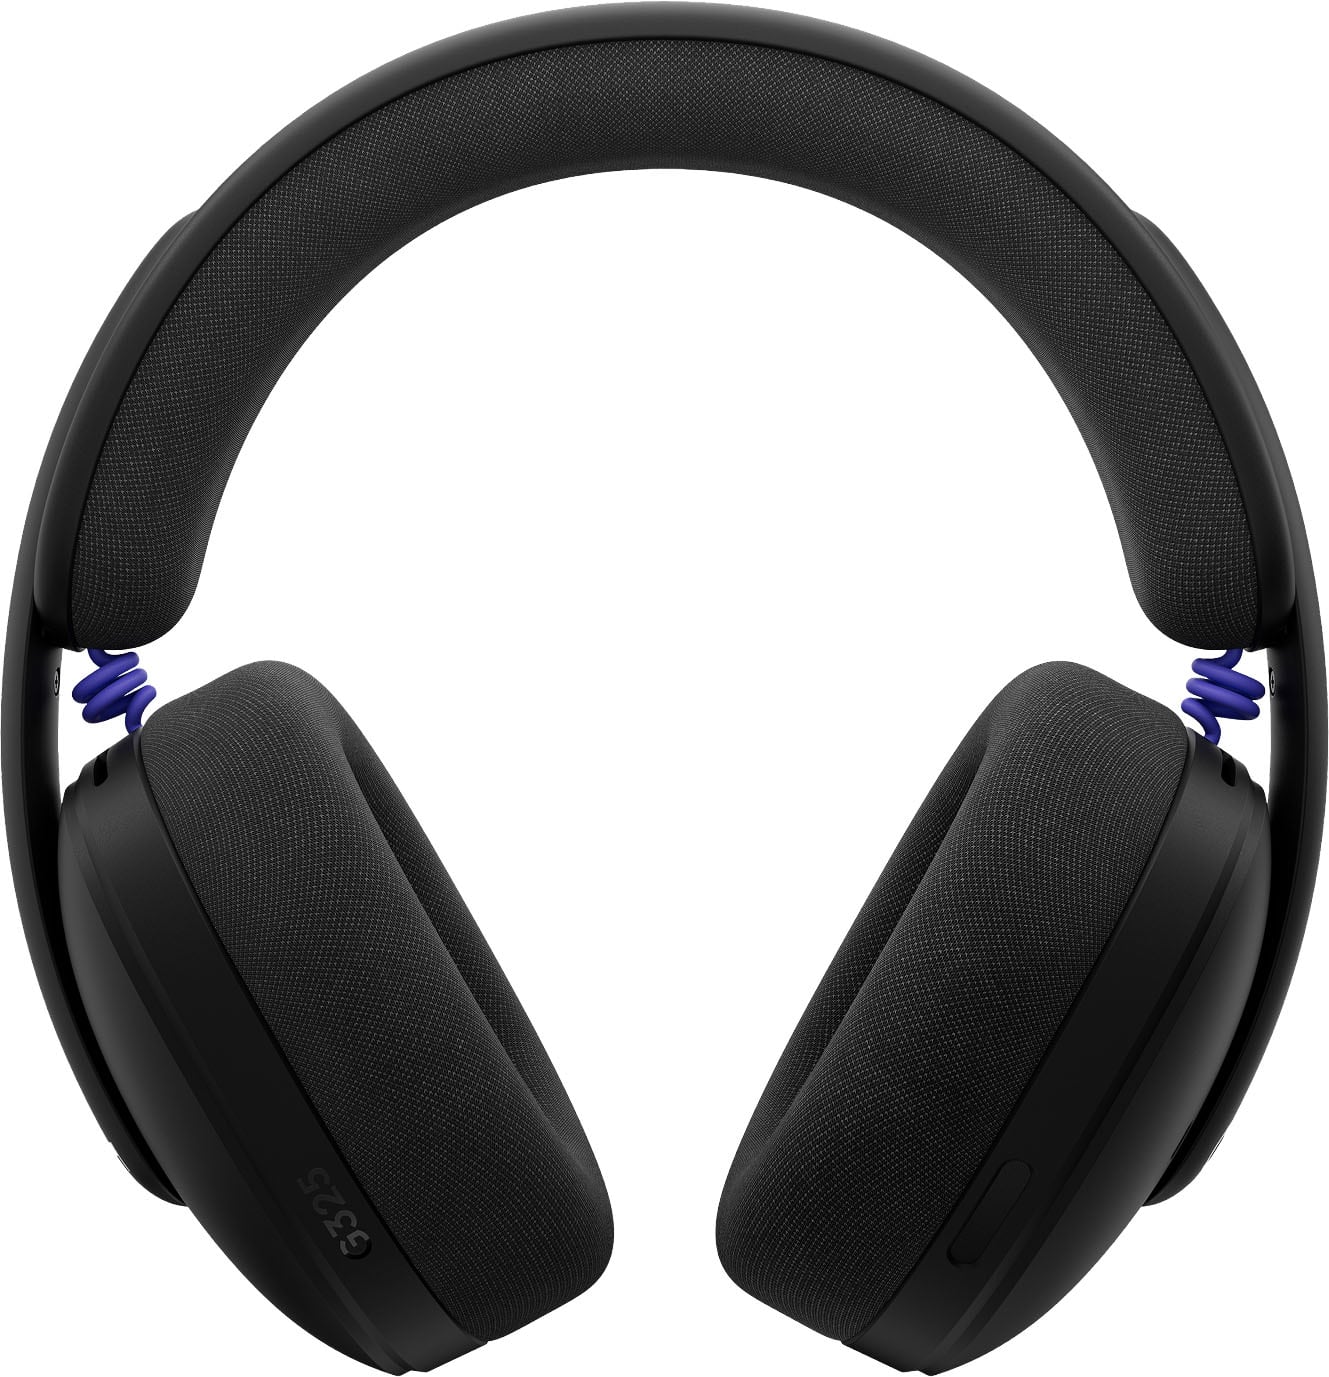
- Look for comfortable headphones for the base with good sound quality.
- You will need to secure the microphone to the outside of the headset using tape or another adhesive.
Making your headset ensures the best audio quality, the lowest background noise, and the greatest microphone quality. However, any headsets made using this model need to be wired gaming headsets. If you want wireless headsets, you probably need to find one designed for gaming, noise reduction, and virtual surround sound. For additional features, find out how to answer the phone through a gaming headset.
How to Build a Headset for Gaming
When you want to improve the sound of your gaming headset, you can combine your favorite headphones with separate microphones to optimize performance during your gaming sessions. To do so, you want a noise-canceling device, a noise-reducing microphone, one of a range of adhesives, and an audio splitter.

insider tip
You should look for good sound quality and comfort in your base headset.
Unfortunately, you most likely won’t be able to use a wireless gaming headset because the sound and the microphone will be separate. Thankfully, wired gaming headsets, those with a cable, are probably more in your price range than the latest generation of wireless headsets.
STAT: Finding a headset that suits your needs is key to enhancing your enjoyment and performance when gaming. (source)
You may also be interested in learning how to make my gaming headset microphone louder. For another mic-related issue, you can read our article on how to control pops on a gaming headset.
Steps
STEP 1 Get your Headphones
- Select your headphones with a cable to use as the base. You should pick a pair that you feel comfortable wearing long-term since this will be the basis for the entire headset.
- Don’t worry about the padding on the ears; you can replace this or add additional padding on top of the ears. You can read more about this with our guide on how to make a gaming headset more comfortable. This is especially important if you wear glasses so that you can stay comfortable; alternatively, you can check out these top gaming headsets for glasses wearers. Look for a set with good audio quality.
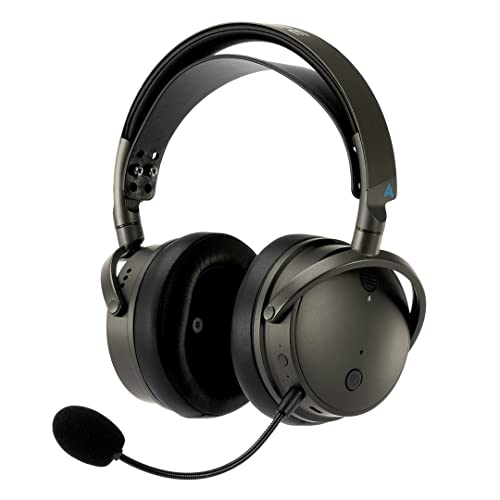
STEP 2 Get a Microphone
- Select your microphone. Most people recommend a Lavalier microphone, the kind that clips onto clothing. Others recommend buying a device that clips onto the ear, but it must be a corded headset with a microphone if you go this route. Whichever model you choose, you will need to be able to connect a cable to the microphone.
STEP 3 Get Extra Padding (Optional)
- Buy additional padding design for an over-ear headset (optional.) If you want enhanced comfort, you should buy additional padding. For our purposes, you should get the ear padding for a large-eared headset, like TurtleBeach, JBL, or other gaming headphones.
- You won’t need this additional padding if your base headset remains comfortable without it.
STEP 4 Attach the Microphone to the Headphones
- Use your velcro or tape to combine the microphone with the headphones. You can find several methods like this, and the adhesive they use differs between each one. You might want to use duct tape if you want an inexpensive model. Otherwise, you can opt for velcro or adhesive for sticking things to the wall.
- If you have a Lavalier mic, you may want to use something to position it in front of your face. One person recommends attaching the lavalier to a medium-sized fork, but you could use a short dowel or a pipe-like connection. You do not need to do this step if you have a microphone assembly or clip-on headset with a microphone because the mic should stick out.
STEP 5 Combine the Cables
- Twist the headphone cable and microphone wire together. Some videos refer to this as braiding, but the overall goal for this step is to keep the cables together.

warning
Your audio cables have to be aligned a certain way to work, so twist them together after you connect the headset and microphone.
- You can do this step earlier, but you want to ensure the cords will work while the devices are taped together. For this reason, anyone using a wired headset for both parts will have an easier time doing it now.
STEP 6 Connect the Headset
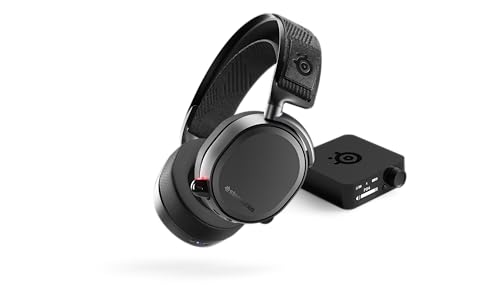
- Finally, plug your wires into the audio splitter. Look for an audio splitter with separate input and output. If you aren’t should what that would look like, one port should contain a microphone icon and the other a headphone icon. Make sure you plug the microphone portion into the input port, and the headphones plug into the output port. You may need to switch the cords if you can’t hear once you’ve plugged the splitter into the audio jack.
Once all that is done, read our guide on equalizing a gaming headset to get the best sound possible.