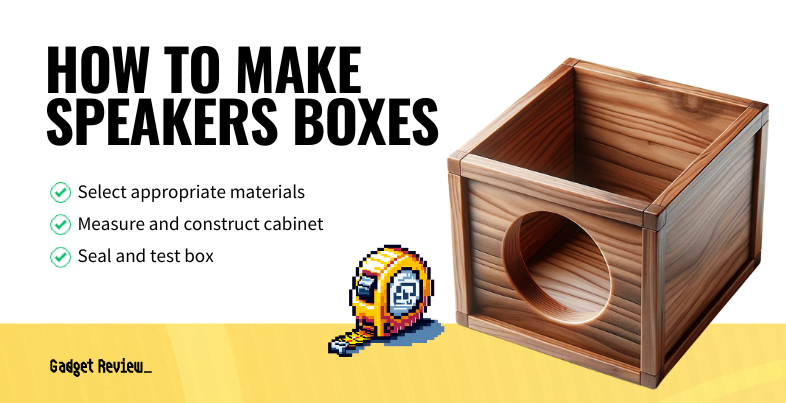
Say you have researched and purchased the best speaker for your living area to find that you have nowhere to house it. In this case, you should know how to make a speaker box.
STEP 1 Choosing the Right Materials for Optimal Sound
Every design decision you make for your speaker box, from the materials chosen to the box type, impacts the sound quality. Learn how sealed, ported, and bandpass designs change the audio dynamics. For example, sealed boxes offer tighter bass, while ported ones enhance lower frequencies.
- MDF is known for its density and sound-dampening qualities, making it an excellent choice for a clearer sound.
- Plywood, on the other hand, offers a sturdy build and a natural tone, while particle board is a more budget-friendly option.
- Consider using particle board for budget-friendly projects, but remember its acoustic properties differ from MDF and plywood.
- Think about incorporating insulation materials like foam within the cabinet to enhance audio quality and minimize potential rattles.
- Keep in mind that the thickness and density of these materials can significantly influence your speaker’s resonance and overall performance.”
- The choice between sealed, ported, and bandpass designs can significantly impact the range of sounds your speakers will produce. A crossover may be necessary for designs aiming for a wide range of frequencies.
STEP 2 Figure Out the Speaker Box Dimensions
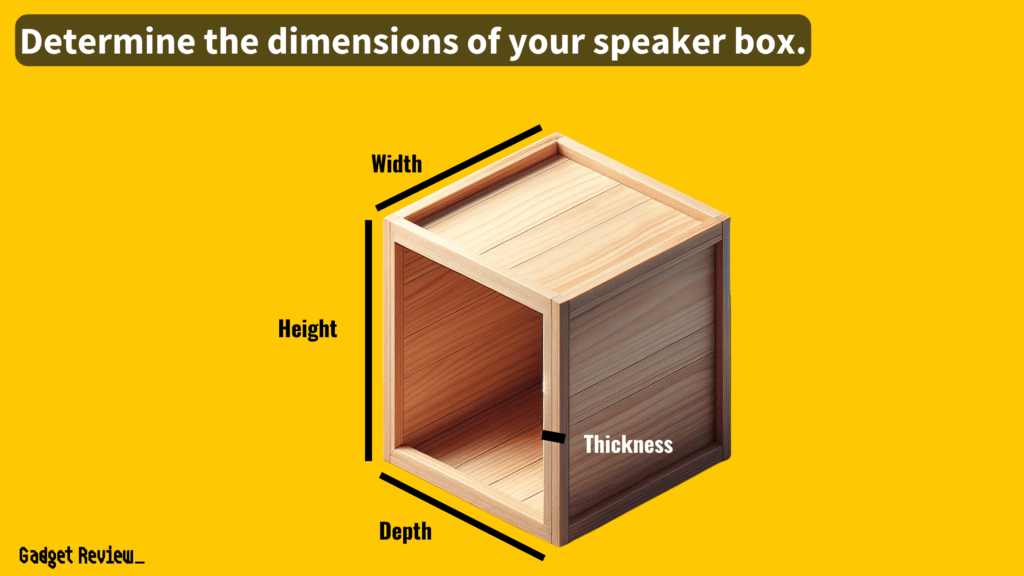
- Go to your speaker’s manual or contact the speaker manufacturer to confirm the right size for your particular speaker.
- Plenty of online calculators can help you measure what internal dimensions you need to bring out the best internal volume.
- Calculate both the internal and external dimensions.
- For ceiling speakers or other unique installations, adjust your calculations to account for the different acoustic environment.
- Ensure that the cabinet size you choose does not create a ‘swiss cheese’ effect, weakening the structure with too many holes or cuts.

insider tip
If you are planning on fitting a speaker into a specific space, make sure to compare the measurements of the area and the external dimensions before constructing.
STEP 3 Create the Speaker Cabinet Sides
- First, trace the length and width of each speaker enclosure side on medium-density particleboard. As you do this, draw circles for the speaker hole and any other holes you need for the speaker wires. A guide for this should be included in the speaker manual.
- Cut the sides with your jigsaw.
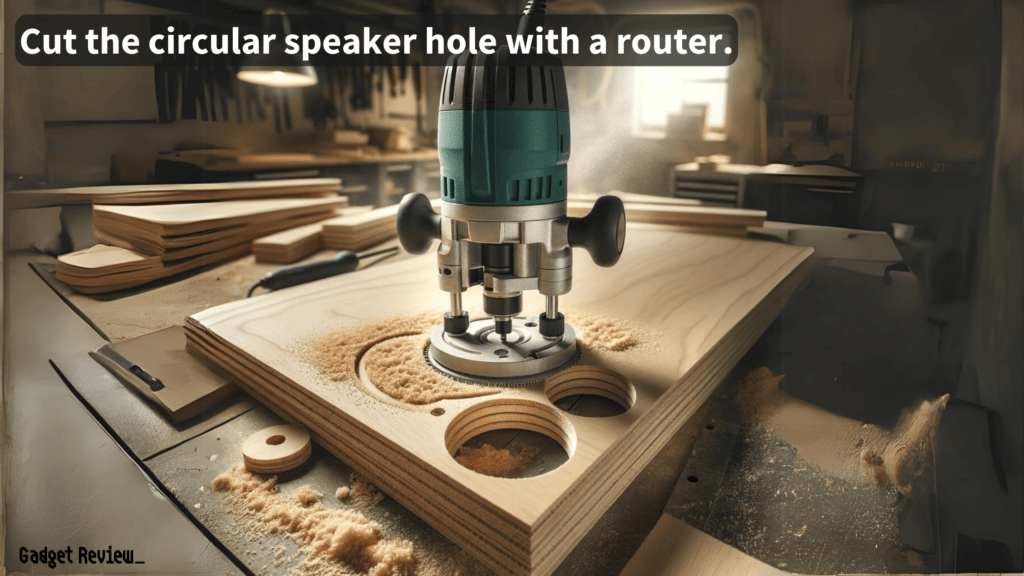
- Cut the circular speaker hole with a router.
- When cutting the circular speaker hole, consider the placement of the crossover and other internal components to avoid interference.
- Create the wire holes with the electric drill.
- Use sandpaper to smooth any rough edges.
- For a basic speaker cabinet, keep the design simple but ensure that the joints are strong. Butt joints reinforced with screws can offer stability.
STEP 4 Insert Internal Bracing
- Screw-in the battens (these should be 1-inch x 1-inch wood blocks) to each interior edge of the speaker cabinet.
- Pre-drill all wire and screw holes.
- Use a drill to make pilot holes for the screws, preventing the wood from splitting.
- Consider the placement of bracing to avoid obstructing the path of sound from the speaker to the listener.
STEP 5 Put Speaker Box Together
- Use wood glue on the edges of the speaker enclosure.
- Put it together using clamps to fasten the pieces tightly together.
- After clamping, wipe away any excess glue that oozes out of the joints to ensure a clean finish.
- Allow the glue to dry for 24 hours.
- If building a cabinet for a range of speakers, ensure each has adequate space and is properly sealed within its own compartment.

warning
Making a speaker box that is too big or too small can dampen the internal volume and negate the effects of the speaker.
Different music styles can benefit from different box designs. If deep, resonant bass is what you’re after, opt for a larger box size. For clearer, more precise sound, focus on the internal volume of the box. The shape of your box can also impact sound directionality. Consider these factors to tailor your speaker box to your preferred audio style.
STEP 6 Prepare Speaker Hole
- Mark and pre-drill the mounting holes for the speaker.
- When drilling for the speaker plate, ensure the hole is precisely cut for a snug fit, avoiding air leaks which can degrade sound quality.
STEP 7 Seal Speaker Box
- Apply caulk to the internal seams of the box.
- Let the caulk cure for 24 hours.
- In addition to caulking, consider adding a layer of sound-deadening material inside the box for improved audio performance.
STAT: You should cover 60% of the interior seams with braces. (source)
For more DIY speaker projects, check out our articles on replacing your speakers in a car, how to fix a speaker, and how to recone speakers.