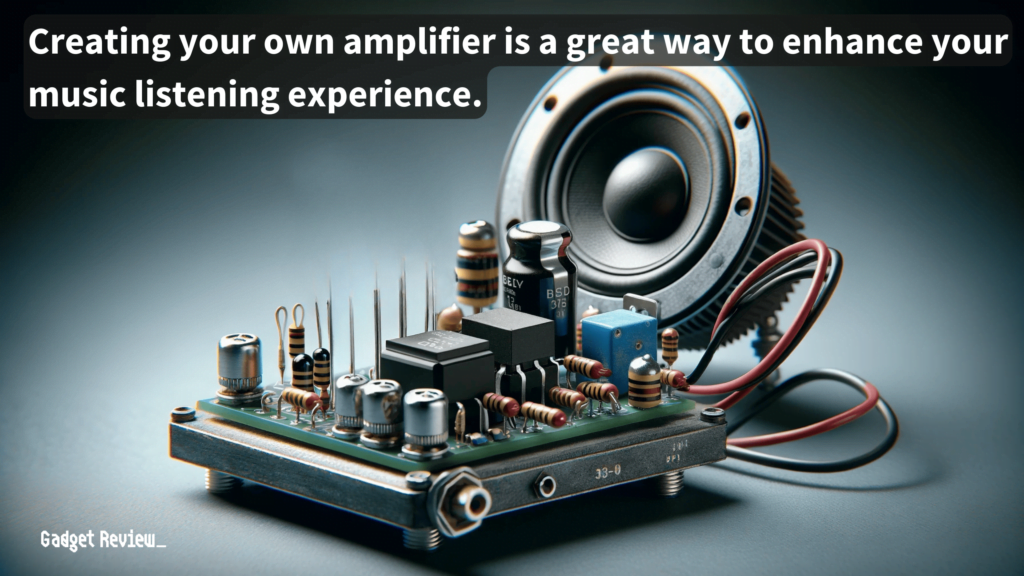
Building your own amplifier for speakers is an enriching DIY project that not only enhances your understanding of audio systems but also allows you to tailor sound quality to your preferences. This guide will walk you through the process of creating a speaker amplifier, from the basic design to the final testing, ensuring you have a functional and personalized audio amplifier. Whether you’re a seasoned DIY enthusiast or a beginner, this journey will be both educational and rewarding, culminating in the satisfaction of hearing your favorite tunes through an amplifier you built yourself. To achieve the best results, pairing your newly built amplifier with the best speakers available within your budget can significantly elevate your audio experience.

Key Takeaways_
- Making an amplifier for speakers is a task that requires a high level of expertise when it comes to electrical work. However, there are plenty of ways to find instructions on doing this.
- One of the most common ways is to find a quality DIY kit online with all the necessary parts, accurate and exhaustive instructions, and the correct gauge speaker wire.
- You can also find music shops near you that offer amplifier-building courses. Here you can build a custom amp to fit your exact needs and be taught by a pro how to wire correctly.
Understanding Amplifiers
An amplifier, in essence, is a device that takes a small electrical signal and amplifies it sufficiently to drive speakers, thereby producing sound.
The magic lies in its ability to boost frequencies across the audio spectrum without introducing significant distortion. Amplifiers come in various configurations, such as Class A, Class B, Class D, and gainclone amplifiers, each with its unique characteristics and applications.
Understanding the basic principles behind these amplifiers, including how they manage voltage and currents to increase signal strength, is helpful for anyone looking to build their own. This knowledge will guide your choice of components and design, ensuring your DIY amplifier meets your audio needs.
Building Your Amplifier
To embark on this DIY amplifier project, you’ll need a variety of tools and materials.
- Essential components include an amplifier chip, resistors, capacitors (including electrolytic capacitors, bypass capacitors, and a bootstrap capacitor), a rectifier bridge, power transistors, and a power supply.
- Thankfully, to make it easier on yourself, you can purchase a kit that will include all the parts you need.
- For tools, have a soldering iron, wire cutters, and a screwdriver at the ready. Additionally, a breadboard can be invaluable for prototyping your amplifier circuits before final assembly.
- Don’t forget the smaller items like wires, switches, an ON-OFF switch for power control, and various screws for securing components within the amplifier casing.
Gathering high-quality materials is key to ensuring the longevity and sound quality of your amplifier.
Preparation
Before diving into the assembly, it’s crucial to prepare your workspace and understand the safety precautions associated with building electronic devices.

warning
If you decide to build your own amp, remember that an improperly wired amp can be very dangerous and potentially cause fires.
Ensure your area is well-ventilated and organized, with all necessary tools and components within reach. Familiarize yourself with the basic safety protocols for handling electronic components, especially when dealing with soldering and the power supply.
If you aren’t completely comfortable doing this yourself, you can find somewhere near you that offers an amp-building class.
Here, you’ll receive instructions for every step of the process. It’s also likely that you will be able to have more control over the specifics and customization when it comes to sound, features, and power output.
STEP 1 Designing the Circuit
- The heart of any amplifier is its circuit. Start by sketching a circuit diagram, which serves as a blueprint for your project.
- This diagram should detail the connections between the amplifier chip, resistors, capacitors, and power supply.
- Pay special attention to the configuration of your chosen amplifier type, whether it’s a basic PWM Class-D amplifier, a Class B amplifier, or another design.
- Understanding the flow of current through these components and their role in shaping the amplifier’s output is crucial.
STEP 2 Assembling the Components
- Begin by placing your components on the breadboard according to your circuit diagram.
- This step allows you to experiment with the layout and make adjustments without permanent changes.
- Once satisfied, start transferring the components to the amplifier board, soldering each connection carefully.
- Ensure that the soldering is clean to prevent any potential short circuits or signal interference.
STEP 3 Wiring and Connections
- With the components in place, focus on the wiring.
- This includes connecting the power supply, ensuring the ground wire is securely attached, and wiring the input and output stages.
- The audio input will likely involve a Jack or similar connector, while the outputs will connect to your speakers.
- Pay close attention to the volume control wiring, as this will significantly affect your user experience.
- Incorporating techniques on how to reduce white noise in speakers into your design can significantly improve the listening experience by minimizing unwanted sounds.

insider tip
When wiring a sound rig, you must use the proper gauge wire compatible with the impedance of the amp and speakers.
STEP 4 Enclosure and Final Assembly
- Choosing the right enclosure, such as an amplifier in a wood case, not only protects the components but also affects the amplifier’s aesthetics.
- Drill holes for the wires, switches, and connectors, ensuring everything fits snugly.
- The amplifier casing should also accommodate any heatsinks necessary to dissipate heat from the power transistors and amplifier chip.
STEP 5 Testing Your Amplifier
- Before celebrating the completion of your amplifier, it’s crucial to test it thoroughly.
- Start with a low volume to check for any distortion or unusual noises. Gradually increase the volume, observing the amplifier’s response and sound quality.
- Troubleshoot any issues, which might range from simple wiring mistakes to component failures.
- If you encounter a lack of sound or distorted audio, it may be necessary to learn how to repair blown speakers, which can often restore their functionality and extend their lifespan.
- To ensure optimal performance and clarity, learning how to wire speakers to an amp correctly is essential, as it affects the overall sound quality and system efficiency.
Enhancing Your Amplifier
After successfully building a basic amplifier, consider enhancements to personalize and improve its performance.
Adding a bass boost circuit, experimenting with different capacitor values for tone control, or incorporating a more sophisticated volume control can significantly enhance your amplifier’s sound quality.
STAT: An ideal amp for listening to all types of music should have a power output of around 50 to 90 watts. (source)
These modifications allow you to tailor the amplifier to your listening preferences and the specific requirements of your audio systems.
Maintenance and Safety Tips
Maintaining your DIY amplifier ensures its longevity and optimal performance. Regularly check connections, clean the components, and inspect the enclosure for any damage.
Safety is paramount, so always disconnect the amplifier from the power supply before making any adjustments or repairs.
Be mindful of the amplifier’s power ratings to avoid overloading and potential damage to the speakers.
Building an amplifier for speakers is a rewarding project that combines technical skills with creative problem-solving. By following this guide, you’ve learned the essentials of amplifier design, assembly, and testing.
Whether you’re enhancing your home audio system or delving into the intricacies of amplifier circuits, the knowledge and experience gained from this project are invaluable. Enjoy the rich, customized sound of your DIY amplifier, a testament to your craftsmanship and passion for audio.