Have you ever wanted a projector viewing experience but you were on the fence about investing in a top projector? Well it turns out that you can turn your smartphone or tablet into a big screen experience for cheap!
STEP 1 Prepare the Materials
Whether you’re planning for a movie night or bringing art to life, the initial step involves gathering all your materials.
- Empty cardboard box that can house your projector components comfortably. It’s always a good option to recycle an old box laying around – saving your pocket and the planet simultaneously.
- Giant magnifying glass with at least 3 inches diameter. The bigger, the better! Your local hobby stores or online marketplaces are the best bets to find one. A high-quality glass will enhance your projection, making the image sharper and crisper.
- Your smartphone or tablet will be the star of this project. It’ll act as the projector’s content source, transforming your miniature screen into a large-scale display.
- To create a light-sealed compartment in your cardboard box, you will need some black paper. Ensure that it’s thick enough to block out any light.
- Then, grab a 4×4 inch mirror. This will help redirect the projected image.
- Sturdy pair of scissors, some glue, and adhesive tape. These will come in handy for cutting materials and securing everything in place.
STEP 2 Black Out the Inside of the Box

Next, make the box’s interior dark using black paper. Why black? Well, the inner darkness achieved allows better amplification of the projected light from your smartphone. Such a setting produces a clearer projected image, adding to your mini movie projector charm.
- Pull out a cutter or a sharp knife and cut a length of black paper. You want the piece big enough to cover the interior of your cardboard box thoroughly.
- Secure the paper down with tape or glue on the interior of the box. However, just make sure that the entire interior surface is covered, leaving no spot flourishing light-reflective cardboard.
STEP 3 Cut the Box
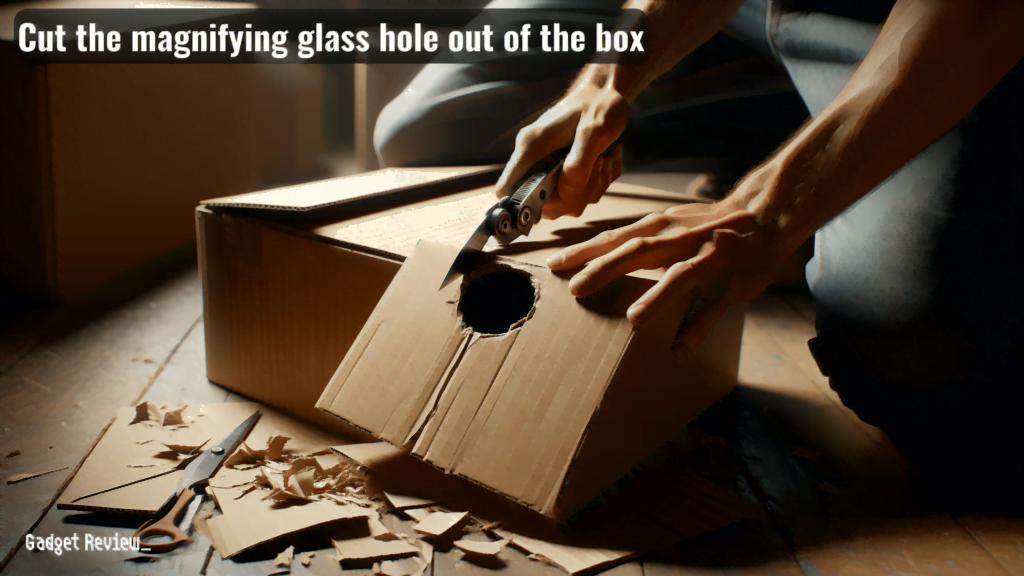
Now make holes in your box.
- First, position the magnifying glass atop the box and draw an outline around it. The magnifying glass is fundamental in getting decent image projection, so make sure you’ve got in a decent one.
- Position the cardboard box to where the table’s edge aligns with one of its sides. Hold the magnifying glass steady as you trace its outline with a soft but evident pencil mark.
- Start cutting the hole. The cardboard cut out circle should be just the right size to hold your lens firm. A second cut might become necessary if the box’s lid covers a part of your magnifying glass. Make sure to cut away any parts obstructing your lens’ light path.
- Double check the hole and fix any rough or bumpy edges.
STEP 4 Glue the Lens to the Box
- Insert the magnifying glass into your cardboard box makes a noticeable difference in the projection quality.
- Put it into the hole you just cut. Make sure that half of its width is on the inside of the box, with the other half on the outside. The more symmetrical it is, the better your homemade projector will function.
- Grab the hot glue. Go around the edges where the box meets the magnifying glass, apply a thin layer of hot glue both inside and outside.
- Try putting the lid back onto your box. If it hits the lens, use your marker to trace the part of the lens intersecting with the lid.
- Then, cut away the excess with your knife.
STEP 5 Build a Phone or Tablet Stand in the Box
While your cardboard box is drying from the previous steps, it’s time to start crafting your phone or tablet stand.
- Prepare an independent stand. You can use an old membership card or even two paper clips.
- If you decide to go with the card, bend it twice. It’s like you’re creating a mini tent with one margin. This will create a supportive base.
- After that, proceed to attach your device using double-sided adhesive tape. This allows your phone to stick and stay onto the stand.
- Now, with all the materials set, place your new stand inside your box, directly behind the magnifying glass.
STEP 6 Prop Up the Mirror
You don’t necessarily need a mirror, because your DIY movie projector will still work without it. Put your phone with the image upside down directly in front of the lens. This is where simple materials lying around, like a piece of Velcro, become handy to keep your phone secure and making it easier for you to pop it out when you need to.
Without the mirror, however, the image projected from your DIY movie projector will be inverted.
But if you do have a mirror:
- Grab the mirror and slide it gently, while adjusting your focus on the projected image.
- Adjust the mirror. Remember, your aim is to ensure the image is sharp and distinct on the wall.
STEP 7 Testing Your DIY Projector
On your phone or table, start playing your content. Open up the settings of your smartphone. Adjust the brightness to your liking.
Wrap-Up
DIY projectors are fun to make and easy to use. Through this process, you also get to learn a little about how projectors work.