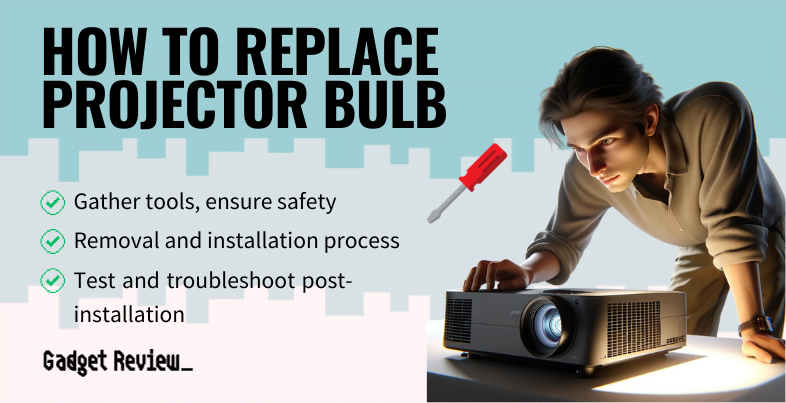
Over time, projector bulbs wear out and need a little TLC to keep your top projector performing at its best. You might be wondering how to change a projector bulb. Don’t worry, it’s not as complicated as it sounds.
Before you begin, bear in mind that certain steps might vary slightly depending on your projector model. For explicit instructions, always refer to your user manual.
Installing a Projector Lamp with a Housing
STEP 1 Gather Your Tools
Get a basic toolkit. You’ll need a screwdriver (typically a Phillips or flathead), a clean cloth or gloves to handle the new lamp, and a soft brush or compressed air canister to dust off the projector.
STEP 2 Turn The Projector Off

Ensure the projector is off and disconnected from the power source. This is crucial for your safety.
STEP 3 Let The Projector Cool Down
Give the projector a good 30-minute break to cool down. Beware, projector bulbs can get extremely hot and cause burns.
STEP 4 Unscrew And Remove The Lamp Panel
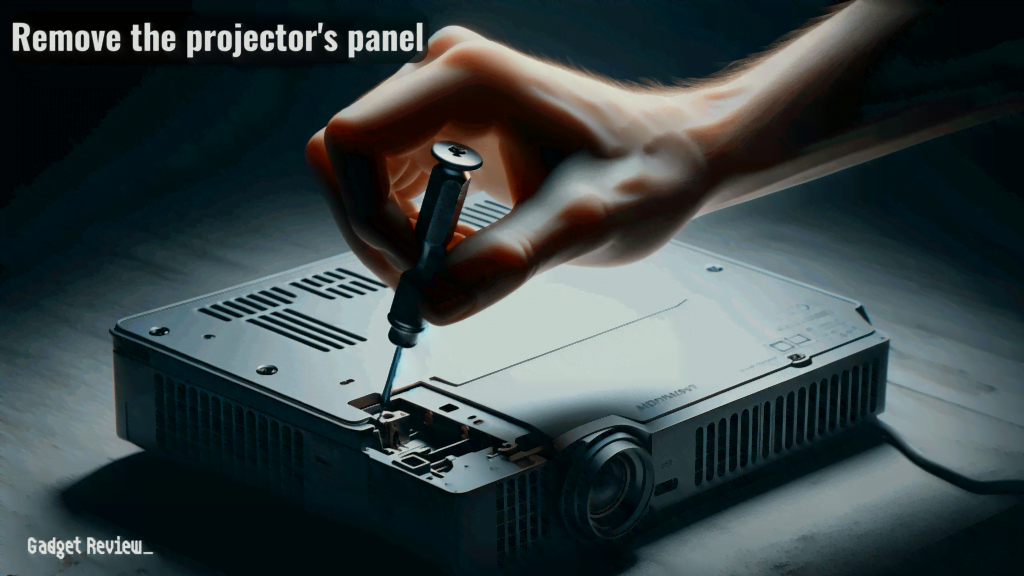
Next, loosen the screw holding the projector lamp module cover and remove the panel.
STEP 5 Remove the Old Lamp
Remove the old projector lamp. Pull it out and unplug it from the projector.
STEP 6 Plug In The Replacement Lamp
Now, plug in the new projector lamp securely while making sure you’re not touching the bulb’s surface. Fingerprints or oil can affect its performance.
STEP 7 Put the Lamp Panel Back
Put the panel back on and tighten the screw. Now you’ve installed the projector lamp with the housing!
Remember, every projector lamp sold comes with a detailed user manual following which you’ll increase the lamp hours of your projector.
For the visual learners out there, check out this helpful video of the creator demonstrating how to replace a projector lamp with the module around the bulb.
Installing a Bare Projector Bulb
A bare projector bulb installation is a different animal altogether. It includes only the bulb, devoid of the plastic casing, wiring, and screws. However, the process begins the same.
Follow steps 1 through 3 above, and then:
- While removing the projector lamp without housing, remove the retaining clip that holds the bulb.
- Unscrew the wires connected to the bare projector bulb.
Then, proceed with the rest of the steps as before. Now you’re set to enjoy peak image quality and clarity. Your projector now stands rejuvenated. With precise care and proper usage, projector bulbs are designed to have long lives.
Safety Measures When Replacing A Projector Bulb
Safety is crucial when you’re dealing with projector maintenance, particularly the task of replacing bulbs. Begin the process by making certain your projector is powered off and disconnected from any power cords. This is non-negotiable for your safety. Let the projector cool down if you’ve recently used it.
To carry out this task, you’ll need a replacement bulb tailor-made for your projector model. Locate the right replacement part number by consulting your user manual or the manufacturer’s website.

insider tip
The original lamp and replacement projector lamp should slide into and out of the lamp chamber quickly and without much resistance.
Ensuring user-friendly accessibility is a common design feature in most projectors. There’s usually a door or panel on the exterior of your device designed to give easy access to the lamp assembly. Often, this door or panel is found on the side or rear of your projector, and it’s typically labeled with a lamp symbol.
Recognize that projector bulbs can be fragile and may contain hazardous substances like mercury. Adhere to your local regulations for correct disposal methods. Always stick to the recycling or disposal guidelines offered by the manufacturer.

warning
Some manufacturers require you to reset the lamp timer before powering it on fully, so check your user’s manual to find out what type of device you have.
Handle your new bulb with care once you remove it from its packaging. Don’t touch the glass surface directly, as fingerprints or oil could interfere with the bulb’s performance. A tip to keep in mind is to use gloves or a clean cloth when handling your new bulb. Before inserting it into place, inspect the bulb for damage. Missteps or forced insertion could harm the bulb or your projector.
Make sure you close the bulb compartment carefully. Check for obstructions or loose cables that could come in the way of the compartment’s closure, or compromise the safety of your projector.
Don’t let the risk of possibly mishandling your new bulb deter you. By following these safety precautions and steps, you’re on your way to mastering the process of replacing projector bulbs.
Test and Troubleshoot Post-Installation
After reconnecting the power cords and turning on the projector. This will ensure the newly installed lamp functions as it should and that your effort wasn’t in vain. Choose your preferred content and project away! If the visuals are vibrant and razor-sharp, congratulations! You’ve successfully completed your projector lamp replacement.
You may, however, encounter an issue where the projector doesn’t power on after lamp replacement. If this does occur, it’s wise to first check if the lamp cover has been properly secured using the screws. The projector might not power on due to safety features preventing operation with a loose or improperly secured lamp cover.
The user manual for your projector also comes in handy at this stage. Following the instructions provided by the manufacturers can assist with troubleshooting. Guides often contain helpful diagrams and explicit steps for lamp assembly, aimed at properly sealing the lamp housing which helps prevent dust or other particles from damaging the fragile lamp.
Should the problem persist, double-check your connections. As you might have multiple power cords plugged in, it’s easy to mix something up. As recommended earlier, labeled cords can be your lifesaver here!
Engaging in such regular check-ups bolsters the usage period of your projector, raising the lamp hours before your next replacement. Proper post-installation checks not only extend the life of your replacement lamp, but also contribute to the longevity and consistently high performance of your entire projector.