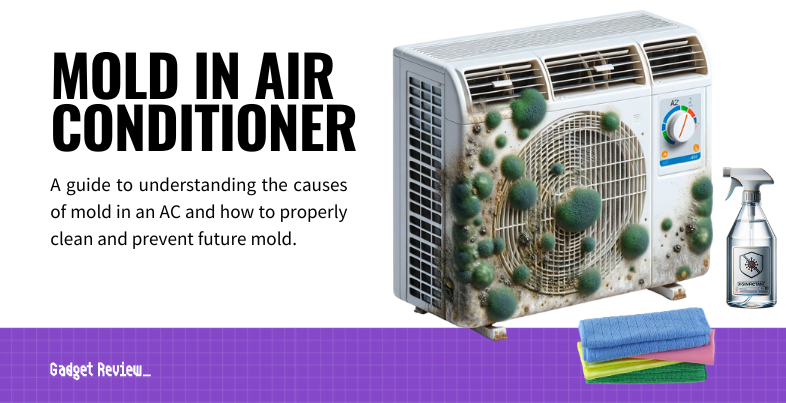
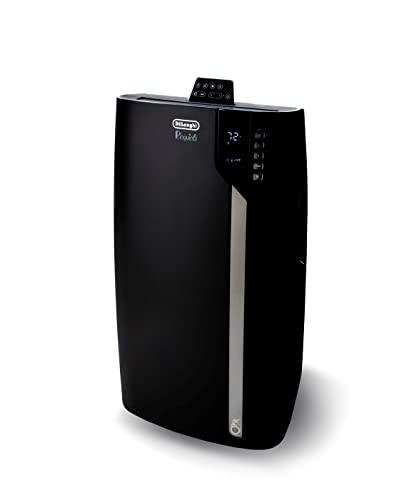
Even if you have a top-tier air conditioner, you should know what to do when there’s mold in your air conditioner. Whether you’re sensing a musty smell or have spotted mildew or visible mold growth on a surface in your AC unit, we can show you how to clean a mold infestation and get your AC unit smelling fresh again. After all, if you are wondering why your AC has a smell, mold growth could be the culprit.
Key Takeaways_
- If you suspect a moldy air conditioning unit due to musty odors, power off the unit immediately and investigate.
- Open the air conditioner and look for signs of mold, like black spots or fuzzy growths.
- You can clean the mold materials with household cleaners or reach out to a mold removal specialist.
What to Do About a Moldy Air Conditioner
Mold exposure can be a severe health issue that causes respiratory issues, shortness of breath, skin rashes, sore throat irritation, nasal congestion, and other respiratory symptoms.
Black mold spores can gather in an AC unit due to the humidity levels, and it can cause symptoms of mold exposure that turn into health risks, even to people without a mold allergy.
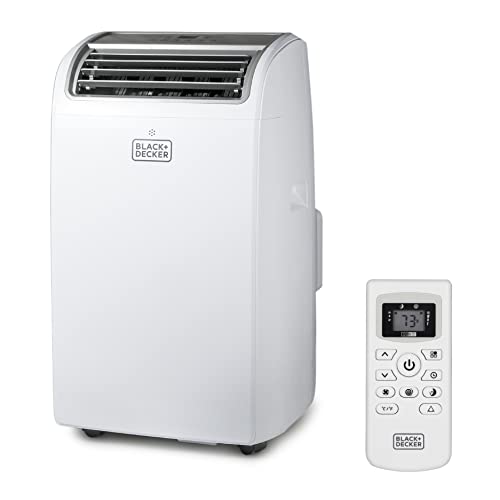
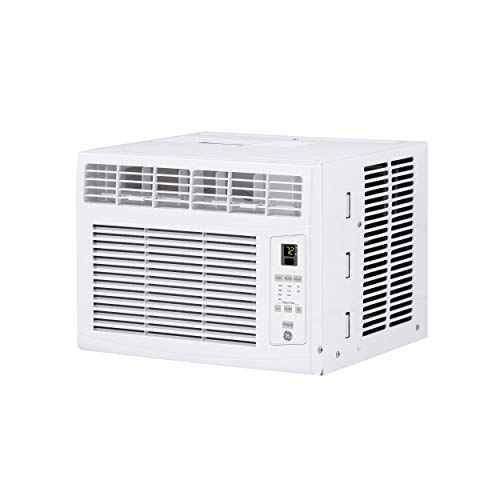
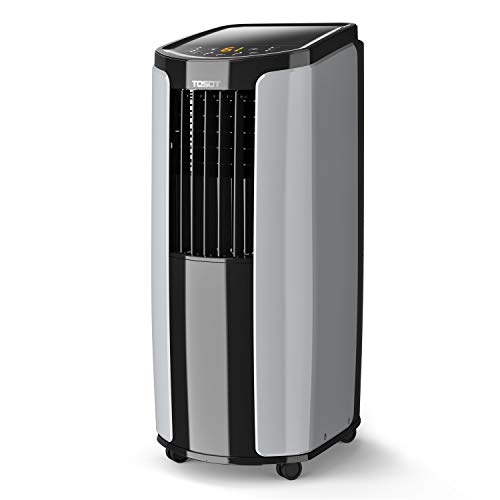
This is true for all types of AC units, including the quietest window air conditioner and portable air conditioner models. Additionally, if you have a portable unit, it would be wise to know what the P1 error code means.
insider tip
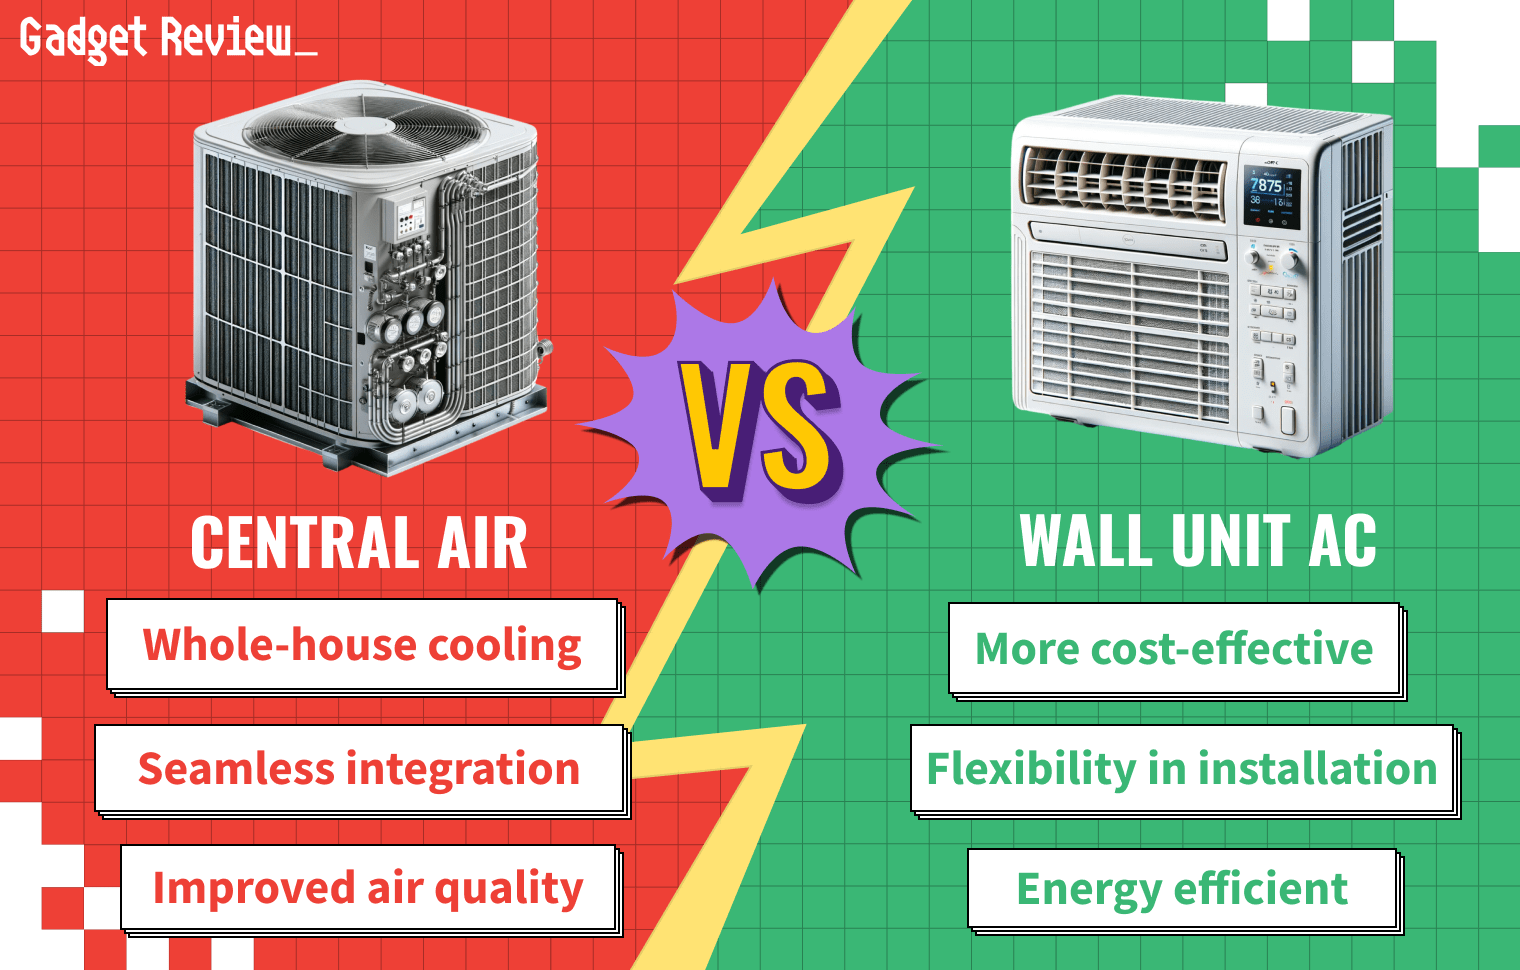
You can use soapy water in your central air conditioning system, but you can cause water damage if you get moisture inside the exhaust fans.
Contact with mold toxins can cause actual health risks and possible severe reactions, including respiratory issues and eye irritation.
If you think you have a moldy AC unit, you should contact an experienced professional for mold removal services or follow this guide to combat this severe health hazard.
Signs of Mold in AC Units
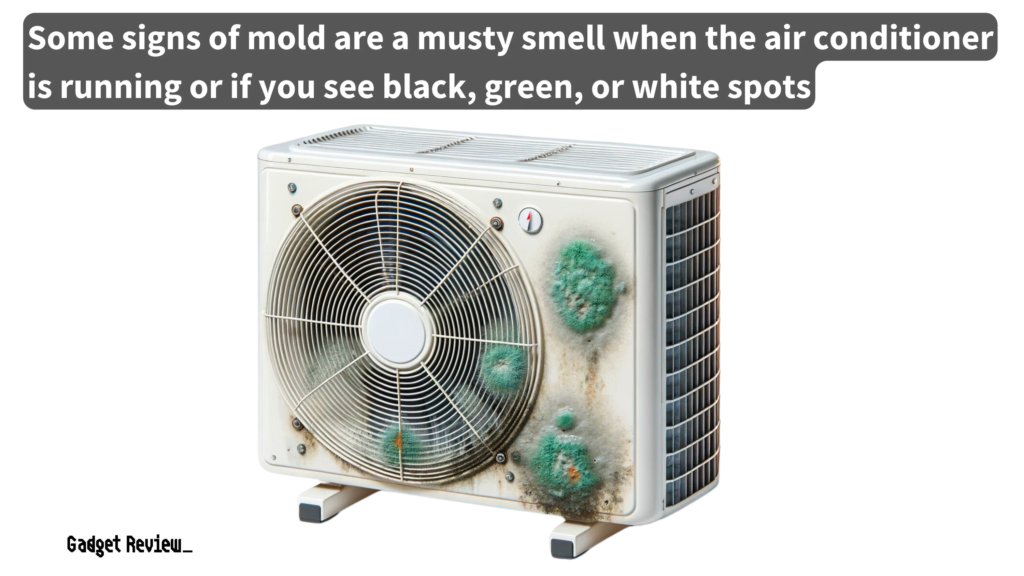
Apart from a musty smell and visible mold patches, other signs that your AC unit may have mold include higher than normal energy bills, weak airflow from vents, the unit running longer than usual, excessive condensation on the unit’s exterior, discolored ductwork, and allergy-like symptoms when the unit is running.
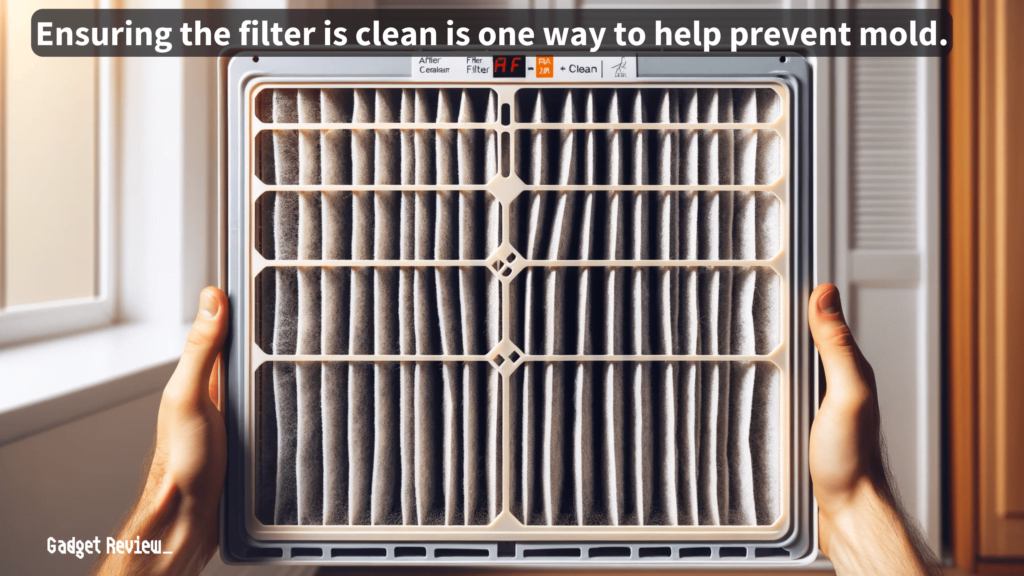
The air filter should also be checked regularly as it can be a common place for mold to accumulate.
Mold in air conditioners can pose serious health risks, including allergic reactions, asthma attacks, and other respiratory issues.
In severe cases, exposure to mold spores can lead to long-term health problems such as neurological disorders. Individuals with weakened immune systems are particularly at risk.
After all, the inside of an AC unit produces the perfect conditions for mold, but regular cleanings that zap earlier signs of mold growth from a professional service provider can help mitigate heavy mold growth.
STAT: According to a 2019 Pew Research Center survey, only 8.8% of Americans do not have an air conditioner unit. (source)
If you have any experience cleaning mold from a shower or toilet, the process isn’t much different when cleaning an AC unit.
Power Down the AC and Inspect the Unit
Disconnect your AC unit from power before looking at the internals. You should wear gloves and a mask while checking for the presence of mold in air conditioners. You can spot mold colonies by looking for black dust or fuzzy growth inside the unit.
Removing the Mold
Removing mold from your air conditioner is crucial for maintaining air quality and ensuring the unit operates efficiently. Follow this step-by-step guide to safely and effectively remove mold from your AC unit.
STEP 1 Safety First
- Turn Off the Unit: Ensure your safety and prevent any electrical hazards by turning off the air conditioner. If possible, unplug it from the power source.
STEP 2 Prepare Your Work Area
- Gather Necessary Supplies: You will need a vacuum cleaner with a brush attachment, mild dish detergent or bleach, water, a bucket, protective gloves, a face mask, and safety goggles.
- Protect Your Surroundings: If you’re working on an indoor unit, lay down a plastic sheet or old towels to catch any drips and protect the flooring.
STEP 3 Disassemble and Inspect
- Remove Accessible Parts: Carefully disassemble the front panel and any other removable parts of the AC unit, such as filters and grills.
- Check for Mold: Inspect these parts and the interior of the unit for visible signs of mold growth. Look for black, green, or white spots and a musty smell.
STEP 4 Vacuum Dust and Debris
- Clean Interior Surfaces: Use the vacuum cleaner with a brush attachment to remove dust, debris, and loose mold spores from the interior surfaces, filters, and removed parts.
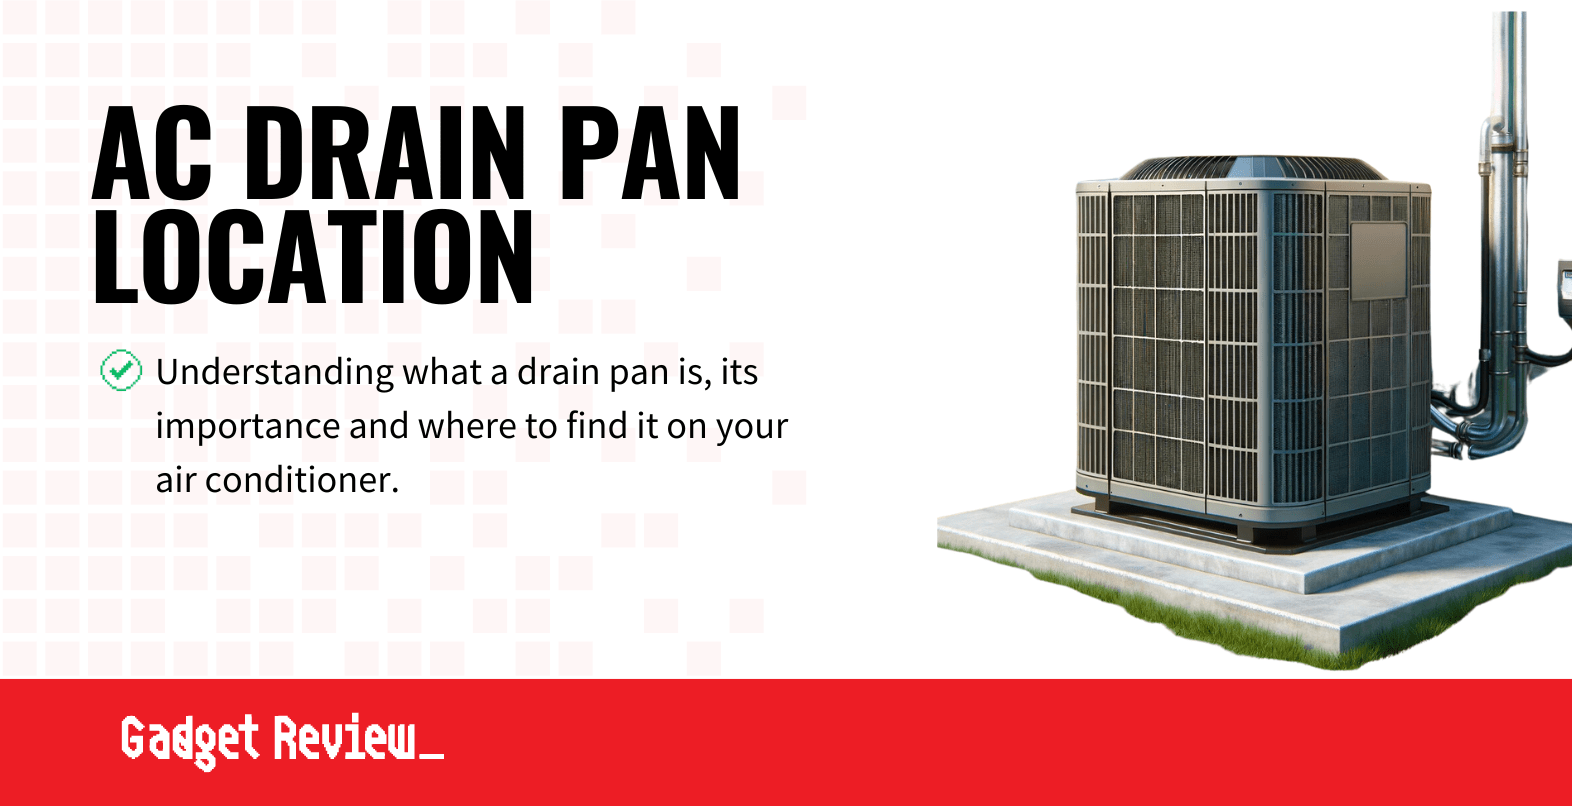
- Ensure the AC drain pan is clear of any blockages to prevent water buildup and mold growth.
STEP 5 Prepare Cleaning Solution
- Mild Detergent Solution: Mix a few drops of mild dish detergent with warm water in a bucket. This solution is gentle and effective for most surfaces.
- Bleach Solution (Optional): For more severe mold infestations, mix 1 cup of household bleach with 1 gallon of water. Use this solution with caution and ensure the area is well-ventilated.
STEP 6 Clean Moldy Areas
- Apply Cleaning Solution: Dip a soft cloth or sponge into the cleaning solution and gently clean the moldy areas. Avoid oversaturating any electrical components.
- Focus on Affected Areas: Pay special attention to areas with visible mold growth, ensuring they are thoroughly cleaned.
STEP 7 Rinse and Dry
- Rinse with Clean Water: After allowing the cleaning solution to sit for 20 minutes, rinse the cleaned areas with a cloth dampened with clean water to remove any residue.
- Air Dry: Let the unit and all cleaned parts air dry completely. This may take several hours or up to a full day, depending on humidity levels.
STEP 8 Reassemble and Test
- Reassemble the Unit: Once all parts are dry, carefully reassemble the air conditioner.
- Test the AC: Plug in and turn on the AC unit to ensure it operates correctly. Monitor the unit for any signs of mold recurrence.
Preventing Mold Growth
To prevent mold growth in your AC unit, clean or replace the filter every two months or as recommended by the manufacturer.
Keep the area around your AC clean and free from debris. Regularly check for water leaks and repair promptly.
Maintain low indoor humidity levels using dehumidifiers and ensure proper ventilation of the AC unit. Instead of turning the unit off for extended periods, turn the thermostat up to allow occasional cycling and air circulation.
When to Hire a Professional
If the mold problem is extensive or returns after DIY cleaning, it’s advisable to hire a mold remediation professional.
warning
Schedule mold testing to ensure that dangerous mold spores haven’t infested your home.
They have the correct tools, protective gear, and expertise to safely and effectively remove mold and can also identify and fix underlying issues causing mold growth.


