The convenience of portable ACs has, in recent years, given window units strong competition when it comes to which is the best air conditioner. However, this doesn’t mean it doesn’t require cleaning or storage. You also need to know how to properly use a portable A/C and how big of a portable AC you need to correctly fit your room. In this article, we’ll show you a step-by-step guide from disconnecting it to cleaning and finally storing your portable AC.

Key Takeaways_
- Portable AC units have to go through a takedown and cleaning process before being stored for the winter.
- Empty all drainage trays and clean the coils and filters.
- Store your unit upright in a cool, dry place that doesn’t reach temperatures below freezing during the winter.
Storing a Portable AC
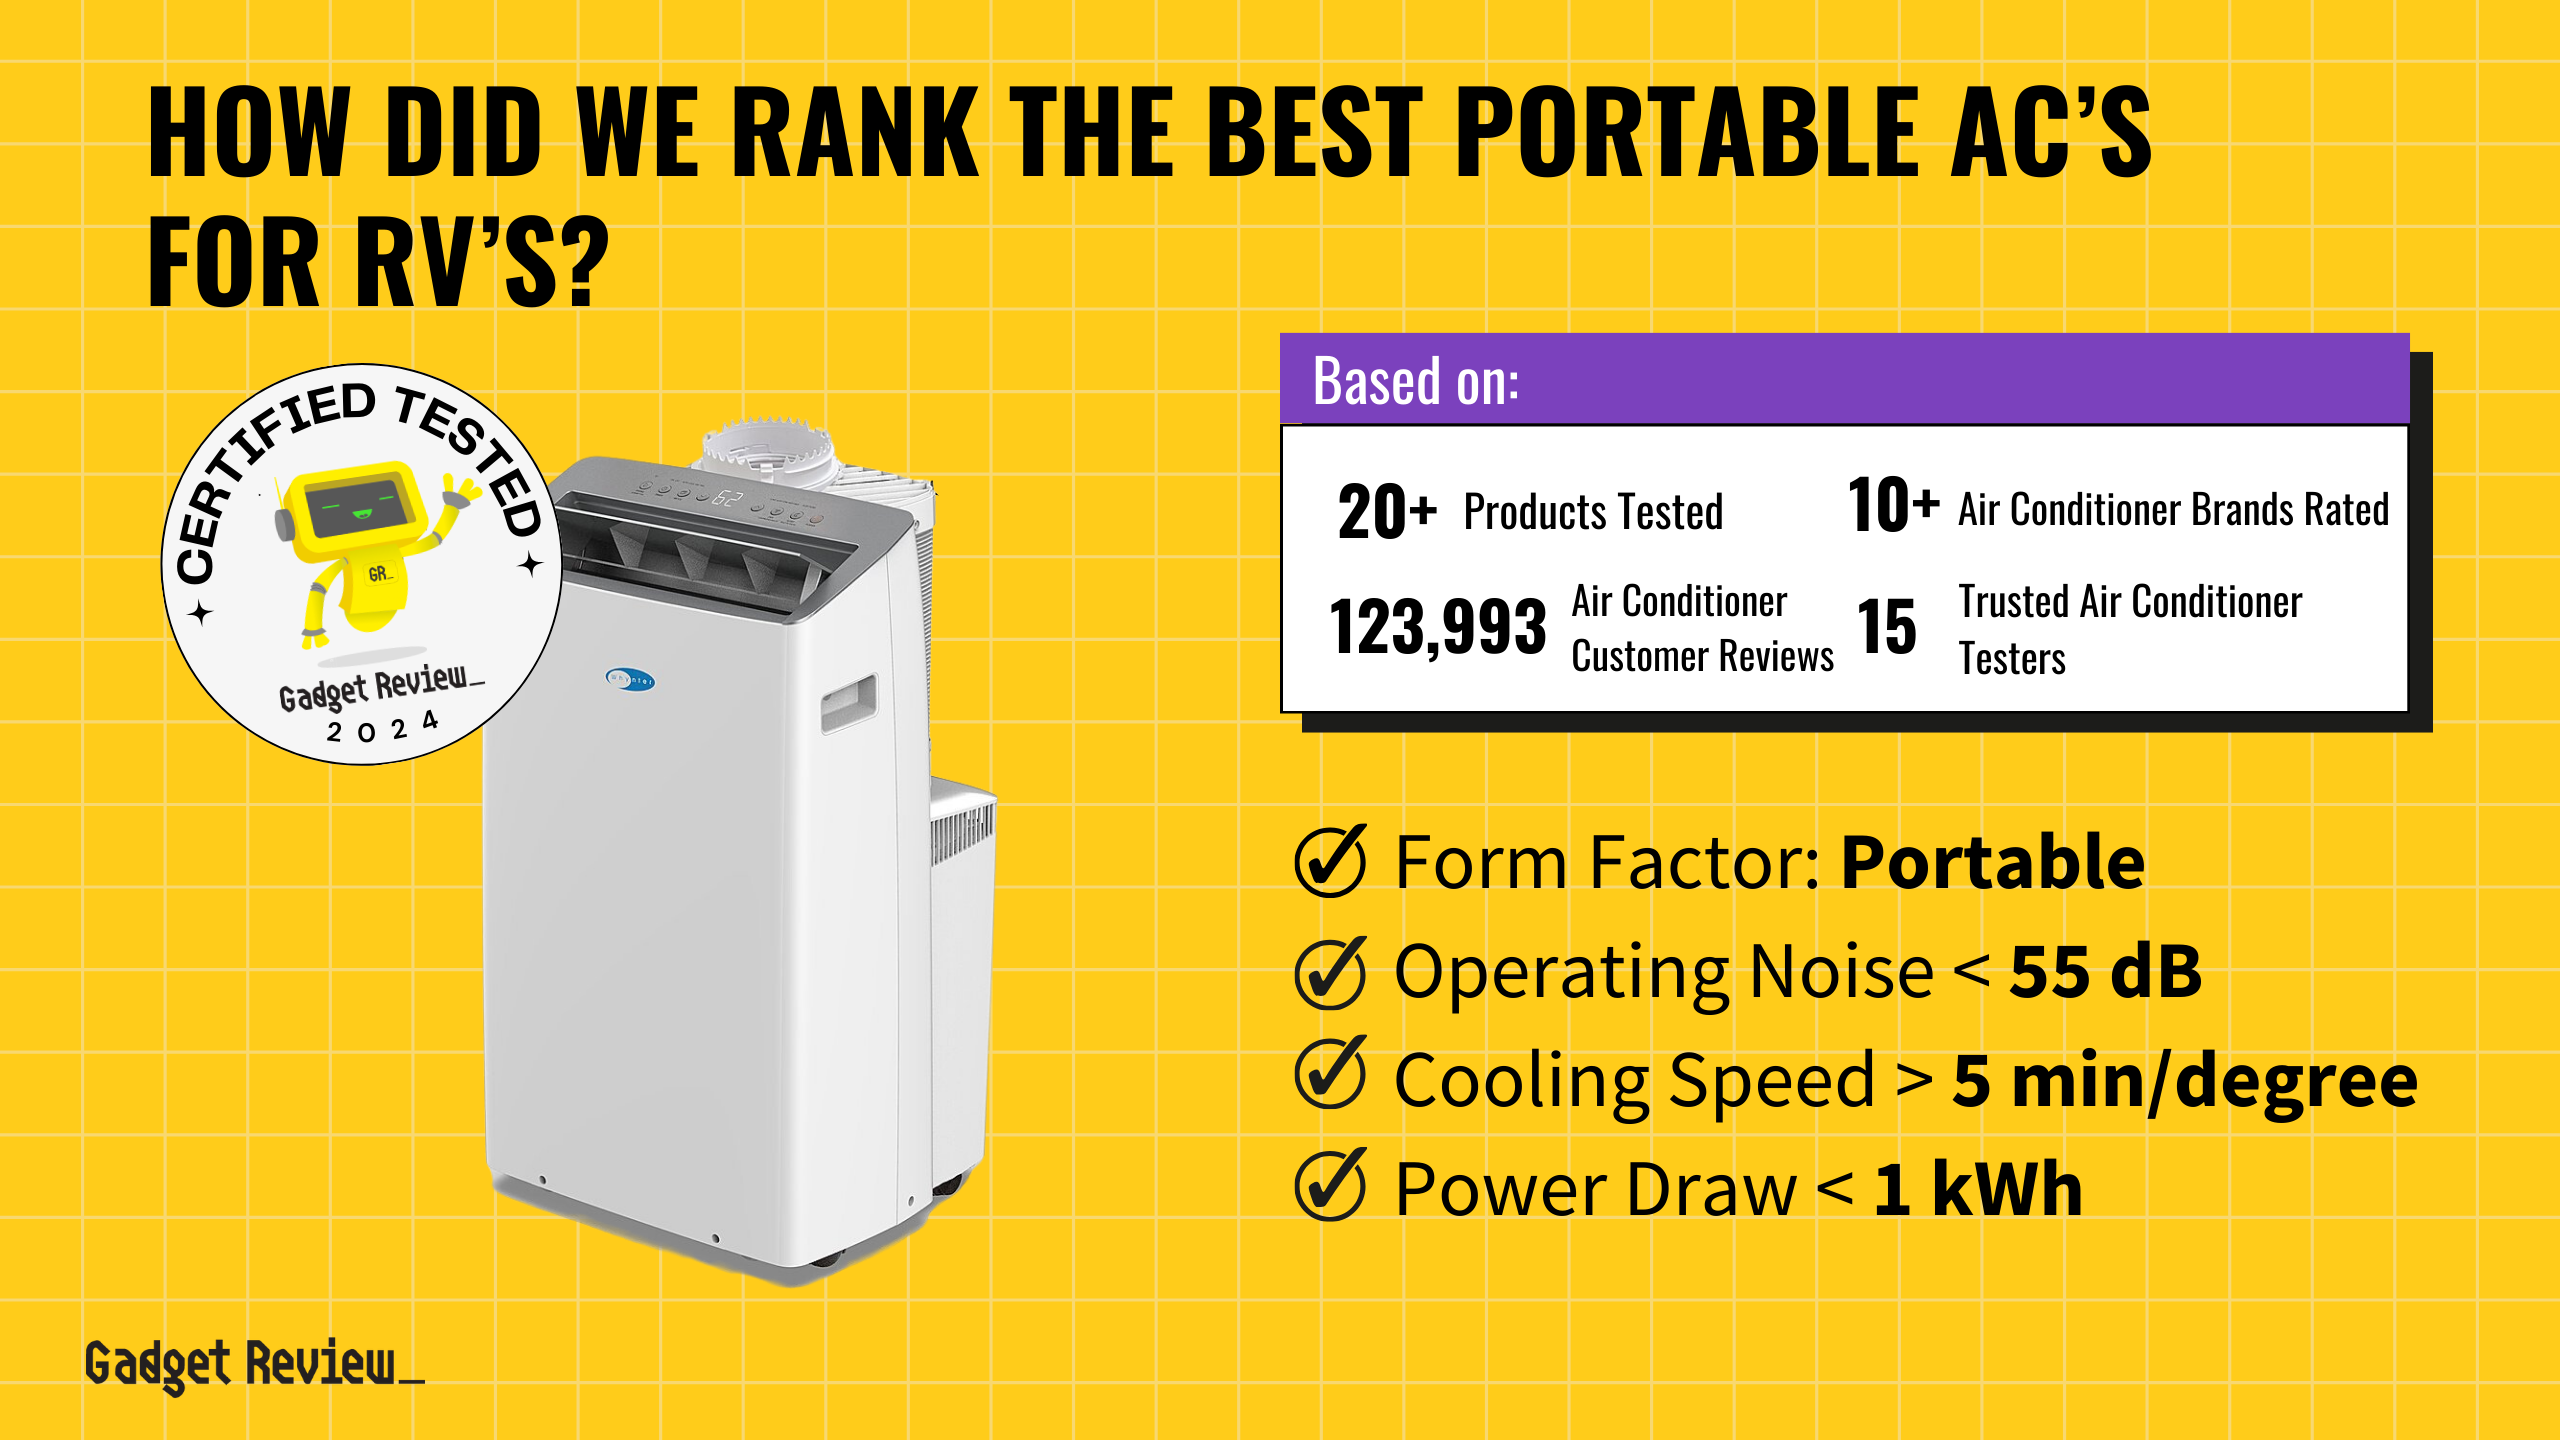
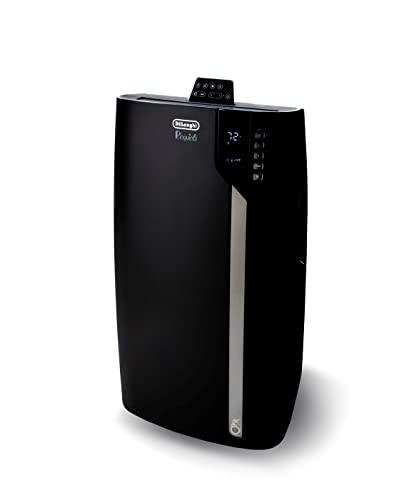
Outside of the strange, snaky ventilation hose and resemblance to R2D2, portable air conditioner units are helpful for those with few windows or who live in buildings that don’t allow window units.
As the summer season approaches, it’s crucial to ensure your portable air conditioning unit is in optimal condition through proper storage and maintenance.

insider tip
One of the best ways to protect your AC unit during storage is to keep it in the box it came in.
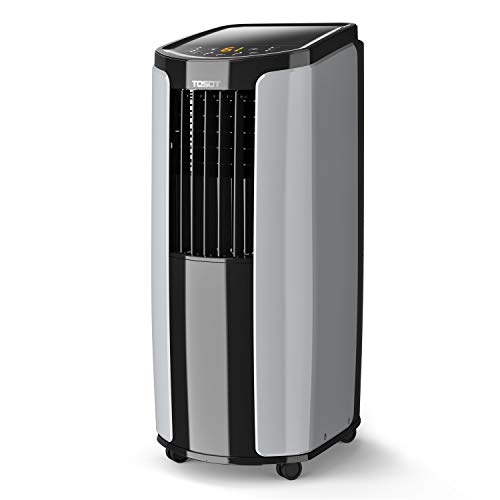
Portable ACs stand in an upright position and are often less powerful and more energy-efficient than their window-bound siblings.
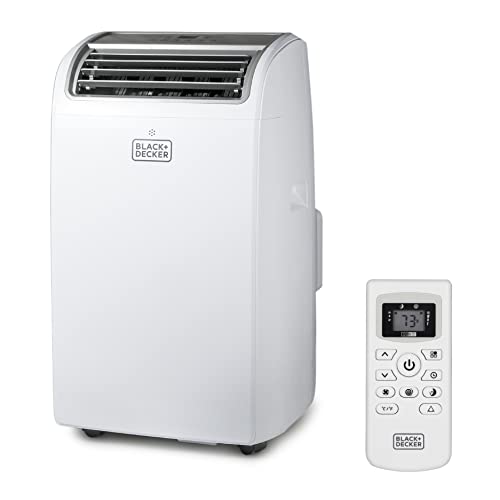
Unlike a window air conditioner, the portable unit offers flexibility in location and can be moved to different rooms as needed.
STAT: Most households spend close to $300 annually on air conditioning. (source)
Getting Your Portable AC Unit Ready for Storage
STEP 1 Power Down and Disconnect the Power Cord
- Ensure the unit is fully turned off and unplugged from the electrical outlet.
- This basic maintenance step prevents potential damage and ensures the safety of your product.
- Wrap the chord up and store it either in the designated chord compartment or bind it with a string or rubber band, and don’t forget the remote if your unit has one.
- Always store the remote control in a dry location to avoid accidental damage.
STEP 2 Remove Window Kit Equipment
- Unscrew the ventilation hose from the port in the back of the unit and fold it up. To keep it compressed, fasten it with tape.
- Take the slide out of the window. Remove the screws and store them.
- These components are essential for the unit’s operation, so handle them with care during maintenance tasks.
STEP 3 Cleanse the Coils
- Unscrew the front panel of the AC unit so that the air filters and coils are exposed.
- Take a vacuum and remove any dust or debris from the coils. Vacuum gently and up and down so you do not damage them.
- After putting on safety goggles and gloves, apply the coil cleaner and let sit for five minutes (or however long the spray bottle directs).
- This step is crucial to prevent mildew growth, especially during the winter season when the unit is not in use.
STEP 4 Drain the Tank
- Unscrew the top drain knob and unplug the drip tray so that any residual water drips into the water container. Drain until there is no more drippage.
- Put the plug back and screw on the drain knob.
- Set the air conditioning unit on a platform that’s high enough to tilt it slightly back into a container.
- Unscrew the bottom drain knob and then remove the drain plug.
- As the excess moisture drains from the water tank, tilt it back further to drain completely.
- This step is vital to prevent the growth of mold and ensure the unit’s components are not subjected to potential damage.
- For additional protection, consider using a moisture absorber inside the storage area to keep the environment dry.
STEP 5 Clean the Filters
- Remove the air filters and clean out any dust with a vacuum. A general tip is that cleaning out the air conditioner filter can improve the energy efficiency of your model, especially if they haven’t been cleaned in a while.
- Clean filters are crucial for maintaining air quality and preventing the growth of mold.
- Rinse them out and let them dry completely before replacing them.
- Ensuring the filters are completely dry before reinstallation is crucial to prevent the growth of mold as well as to maintain optimal conditions.
STEP 6 Find Storage Space
- Replace the front panel and put the screws back in place.
- Create an area for your unit, ideally inside or somewhere where temperatures won’t reach below freezing.
- Place it in the box it came in. Cover it with garbage bags or a tarp if you don’t have the box.

Following these simple steps for proper storage will keep your portable air conditioning unit in optimal condition, ready for the next season.
warning

Never store your air conditioner on its side, as this can damage it.
Choosing a dry location for storage is essential to protect the unit from extreme conditions and accidental damage. Proper storage ensures your unit is protected and ready for use when summer returns.
By adhering to the above-mentioned simple steps, you ensure the longevity and efficiency of your portable AC. For those wondering how to make a window AC colder or how to unclog an AC drain line, remember that regular maintenance and cleaning are key, not just for portable units but for all types of air conditioners.