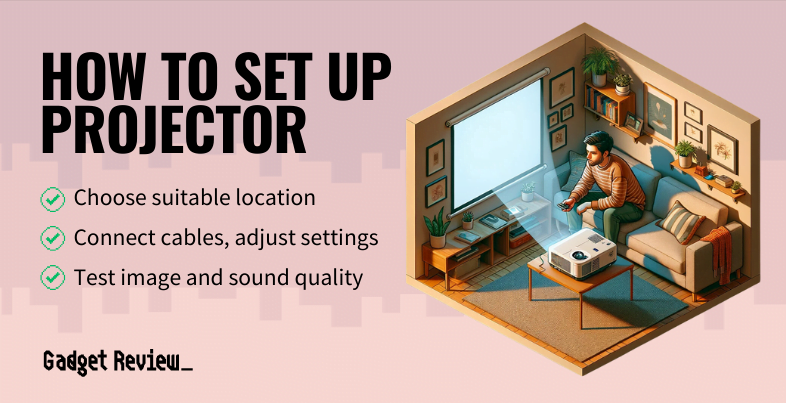
So, you’ve got yourself a new top-rated projector. Now, you’re probably wondering how to set it up for that ultimate movie night experience.
Whether you’re setting it up in your bedroom, living room, home theater, backyard, or basement, there are a few key things to consider.

Key Takeaways_
- First select the optimal location and install the screen, considering room size and ambient light.
- Next, position and mount the projector correctly, ensuring alignment with the screen and proper cable management.
- Finally, connect to power and input sources, adjust the focus and image settings, and calibrate for the best audio and video quality.
Initial Preparations
Before diving into the technical aspects of your projector setup, it’s important to make the initial preparations.
STEP 1 Choose the Perfect Location
Optimal placement of your projector plays a crucial role in maximizing image quality and the overall viewing experience.
- Ideally, it shouldn’t sit too high or too low from the floor or ceiling.
- Use the projector’s focal point as a guide for ideal height positioning.
- Refer to your manual to find the recommended height for the best image size.
- Experiment with ambient light and distance to avoid unnecessary screen adjustments.
While you can project directly onto a white wall, using a dedicated projector screen enhances image quality, offering a more authentic cinematic experience. Measure your bedroom size and choose a screen that fits comfortably within the given space.
STEP 2 Gather Essential Tools and Equipment
For successful installation, you’ll need the right tools and equipment. Your projector’s shift and correction will require:
- Screwdriver
- Tape measure
- Pencil
- Level
- Ladder or step ladder
Handle cables prudently. Running a neat line without turning your den into a disaster requires thoughtful management. Secure the cables running from the projector to the source device, power outlet, or audio system neatly to prevent tripping hazards and maintain an organized setup.
Moreover, you might need a cutting mat to help align your projector. A setup disk or alignment image could be useful in aligning the projector with the screen precisely.
Do ensure to manage the noise levels and ambient light as you prefer, and consider an optimal surround sound setup for a fully immersive audio experience.
Setting Up Your Space
When it comes to setting up your projector, it’s vital that you arrange your space strategically to ensure the best image quality and an immersive viewing experience.
STEP 3 Install the Screen
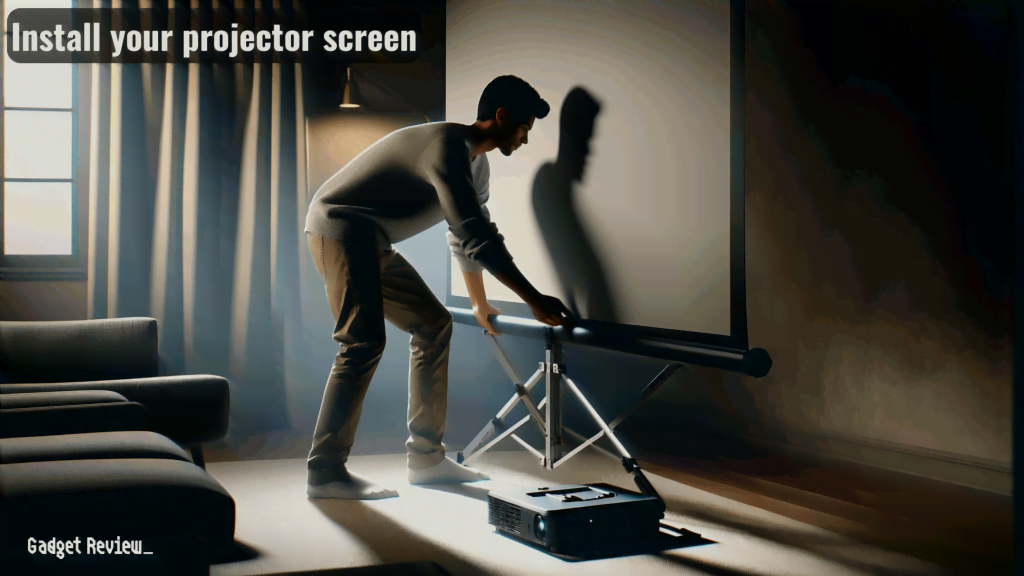
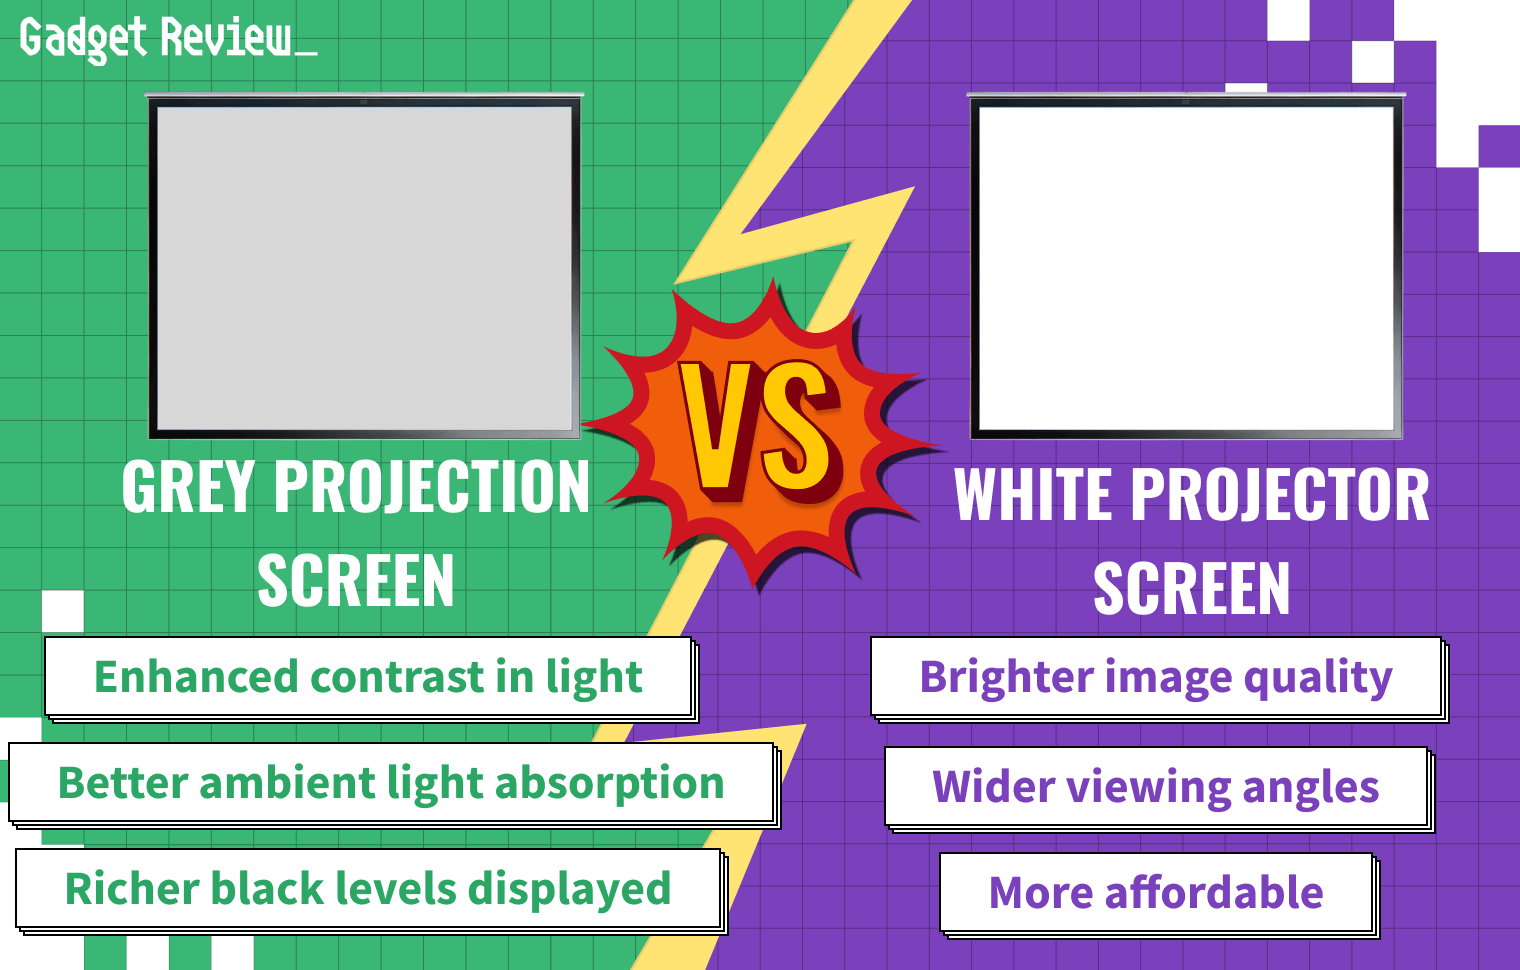
The screen is a key component in your projector setup. With the right surface and placement, you’ll enjoy enhanced content quality with minimal distortion. While a dedicated projector screen is recommended, you can also make use of a flat, white wall. But remember, the quality of the projected image largely depends on the screen’s surface.
Your screen installation should align with the level at which you prefer to view your content. Whether it’s mounted high or low, strive for a smooth, flat surface. Any irregularities in the screen level can cause image distortion, reducing the overall quality of your viewing experience.
STEP 4 Position the Projector
Where you place your projector is crucial for producing high-quality projections.
A common method is ceiling mounting your projector. This arrangement saves space, keeps your setup neat and reduces the chance of your projector being knocked out of place. Remember to consider your ceiling type when selecting a mount; it should match your projector’s design and weight.

insider tip
Cinema projectors are notoriously expensive, but they offer picture quality like no other model on the market.
The distance between the projector lens and the screen significantly affects your projection’s size and quality, a concept known as projector throw. Depending on the content and your preference, you may opt for a standard-throw or a short-throw projector.
If you notice distortion in your projected image, make use of lens shift and correction features included in many modern projectors. Lens shift allows you to move the image without physically moving the projector, while correction features can help rectify image distortion.
Pair your projection system with a good surround sound setup for an immersive experience. Spending time on the audio ensures you capture every detail of your projected content, enhancing your overall experience.
Technical Configuration
While configuring a projector does require attention to detail, the end result is a beautifully clear image that complements the carefully thought-out positioning and screen installation you’ve already accomplished.
STEP 5 Connect and Power Up

Keeping in mind the projector’s distance from the screen and power outlet, first ascertain the locations of power sockets in the room. You’ll want your projector, as well as other peripherals like Blu-ray players or streaming devices, close enough to these outlets to reduce the need for extension cords.
Pay attention to cable management in this stage while setting up. Utilize cable ties and clips to bundle together and secure the cables running from the projector to the source device and power outlet. This helps prevent any tripping hazards, keeps the installation neat, and contributes to a safer, more aesthetically pleasing setup.
Remember to ensure ample ventilation around the projector’s cooling vents. Projectors generate heat and they need good airflow to avoid overheating, which would negatively impact performance and reduce the device’s lifespan.
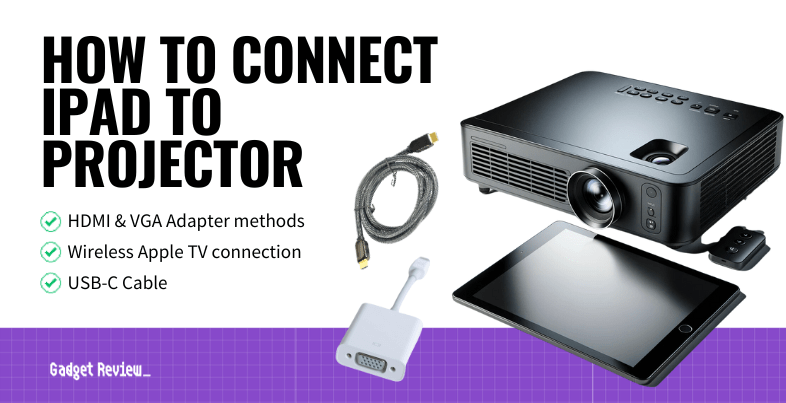
If you own a Mac, you may want to learn how to connect your projector to a Mac in order to get a high-quality display experience of presentations, movies, or other visual content. You can do the same with your tablet if you were curious about connecting a projector to an iPad.
STEP 6 Adjust and Focus The Image
To achieve the best possible image quality, you’ll need to adjust and fine-tune the focus based on your projector’s distance from the screen. With autofocus features found in 4K projectors, 8K projectors or portable projectors, your device can automatically sharpen the image. If your projector lacks autofocus, manual focus comes to the rescue to improve image quality, requiring you to adjust a dial manually.
At this stage, adjusting for ambient light is also crucial. Any necessary adjustments to the focus, zoom, or other settings can be made, striving for a perfect balance between the projector’s brightness and contrasting ambient light.

warning
Use a high-quality video transfer method to avoid poor image quality on your projector screen.
The projector’s lens shift feature and correction abilities come into play for ensuring the projected image aligns perfectly with the surface of your projector screen. Adjust the image settings such as brightness, contrast, color, and keystone correction to optimize the image quality.
Throughout this process, keep an eye on the content you’re testing for color and sharpness levels. It’s also recommended to play a test video or display an image to check the projected image quality, subsequently making relevant adjustments until you achieve the desired result. After the necessary adjustments and once you’re satisfied, be sure to secure the cables with cable ties or conduits to keep your setup organized and prevent hazards.
Enhancing Your Viewing Experience
STEP 7 Adjust Audio and Video Settings
When setting up a projector, audio and video output settings are key aspects to consider. Assure the right direction and level of the projector for optimal image quality. The projector’s fan might get louder depending on the installation angle, but that’s a small trade-off for a correctly oriented image on the screen.
Once you’ve set the projector placement inline with the projector screen, focus on the finer audio and video settings.
- For instance, standby mode must be turned on to output audio and video to an external device when the projector is in standby.
- Depending on your setup, you might need to select an audio source to output.
STEP 8 Calibrate for Optimal Quality
Attaining the best possible image quality from your projector requires careful calibration. This process involves balancing reds, blues, and greens for a natural-looking image.
It’s not just about the picture though, some advanced audio setups come with calibration microphones. Placed in your primary seating position, these mics can auto-tune your speakers for outstanding sound performance inline with the room’s acoustics.
Besides adjusting the color and audio, be attentive of the ambient light. The available lighting can greatly affect the perceived color and contrast of the projected image. Some projectors come with predefined color modes suitable for different scenarios like movies or presentations. These, when used appropriately, can significantly improve your viewing experience.