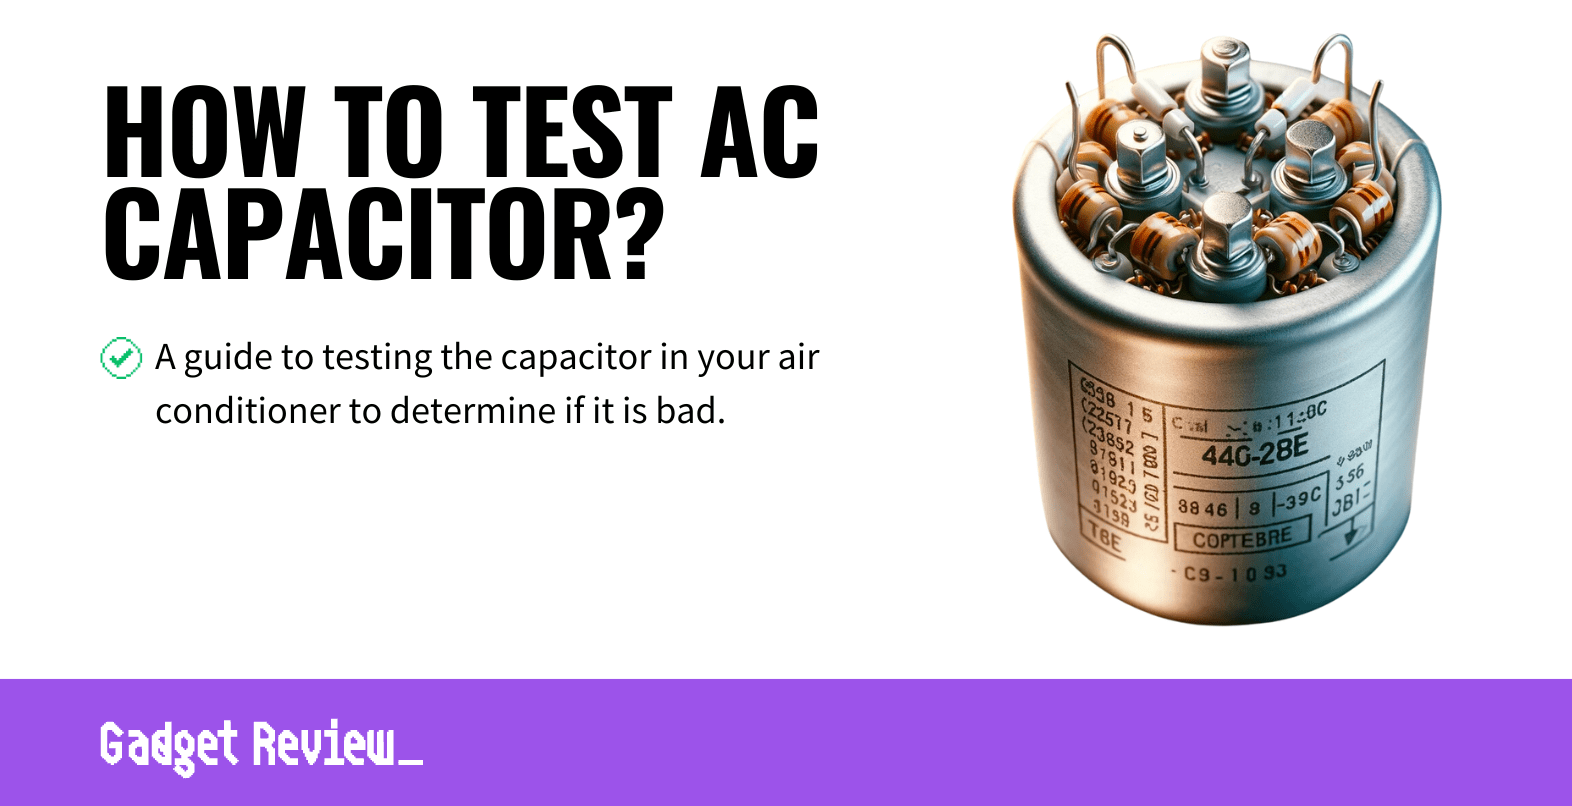
AC capacitor failure can happen from time to time, even to the best air conditioners. Testing an AC capacitor is a crucial skill for anyone looking to maintain their air conditioning unit efficiently and prevent costly repairs. Capacitors are essential components that store and release electrical energy, providing the necessary power to start the motors in your air conditioning system. This article will guide you through the process of testing AC capacitors using a multimeter, ensuring your unit operates effectively and continues to provide comfort without inflating your energy bills.

Key Takeaways_
- AC capacitors provide the initial power boost to an outdoor AC unit as it begins its cooling cycle.
- You’ll need a multimeter and a basic tool kit to test a capacitor.
- Capacitors need to be replaced around every twenty years.
Testing Your AC Capacitor
Before testing your AC capacitor, safety must be your top priority. Ensure the power supply to your air conditioning unit is completely shut off, either by using a circuit breaker or a non-contact voltage tester to confirm there’s no residual charge.
Gather your tools, including a digital multimeter set to capacitance mode, insulated needle-nose pliers, and safety goggles.
A non-contact voltage tester can also be helpful to double-check that there’s no leftover voltage in the electrical components of the unit. Remember, dealing with capacitors involves handling high voltage, so taking these safety precautions is crucial to prevent electric shocks.
STEP 1 Turn Off the AC System’s Power
- Securely turn off the power to your AC unit at the breaker panel to ensure no current moves through the system.
STEP 2 Find and Inspect the Capacitor
- Open the access panel on your unit to locate the capacitor. The capacitor is usually situated near the motor; it’s a metal canister connected to the electrical circuit of your air conditioning system.
- Do not touch the capacitor at this point in the procedure.

warning
Make sure to disconnect the three wires before touching the capacitor with your bare hands to avoid injury.
STEP 3 Discharge the Capacitor
- To discharge the capacitor, locate these three wires: Herm, Fan, and Common. These should be labeled on your capacitor. Pull these wires loose from the wire posts. Once disconnected, make sure that the wires aren’t touching one another.
- Note down which wire attaches to which wire post.
STEP 4 Dismounting the Old Capacitor
- To dismount the old capacitor, unscrew the bracket on the capacitor terminal. Then, pull out the capacitor.
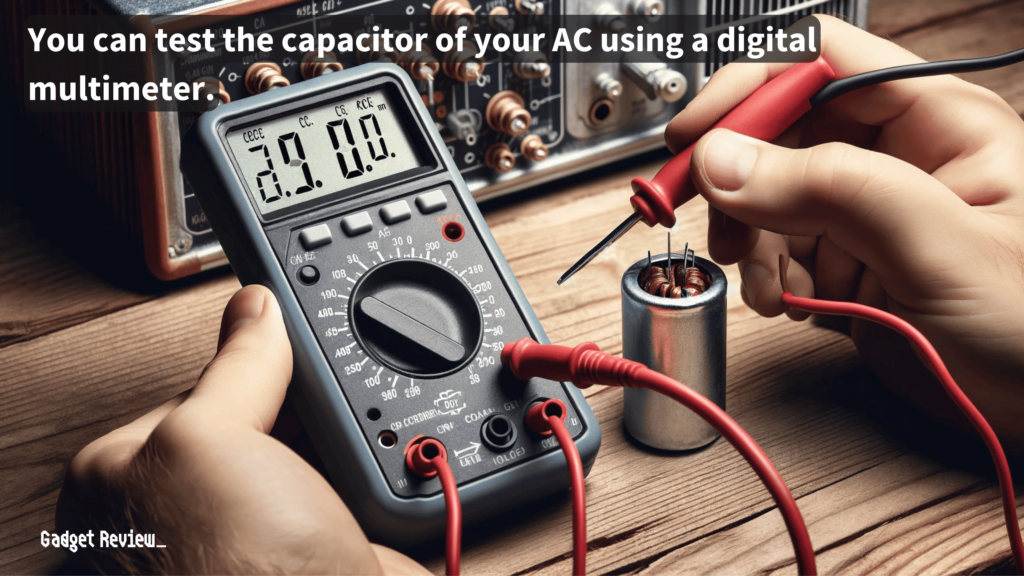
STEP 5 Use a Multimeter to Test the Capacitor
- Set your multimeter to the capacitor testing mode. Modes are explained in the device’s user manual, but it is usually located in the noon position. In test mode, the multimeter display should say “NF.”
- Check the capacitor label for the target numbers. For example, it might say 35uF/5uF.
- Place the red probe on the herm post (H) and the black probe on the common post (C). The number that shows up on the multimeter display should be the same as the first number (like 35uF) on the label.
- Then, keeping the black probe on the common post, switch the red probe over to the fan post (F). Then, compare this number to the second one on the label (like 5uF).
- There is a rule that a capacitor has to read +/-6% to be considered in good condition. If your numbers fall outside the range, you’ll need to replace your capacitor.
STEP 6 Reassembly
- If your air conditioning capacitor tested fine, screw it back into the bracket.
- Reconnect the wires, then screw the access panel back on.
- Turn the AC power back on.
Understanding AC Capacitors
AC capacitors are small cylindrical devices that play a pivotal role in the operation of your air conditioning systems. They store electric charges and release them in powerful bursts to start the compressor motor, blower motor, and fan motors in your unit.
STAT: The acceptable ohm range is usually labeled on the capacitor. If the capacitor tells you “50 ±5%,” the acceptable range is 47.5 to 52.5 F. (source)
There are two main types of AC capacitors: the start capacitor, which gives the motors a jolt to begin turning, and the run capacitor, which provides a series of boosts to keep the motors running.
Dual-run capacitors support both the condenser fan motor and the compressor motor in the outdoor unit of your AC system, making them a key component in ensuring the proper operation of air conditioning units.
Identifying Common Capacitor Issues
A faulty capacitor can manifest through several signs, such as a humming noise from your AC unit, the air conditioner struggling to start, or the unit shutting off randomly.
Visual inspections may reveal a bad capacitor, characterized by bulging or leaking fluid. Testing the capacitor with a multimeter can confirm these issues.

insider tip
To check if your capacitor is blown, you can check it visually to see if it looks like a pop can with a pushed-up top.
If the readings fall significantly outside the capacitor’s rated capacitance, it’s likely defective and needs replacement.
Recognizing these symptoms early can prevent further damage to your air conditioning systems and avoid more extensive and costly repairs.
When considering an upgrade, the best smart air conditioner units come equipped with advanced features that can automatically adjust the cooling based on your preferences and can be controlled remotely.
DIY vs. Professional Help
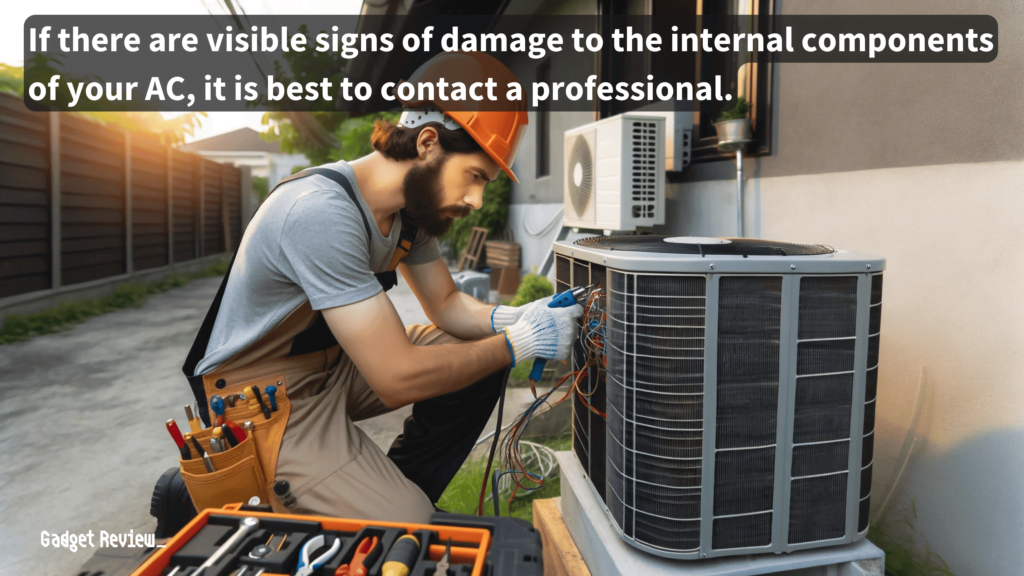
While testing an AC capacitor is a manageable task for many DIY enthusiasts, certain situations call for professional expertise.
If your capacitor shows signs of severe damage or if the testing process indicates complex electrical issues, it’s wise to consult a qualified professional.
HVAC technicians have the experience and equipment to handle intricate repairs safely and efficiently. Weighing the potential costs of DIY mistakes against the upfront cost of professional services is crucial in deciding the best course of action.
Maintenance Tips
Regular maintenance of your air conditioning unit, including the capacitors, can extend the life of your equipment and improve its energy efficiency.
Simple tasks like cleaning the air filters, checking the fan blades for obstructions, and ensuring all connections are secure can prevent common issues.
Additionally, periodically testing the capacitors as part of your maintenance routine can help catch potential failures early before they impact the operation of your air conditioning unit.
Understanding how to test AC compressors and capacitors is an invaluable skill that can lead to improved performance and longevity of your air conditioning systems.
By following the step-by-step guide provided in this article, you can diagnose and address common capacitor issues, ensuring your unit runs smoothly.
Regular maintenance, combined with timely testing and repairs, can result in significant cost savings and maintain the comfort level of your home.
Remember, when in doubt, consulting with qualified professionals can provide peace of mind and ensure the proper care of your air conditioning equipment.